Entries Tagged as 'Dinner Fast'

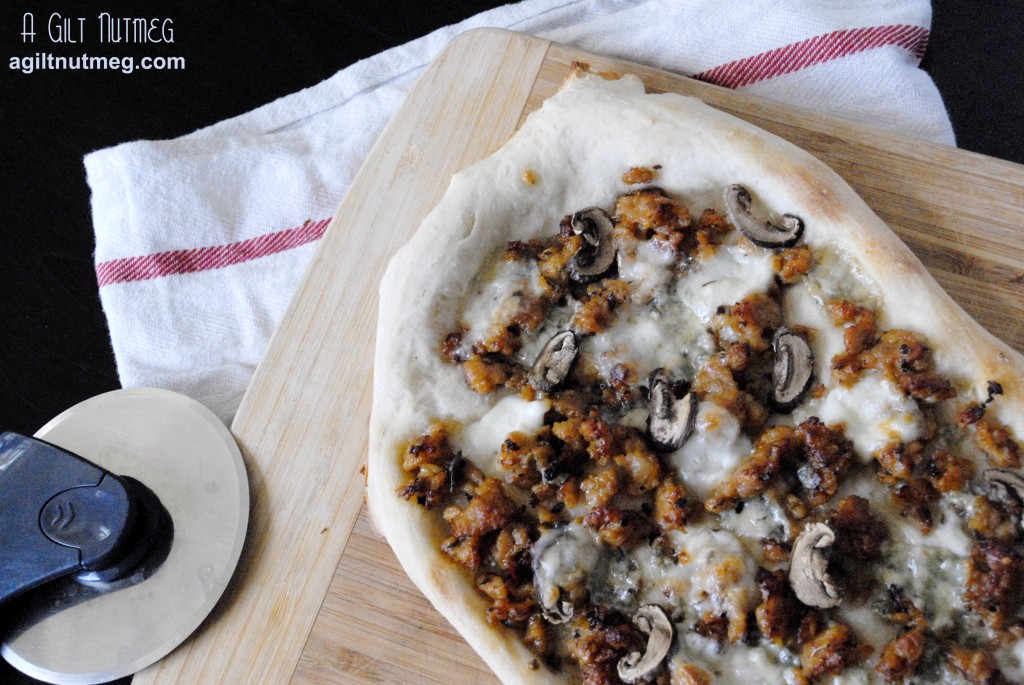
Bleu Cheese, Sausage & Crimini Mushroom Pizza

Wednesday, June 13, 2012

Last month I had the great pleasure and honor of making dinner for a number of friends from college who had come to visit from the East Coast.  I wanted something to serve that would be fun and that would cater to everyone’s different tastes, but that would also be fast and enable me to wander back and forth from the kitchen to chat.  I decided on pizza night, which definitely meant fast, wouldn’t break the bank, and allowed me to get creative.   We ended up with 4 different types of pizza:  Traditional Margarita, Rosemary & Red Potato, Roasted Veggie and Hummus (recipe to come!), and Bleu Cheese, Sausage & Crimini Mushroom.  All four were a hit!

This pizza was definitely the most hearty of the four.  The flavors are all strong, but work together instead of competing on your taste buds.  Pizza is one of those great recipes that you can whip up in no time and get on the table within minutes of starting, and this recipe is definitely going into normal rotation for pizza night.

Bleu Cheese, Sausage & Crimini Mushroom Pizza
Makes 2 small-medium pizzas

  • 1 package of Trader Joe’s refrigerated pizza dough
  • 2 chicken sausages, casings removed (I chose Trader Joe’s Sweet Italian Chicken Sausage)
  • 1 teaspoon dried oregano (optional)
  • Garlic infused olive oil (optional)
  • 1/2 cup Crimini mushrooms, sliced
  • 1/2 cup bleu cheese crumbles
  • 1 container Bocconcini (small mozzarella balls in water), sliced or 1 large ball of fresh Mozzarella, sliced (just don’t get the shredded bagged kind)
  1. Place an unrimmed cookie sheet in your oven or place a rimmed baking sheet upside down on the rack in your oven.  Heat the oven to 500 degrees with the sheet inside.
  2. While the oven is heating, remove the casings from the sausage and fry it up in a pan, breaking up the sausage into small pieces.  At this point, I added about 1 teaspoon of dried oregano to the sausage in the pan, because I felt it could do with a little more flavor, but this is entirely up to you and the sausage you chose.  When fully cooked through, move the sausage to a plate covered in a thick stack of paper towels so that the grease can drain.
  3. After the oven is good and hot (about 30 minutes), remove the cookie sheet and put it on a heat-safe counter, but leave the oven on.
  4. Break the pizza dough into two even pieces and stretch the first piece out gently with your hands, letting gravity do most of the work.  I always prefer this to rolling it out with a rolling pin, but you will absolutely end up with an oddly shaped pizza this way-I think it gives it character.
  5. Gently lay the stretched pizza dough onto the hot baking sheet (the goal here is to get the bottom of the crust baking first while you top the pizza, so that the dough cooks more evenly.  If you have some of that garlic infused olive oil, brush about a tablespoon or two over the crust.
  6. Sprinkle on about half of your sausage, half of your mushrooms, half of your bleu cheese and half of your mozzarella on top of all of that (adding the mozzarella last will help the toppings stick to your pizza better).  Of course, adjust to your tastes.  I like a little less of the bleu cheese, as it’s a super strong flavor.
  7. Return the baking sheet with the pizza now assembled on top to the oven and let it bake for 10-15 minutes, until the crust is starting to turn golden brown and the mozzarella is bubbly and also just starting to brown.
  8. Let cool for 5 minutes before cutting with a pizza cutter and enjoy!

Roasted Yellow Summer Squash Salad

Wednesday, May 30, 2012

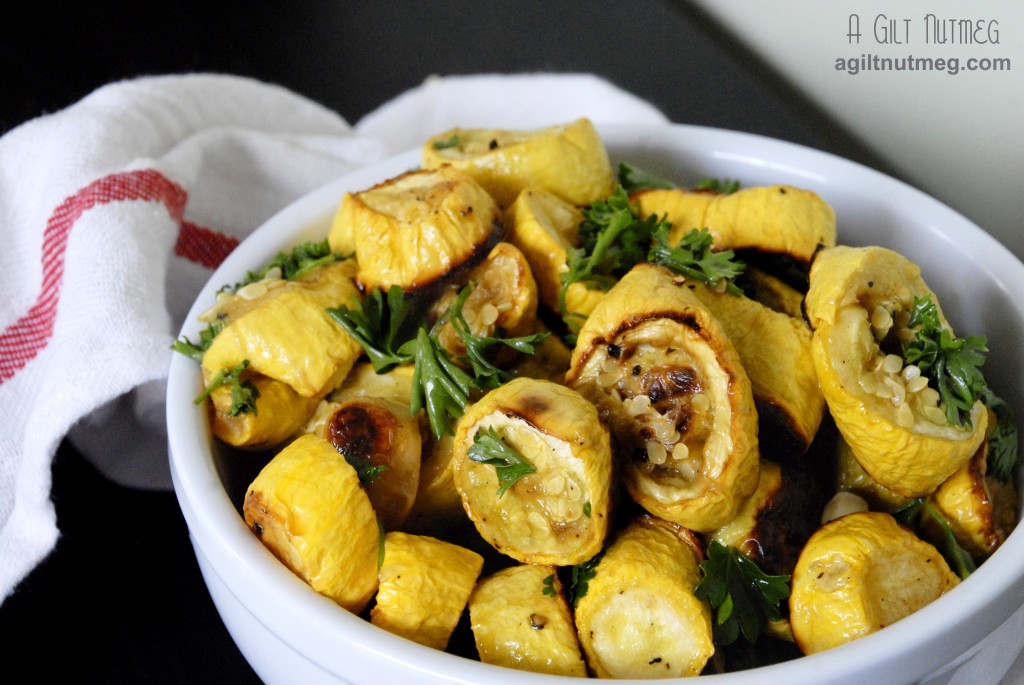
roasted yellow summer squash salad

I can’t remember not liking yellow squash.  Actually, that’s only partially true-I’m sorry, Mom & assorted other relatives, I never liked Squash Casserole, but that’s mostly because of the onions.  Other than that, you can happily feed me yellow squash any way you can: grilled, fried, sauteed, stir fried, roasted, baked in this awesome vegetable lasagna I made this weekend…the possibilities are endless.  When you want yellow squash fast and portable, this is the recipe you should turn to; I made it for a picnic and it was fantastic both warm (I snuck some out of the oven) and cooled after being transported in the picnic basket.  Full of roasted squash flavor, the parsley and lemon bring out fresh acidic flavor notes and the olive oil deepens the flavor profile.  This was the easiest dish I made for that entire picnic, so don’t hesitate to give it a try!

Roasted Yellow Squash Salad
Adapted from Martha Stewart
Serves 4-5

  • 5 lbs yellow squash, sliced into 3/4″ - 1″ thick rounds
  • 6 cloves garlic
  • 3 tablespoons olive oil
  • coarse salt and pepper
  • 1 large handful of fresh parsley (either flat-leaf or curly-leaf fine)
  • freshly squeezed juice from one large lemon
  1. Heat oven to 475 degrees and line one or two rimmed baking sheets with tin foil.
  2. In a large mixing bowl, combine the sliced yellow squash, garlic cloves, 2 tablespoons of olive oil, and salt and pepper and mix with your hands until the squash is thoroughly coated in the oil and seasonings.
  3. Spread out the seasoned squash in an even layer on the baking sheets and bake for 45 minutes to an hour until the squash is nicely browned (be sure to check underneath-my squash were almost too dark on the bottom and I wouldn’t have realized it because the top wasn’t even close to that brown).
  4. Pull the baking sheets out of the oven and let the squash cool on the sheets.
  5. Move the squash back into that big mixing bowl, add the last tablespoon of olive oil, the parsley and lemon juice and toss to coat.  Add extra salt and pepper if you think necessary.
  6. Serve warm, room temperature, or cold from the fridge, it’s up to you, because it will be delicious either way!  Enjoy!

Steak & Arugula Picnic Sandwiches

Wednesday, May 16, 2012

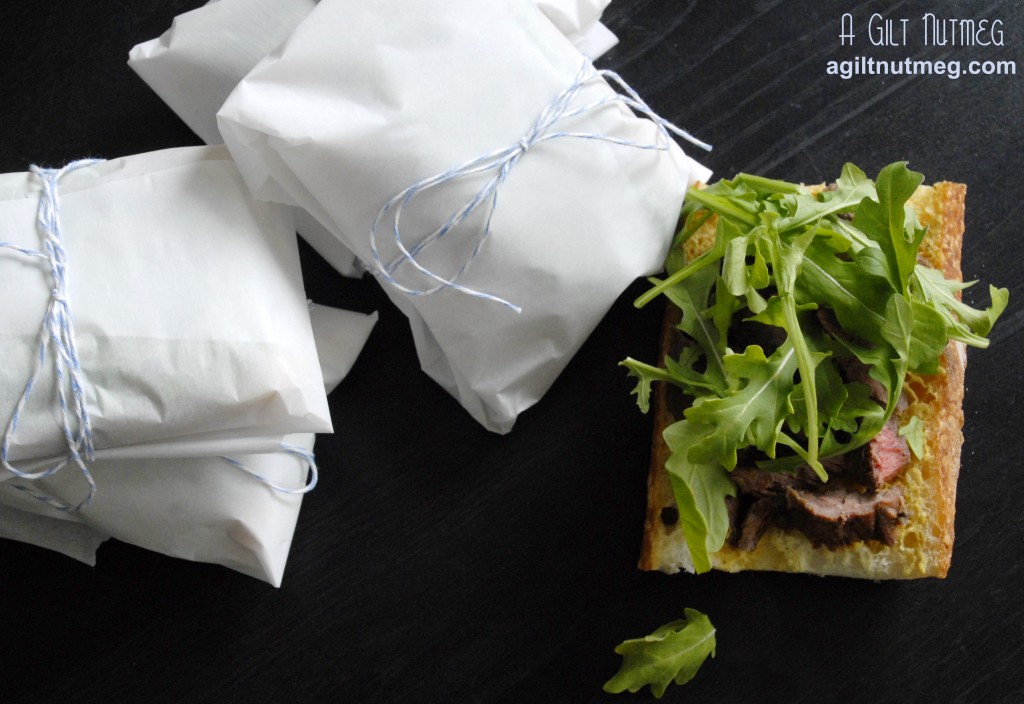
steak picnic sandwiches

Serves me right for thinking I might have a relaxing weekend for once.  Thursday night rolled around and The Boyfriend’s Dad asked how I might feel about filling a basket for a picnic lunch for Mother’s Day.  Of course I can’t say no to that!  I spent the next few days trying to decide what I might make that would be okay at room temperature for a little while and that would pack nicely for travel.  I am proud to say that the lunch was a success and that I was able to make some of my favorite foods to share with them on Sunday and now with you.  First up on the list are these incredibly simple Steak & Arugula Picnic Sandwiches.

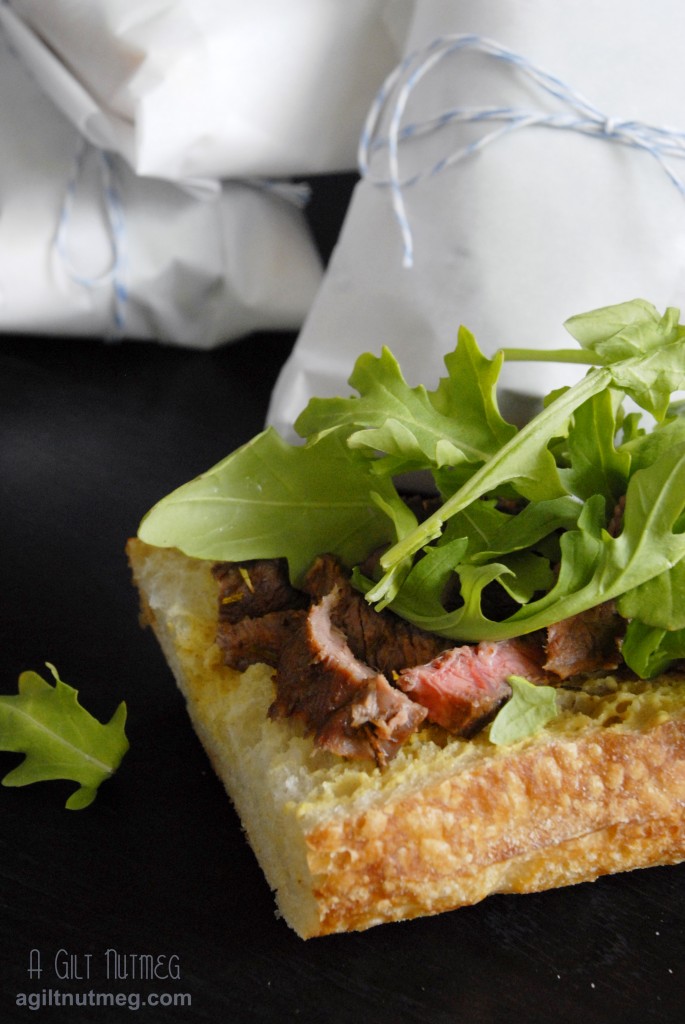
Your first step above all is to find a great bread.  I was standing in line at 9am waiting for the doors to open at the world famous Bay Cities Deli on Sunday morning.  I think that walking out of the store 5 minutes later with a loaf of crunchy chewy Italian bread still warm and fragrant from the oven was one of my favorite food moments in recent memory.  After that, the rest is a snap; this steak is one of the very first recipes I ever posted on this blog and beyond that it just involves slathering on some good mustard and piling on the arugula.  Because they’re open faced (no top piece of bread), they’re just the right amount of filling when you pair them with a few sides instead of overstuffing yourself…because who wants that on a picnic?  Wrap it all up in parchment paper, tie it with baker’s twine and these sandwiches are super portable without worry about crushing them.

steak picnic sandwiches 2

Steak & Arugula Picnic Sandwiches
Adapted from Martha Stewart Living, July 2009
Serves 4

  • One loaf of high quality sandwich bread or two 6″ rolls
  • Approximately 2 cups of arugula
  • Your preferred mustard (I like a spicy Dijon)
  • One recipe of Marinated Balsamic Skirt Steak (below)

Steak

  • 1/2 cup balsamic vinegar
  • 1/4 cup soy sauce
  • 2 tablespoons brown sugar
  • 4 garlic cloves, sliced
  • 1 tablespoon dried rosemary
  • Coarse salt and ground pepper
  • 1 pound skirt steak
  1. Poke the steak all over with a fork, then combine the steak ingredients in an airtight container at least 30 minutes prior to cooking, if you’re in a rush, or put them together the night before and stick them in the fridge so that the flavors can combine.
  2. When ready to cook the steak, set the oven to Broil (or 500 degrees), line a rimmed baking sheet with aluminum foil and lay the steak flat on the prepared pan.
  3. Broil the steak 3 minutes on each side for medium; cook an extra minute or so on each side for more well done.
  4. When the steak is done to your preference, pull it out of the oven, move it to a platter and let it cool for at least 15 minutes.
  5. When cool, slice the steak against the grain (you don’t want chewy meat on a sandwich), removing any excess fat along the way.
  6. Slice the bread roll in half lengthwise and then cut the halves into 6″ portions (cut the rounded ends off, too).
  7. Spread mustard over the bread, pile the meat on top and then the arugula.
  8. Wrap sandwiches in parchment paper, tape or tie them shut and put them in the picnic basket to enjoy!

Spicy Butter-Steamed Ginger Halibut

Wednesday, March 28, 2012

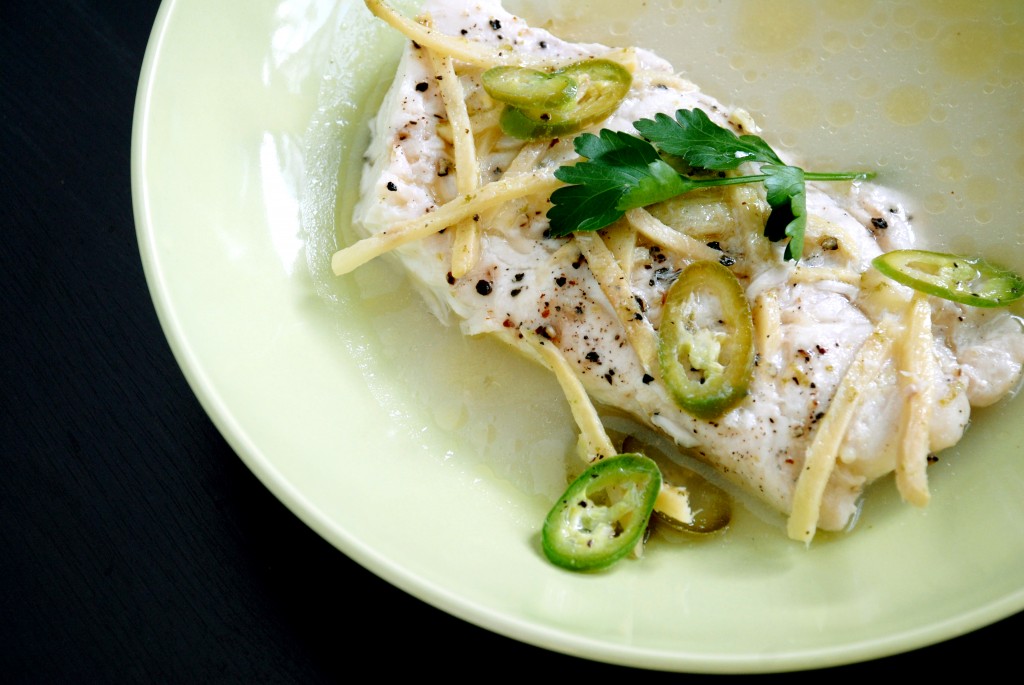
butter steamed ginger halibut

Clearly I’ve been on a bit of an Asian flavors inspired kick lately, but oh what a delicious kick it is-and this fish certainly doesn’t disappoint in the tasty department.  As soon as I saw this in Food & Wine, I knew I wanted to make it.  It has a myriad of different flavors and, with the exception of preparing the ingredients, it literally takes 5 minutes to cook the juiciest, moistest fish I’ve ever had at home.

The recipe did call for sea bass, but I couldn’t handle the $26.99 a pound for sea bass at my local fish market, so I went for halibut which is similar in flavor and texture.  You create a makeshift steamer for your fish with a pie plate so that you don’t lose the juices.  What results is tender fish with ginger and serrano chile notes in a buttery luscious broth that I’m looking forward to making again very soon!

Spicy Butter-Steamed Ginger Halibut
Adapted from Food & Wine

  • four 7 oz halibut fillets
  • 1 1/2″ piece of ginger, peeled and cut into matchsticks
  • 1 serrano chile, sliced thin
  • 1 garlic clove, minced
  • zest and juice of 1 lime
  • salt and pepper
  • 4 Tablespoons of butter, in small pieces
  1. Before starting, find a glass or ceramic pie plate that will fit inside a large, deep skillet (I suggest this now because I was scrambling to find this when I was half way done with the recipe).  2 pieces of halibut will fit per pie plate, so I used two pie plates and switched them out when the first was done cooking.  Make 3 smalls aluminum balls about the size of golf balls, flatten them slightly and put them in the skillet. Fill the skillet with an inch or two of water and turn the heat on so that it will boil while you’re preparing the fish.
  2. In a small bowl, mix the ginger sticks, chile slices, minced garlic, and lime zest together.
  3. Arrange the pieces of fish in the pie plates (skin side up, if there is skin) and cut 4 shallow slashes in the top of each piece of fish.
  4. Sprinkle the ginger mixture evenly over the top of the fish and season the fish with salt and pepper.
  5. Dot the surface of the fish with the butter and drizzle the lime juice evenly over the fish.
  6. Carefully place the pie plate in the skillet, balanced on the aluminum balls, and cover the skillet tightly with a lid.
  7. Let the fish steam for 5 minutes and then pull it out of the steamer.
  8. Serve immediately and be sure to pour the buttery broth over the fish (my favorite part) and enjoy!

Note: the chile is very spicy, so be careful when handling and also when eating.  Get rid of the seeds if you want to reduce the heat a bit.

Creamy Chicken Taquitos

Wednesday, February 15, 2012

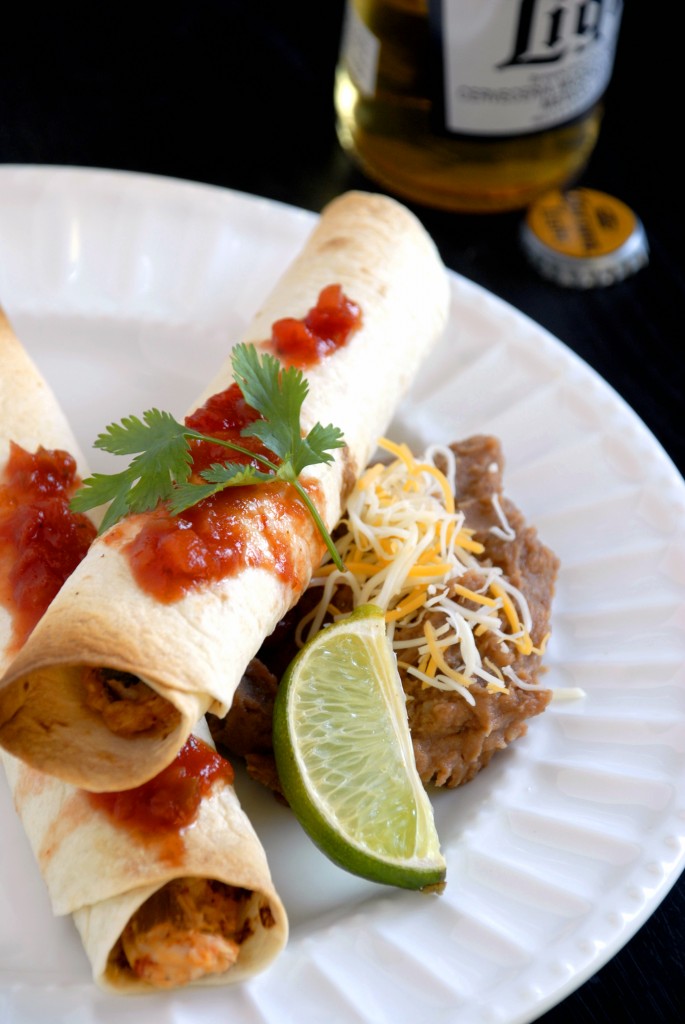
 baked creamy chicken taquitos

I don’t like to lie to you, my dear readers, so I will neither confirm, nor deny, that the only real experience I had with taquitos before making this recipe was from the 7-11 gas station in Georgia.

I will also put out there that I prefer baking to cooking (I’m sure that’s clear to most of you, by now, though) because too often you put the time, money and effort into making a nice dinner and then it’s…you know…good but would have been better if you’d just ordered it at a restaurant where they use 4 times as much butter and you wouldn’t have to clean up the grease splattered kitchen afterwards.

I can safely say that this dinner does not play out like the scene I just described.  No, these taquitos hit the spot in every way possible:  easy to make, easy to clean, filling, delicious, and absolutely satisfying in all manners of the word.  It’s even baked instead of fried like restaurant taquitos so you’ve kicked up the health factor a notch and it’s a great new fun alternative to the typical taco night (not that I would EVER turn down a taco).

Now the only question we were trying to figure out was…do you eat these with a knife and fork or pick them up with your fingers?

Creamy Chicken Taquitos
Makes 12-14, depending on how generous you are with the filling
Adapted from Annie’s Eats, originally from Our Best Bites

  • 3 oz. cream cheese, softened
  • ¼ cup salsa
  • 4 oz can of diced green chiles
  • freshly squeezed lime juice from 1/2 lime
  • 1 tsp. chili powder
  • ½ tsp. cumin
  • ½ tsp. onion powder
  • 3 cloves garlic, minced or garlic pressed
  • 3 tbsp. chopped cilantro
  • 2-3 green onions, chopped
  • 2 cups shredded cooked chicken (I just grabbed an already roasted chicken from the grocery deli and shredded it at home)
  • 1 cup shredded Mexican cheese
  • 10-14 flour tortillas - size 6″ (packages at my market came in either 10 or 16)
  • Cooking spray
  • Kosher salt
  1. Heat oven to 425 degrees and line a baking sheet with parchment paper
  2. Be sure to soften the cream cheese prior to starting the rest of the recipe-30 seconds or so in the microwave did the trick for me.
  3. In a large bowl, mix all of the ingredients, except for the tortillas, spray and salt, and stir until they’re all thoroughly combined.
  4. Heat the stack of tortillas you’re going to use for 30 seconds in the microwave so that they’re soft and pliable (if you find you’re one short and need to heat an extra tortilla, don’t do it by itself for a full 30 seconds!  I killed a tortilla that way, just do it for maybe 10 seconds).
  5. Lay the tortilla flat and spoon 2-3 tablespoons of filling in a straight line on the tortilla-most people say to do it down the center, but I did it a bit closer to the edge I was rolling up so that I could roll the tortilla very tightly.
  6. Once it’s rolled up, place the filled tortilla on the prepared baking sheet with the edge of the tortilla hidden on the bottom so that it doesn’t unroll.  Press gently to flatten it just enough so that it doesn’t roll around on the baking sheet.  You can arrange these pretty close together-I did mine about an inch apart so I could fit all of them on my oversized cookie sheet but still have enough room for air to circulate around them.
  7. Once all of the tortillas are rolled up and placed on the baking sheet, lightly spray them with cooking spray and sprinkle kosher salt over the tops of them.
  8. Bake for 15-20 minutes until golden brown on the edges.
  9. These are great for freezing for future meals!  Annie notes: “To freeze before baking, transfer the baking sheet to the freezer and chill the assembled taquitos 30-60 minutes.  Transfer to a freezer-safe container or plastic bag.  To bake from the freezer, simply add a few additional minutes to the original baking time, until the filling is warmed through.
  10. Serve hot from the oven with extra salsa, hot sauce, and sour cream.  Enjoy!