Entries Tagged as 'Salad'

Roasted Yellow Summer Squash Salad

Wednesday, May 30, 2012

roasted yellow summer squash salad

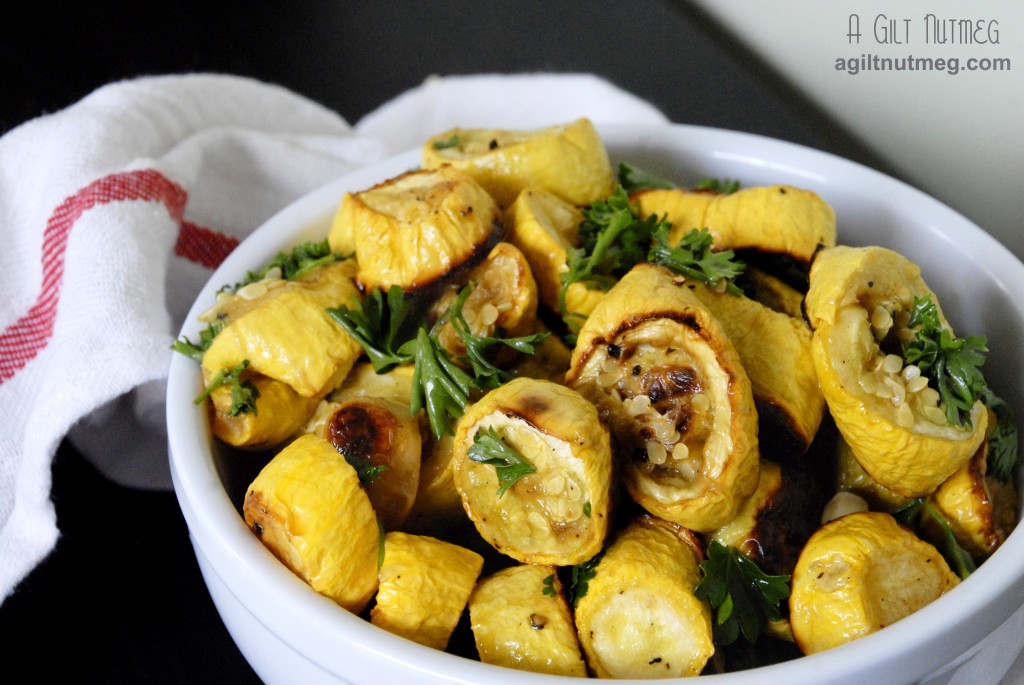
I can’t remember not liking yellow squash.  Actually, that’s only partially true-I’m sorry, Mom & assorted other relatives, I never liked Squash Casserole, but that’s mostly because of the onions.  Other than that, you can happily feed me yellow squash any way you can: grilled, fried, sauteed, stir fried, roasted, baked in this awesome vegetable lasagna I made this weekend…the possibilities are endless.  When you want yellow squash fast and portable, this is the recipe you should turn to; I made it for a picnic and it was fantastic both warm (I snuck some out of the oven) and cooled after being transported in the picnic basket.  Full of roasted squash flavor, the parsley and lemon bring out fresh acidic flavor notes and the olive oil deepens the flavor profile.  This was the easiest dish I made for that entire picnic, so don’t hesitate to give it a try!

Roasted Yellow Squash Salad
Adapted from Martha Stewart
Serves 4-5

  • 5 lbs yellow squash, sliced into 3/4″ - 1″ thick rounds
  • 6 cloves garlic
  • 3 tablespoons olive oil
  • coarse salt and pepper
  • 1 large handful of fresh parsley (either flat-leaf or curly-leaf fine)
  • freshly squeezed juice from one large lemon
  1. Heat oven to 475 degrees and line one or two rimmed baking sheets with tin foil.
  2. In a large mixing bowl, combine the sliced yellow squash, garlic cloves, 2 tablespoons of olive oil, and salt and pepper and mix with your hands until the squash is thoroughly coated in the oil and seasonings.
  3. Spread out the seasoned squash in an even layer on the baking sheets and bake for 45 minutes to an hour until the squash is nicely browned (be sure to check underneath-my squash were almost too dark on the bottom and I wouldn’t have realized it because the top wasn’t even close to that brown).
  4. Pull the baking sheets out of the oven and let the squash cool on the sheets.
  5. Move the squash back into that big mixing bowl, add the last tablespoon of olive oil, the parsley and lemon juice and toss to coat.  Add extra salt and pepper if you think necessary.
  6. Serve warm, room temperature, or cold from the fridge, it’s up to you, because it will be delicious either way!  Enjoy!

Mixed Greens with Goat Cheese and Pomegranate Vinaigrette

Monday, November 21, 2011

When faced with the decision of what to choose for Project Pastry Queen the week of Thanksgiving, I knew I had to keep it light.  I don’t think any of us wanted a) to spend more time in the kitchen this week than we had to before Thursday and b) to have a giant cake lying around the house to have to finish before the biggest food day of the year.  I have to admit: this recipe is very very loosely based on the recipe I was supposed to present to you for Project Pastry Queen this week.  In fact, for the actual recipe, I’m going to direct you over to the other Emily on Project Pastry Queen for the recipe found in the book.

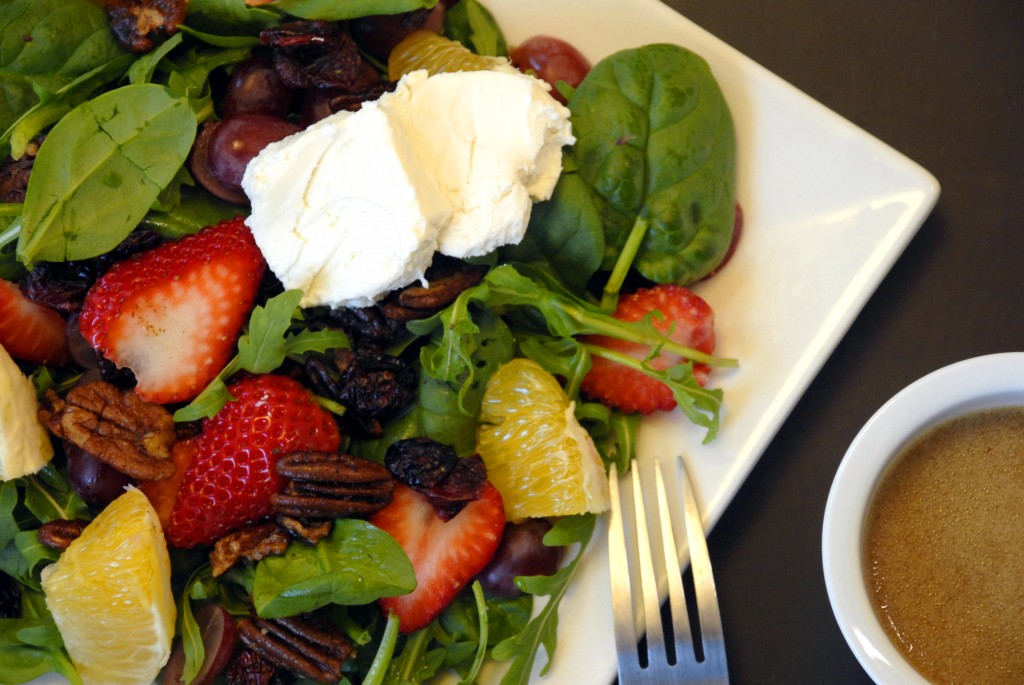
Because this PPQ recipe used goat cheese, it reminded me of the first salad that got me liking goat cheese and then I got an intense craving for that salad so this recipe is actually inspired by my favorite salad at the Corner Bakery.  Since I’ve never purchased goat cheese for myself, I found myself standing in front of the goat cheese at Trader Joe’s for quite a long time before settling on a package of goat cheese with honey.  I’m pleased to say I really liked it!  There are a lot of other delicious add-ins to the salad as well, including Pastry Queen’s spiced pecans, and hands-down the easiest vinaigrette recipe I’ve ever found; a pomegranate vinaigrette.  A great refreshing salad, perfect to counteract those calories that you’re going to be consuming later this week!

Mixed Greens with Goat Cheese and Pomegranate Vinaigrette
Spiced Nuts from Project Pastry Queen
Pomegranate Vinaigrette adapted from Robin Miller

  • arugula
  • spinach
  • orange slices
  • strawberries, sliced
  • dried cranberries
  • grapes, halved
  • goat cheese

Spiced Pecans

  • 1 1/2 cups pecan halves
  • 3 tablespoons butter
  • 1/2 teaspoon cumin
  • 1/4 teaspoon cayenne
  • 1/4 teaspoon salt

Pomegranate Vinaigrette

  • 1/2 cup 100% pomegranate juice
  • 2 tablespoons champagne vinegar
  • 2 tablespoons olive oil
  • 2 teaspoons Dijon mustard
  1. Heat oven to 350 degrees.
  2. Melt butter in a small saucepan, stir in cumin, cayenne, and salt.
  3. Pour butter mixture over the pecans in a bowl and mix until pecans are evenly coated.
  4. Spread pecans in an even layer on a baking sheet and bake for 5-7 minutes.
  5. Take out and set aside; let cool for 15 minutes before putting on salad.
  6. Put all vinaigrette ingredients into an well-sealed container and shake vigorously until well combined.
  7. Toss equal parts spinach and arugula in the vinaigrette, top with orange slices, grapes, strawberries, cranberries, spiced nuts and rounds of goat cheese.  Enjoy!

Taco Salad

Monday, October 24, 2011

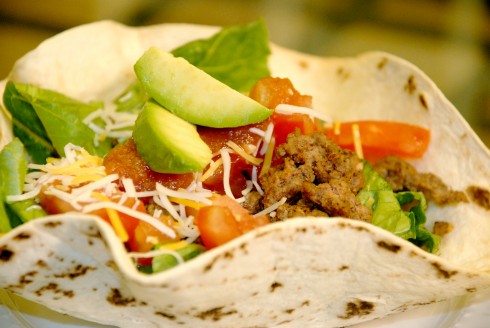
And thus another week begins which means another recipe for Project Pastry Queen!  This week Amanda chose Ground Beef Gorditas and, as you can probably tell from the picture above, I didn’t have the time to a) find masa dough and b) pan fry and then also deep fry the gorditas.  It did give me the chance, however, to try a new little technique for taco shell bowls that I’d been wanting to try that involved healthier baking instead of deep-frying.
I remember once standing in the middle of the grocery store having a minor disagreement with The Boyfriend: I had grown up with packaged taco seasoning and wanted to buy some for the tacos we were having that night; he insisted that I could probably make seasoning myself that was better tasting and, likely healthier, since it wouldn’t have all the sodium and other random chemicals found in that stuff.  I appreciate his confidence in me, but at that point in time I was sure nothing I attempted to create was going to taste as good as what I was familiar with.  I’ve since become more confident in myself as a cook, and this recipe was just the one I needed to figure out exactly what was needed in good taco meat seasoning (and I even added a little to it myself!).  Since I was making more of a taco salad, I left the tomato sauce out of the meat recipe-there’s nothing worse than soupy salad, but other than that, I think this is a winner for taco seasoning and I’m pleased to say that I won’t be buying the packaged kind ever again!

Taco Salad
Adapted from The Pastry Queen
Serves 2-3

  • 1 lb lean ground beef
  • 1 tablespoon finely chopped yellow onion
  • 3 cloves of garlic, minced
  • 1/2 teaspoon salt
  • 1/2 teaspoon ground cumin
  • 1/2 teaspoon chili powder
  • 1/2 teaspoon fresh ground pepper
  • 1 tablespoon hot sauce
  • 1 medium sized flour tortilla per person (I used Mission brand “Homestyle” tortillas)
  • 1 head romaine lettuce
  • 1 chopped tomato
  • shredded cheese
  • salsa
  • 1 sliced avocado
  • any other toppings you usually enjoy (sour cream, olives, queso fresco, etc etc)
  1. Preheat oven to 350 degrees
  2. In a large skillet, saute the beef and onion until browned, approx 10 minutes
  3. In the meantime, brush tortillas with water and microwave in a stack for 1 minute.  Drape each tortilla over an upside-down oven-safe cereal bowl and press it so that it molds to the shape of the bowl.  Place bowls on a baking sheet and bake in oven for 10 minutes, until stiff.  Pull sheet out of oven, let cool for a few minutes, then take the molded tortillas off the bowls and let the inside dry out for a few minutes.
  4. Drain off the fat from the ground beef, then add the garlic, salt, cumin, chili powder, pepper, and hot sauce to the beef, cook for another 5 minutes.
  5. Assemble the taco salad by first putting lettuce into the tortilla bowl, then topping with meat and other toppings of your choice.  Enjoy!

Caesar Salad Pizzas

Monday, September 26, 2011

caesar salad pizza

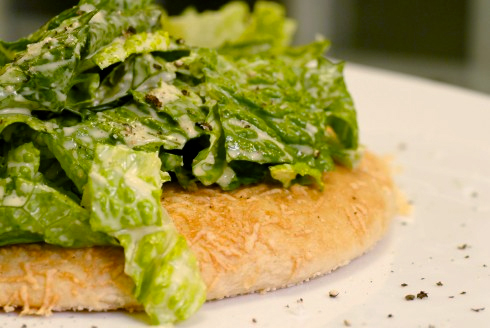
I’ve been looking forward to this recipe ever since I first opened the Pastry Queen cookbook, so I knew that it would be a winner-Caesar salad, is my favorite after all.  I’ve attempted to make salad dressing myself before and, while it ended up okay, I wasn’t going to stop buying my favorite dressing (Annie’s Lite Herb Balsamic, if you were curious) in favor of my own.  I know now that whenever I need a Caesar dressing, it will without a doubt be homemade!  I thought the dressing was fantastic and, for the first time, I got to use the little drip hole tube in my food processor specifically for making salad dressing (I kept screeching at the Boyfriend to come watch this miracle tool in action).  I’m a bit of a Caesar salad purist, so I left off the tomatoes Rebecca suggests and, of course, the pizza crust was more than enough to substitute for croutons.  In a bit of a Southerner moment, I realized I had no coarse cornmeal in my kitchen and substituted grits instead, which worked fine.

The crust is good, if not a little thick for the amount of salad and I think going forward I would enjoy making a big salad and a half recipe of crust to cut up for breadsticks to accompany.  In the end, though, a great dinner!

As always, you can find my fellow Pastry Queen-ers versions of the recipe here; be sure to check them out!

Caesar Salad Pizzas
Yields four 8″ pizzas
Adapted from The Pastry Queen by Rebecca Rathers

Crust

  • 1 1/2 cups lukewarm water (110 degrees)
  • 2 oz active dry yeast (what’s usually available at the store is a strip of 1/4 oz packets)
  • 2 tablespoons olive oil, plus additional for brushing on crusts
  • 2 teaspoons honey
  • 4 to 5 cups all purpose flour
  • 1 teaspoon sea salt
  • 1/2 teaspoon crushed red pepper flakes
  • 1/4 cup coarse cornmeal
  • 1 cup freshly shredded Parmesan cheese

Dressing

  • 2 cloves garlic
  • 2 large eggs, beaten (or 1/2 cup pasteurized egg product)
  • 1/2 cup freshly squeezed lemon juice
  • 2 teaspoons Worcestershire sauce
  • 2 teaspoons Dijon mustard
  • 1 cup extra virgin olive oil
  • 1 cup freshly shredded Parmesan cheese
  • salt and freshly ground pepper
  • 1 large head romaine lettuce, chopped
  • Freshly shaved Parmesan cheese
  1. Combine the lukewarm water, yeast, olive oil, and honey in a large mixing bowl.  Add 3 cups of all purpose flour, salt, and crushed red pepper and stir till well combined.  Add 1 additional cup of flour to the dough and stir in until combined.
  2. Turn contents of bowl onto a floured surface and knead dough until smooth and elastic (about 10-15 turns).  Place in large oiled bowl and cover and let rest at room temperature for 30-40 minutes.
  3. Generously coat 2 baking sheets with olive oil.  Sprinkle the sheets with cornmeal.  Preheat the oven to 450 degrees.
  4. Divide the dough into quarters.  Roll each piece into a ball, place the dough balls on a clean baking sheet, cover with a damp towel and let rest for 10-15 minutes longer.
  5. Using a floured rolling pin, flatten each dough ball into an 8 inch circle.  Brush each dough round with olive oil and sprinkle each with 1 1/4 cup of cheese.  Transfer the crusts onto the prepared baking sheets and bake for 10-15 minutes until browned and crisp.
  6. While the crusts are baking, pull out the food processor and turn it on.  With it running, toss in the garlic cloves first, and once the cloves are as chopped as they can be (just a few seconds), then add the eggs, lemon juice, Worcestershire sauce and mustard.  Wait a few seconds for it to fully combine and then either pour the olive oil in a slow steady stream through the open the feed tube, or find the empty cylinder with the small hole in the bottom and fill it up with olive oil.  It will take care of the slow steady stream for you!
  7. Toss the chopped lettuce with the salad dressing while the crusts cool for just a minute or two and then top the crusts with a big pile of salad.  Sprinkle with salt and fresh ground pepper. Yum!