Entries Tagged as 'What to Do With Leftovers'

Vanilla Coconut Rice Pudding

Wednesday, April 18, 2012

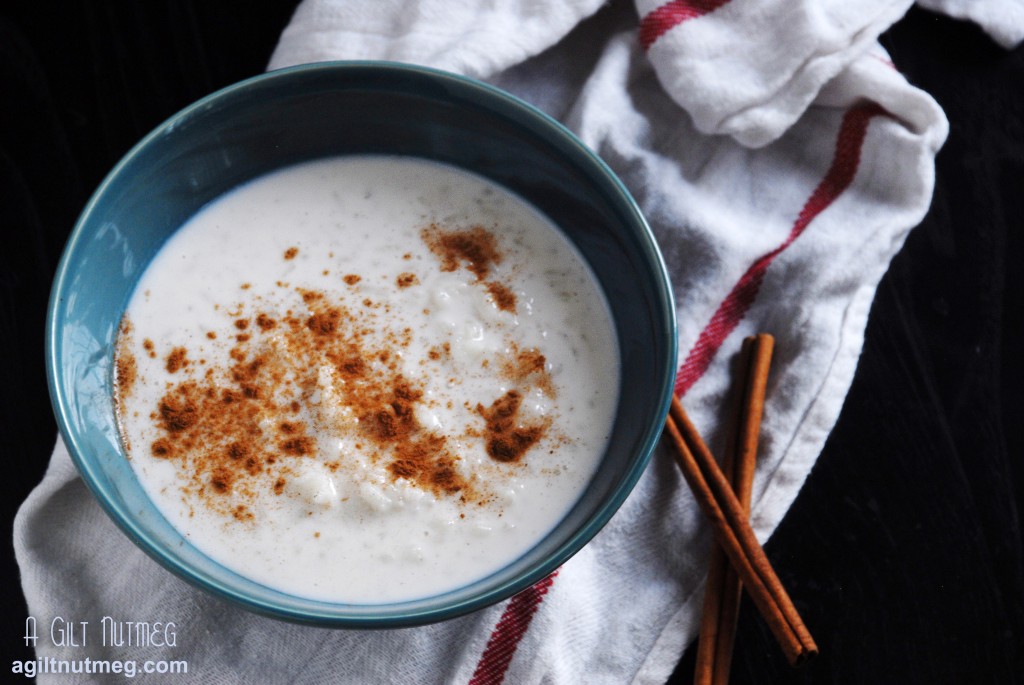
coconut rice pudding

When my sister started eating rice pudding, I was thoroughly grossed out; I couldn’t think of anything that looked more unappetizing, except maybe tapioca.  Then, a few years ago, my favorite Indian restaurant in all of Los Angeles (Anarkali, on Melrose, for those locals reading) set a little dish of rice pudding in front of me as a little complimentary sweet to end the meal with and my whole view on rice pudding changed.

Looking back, I can’t imagine why I would be turned off by a recipe that centers on my favorite spices and now rice pudding is by far one of my favorite desserts.  Dare I say, ice cream doesn’t even hold a candle to rice pudding for the cold, sweet, creamy comfort it provides.

This recipe is a little different from the normal rice pudding in that instead of using only milk, it also uses coconut milk for flavor.  It adds a gentle coconut flavor that pairs well with the vanilla bean but isn’t overwhelmingly “coconutty”, if you catch my drift.  Sprinkle with cinnamon for an additional twist of flavor and you may find yourself eating this for breakfast like I did because I just couldn’t wait until dessert later in the day!

Vanilla Coconut Rice Pudding
Adapted from Vanilla Garlic
Makes about 4 cups

  • 1 1/2 cups cooked cold Arborio rice (or 3/4 cup uncooked Arborio rice + 1 cup water)
  • 1 can (15 oz) light coconut milk
  • 2 cups whole milk
  • 1/3 cup sugar
  • pinch of salt
  • 1 vanilla bean, seeds scraped out for use, or 1 Tablespoon vanilla bean paste
  1. If you don’t have cooked rice lying around, which I didn’t, in a saucepan bring the water and rice to a boil, turn the heat to low and let it simmer for a few minutes, stirring until the water is completely absorbed.  The rice should be al dente-slightly crunchy in the middle, which will give your rice pudding more texture later.  Move the rice to a bowl and put in the fridge (or if you’re in a hurry like me, in the freezer) until it cools down.
  2. Combine the rice, coconut milk, whole milk, sugar, salt and vanilla in a large saucepan and cook, uncovered, on low-medium heat for 40 minutes.  If you want it a little thicker, cook the mixture for a bit longer.
  3. Let the mixture cool to almost room temperature (so you don’t heat up your fridge too much), then move to the refrigerator to finish chilling.  Serve cold with a sprinkle of cinnamon and enjoy!


Salmon Croquettes

Wednesday, April 11, 2012

salmon croquettes

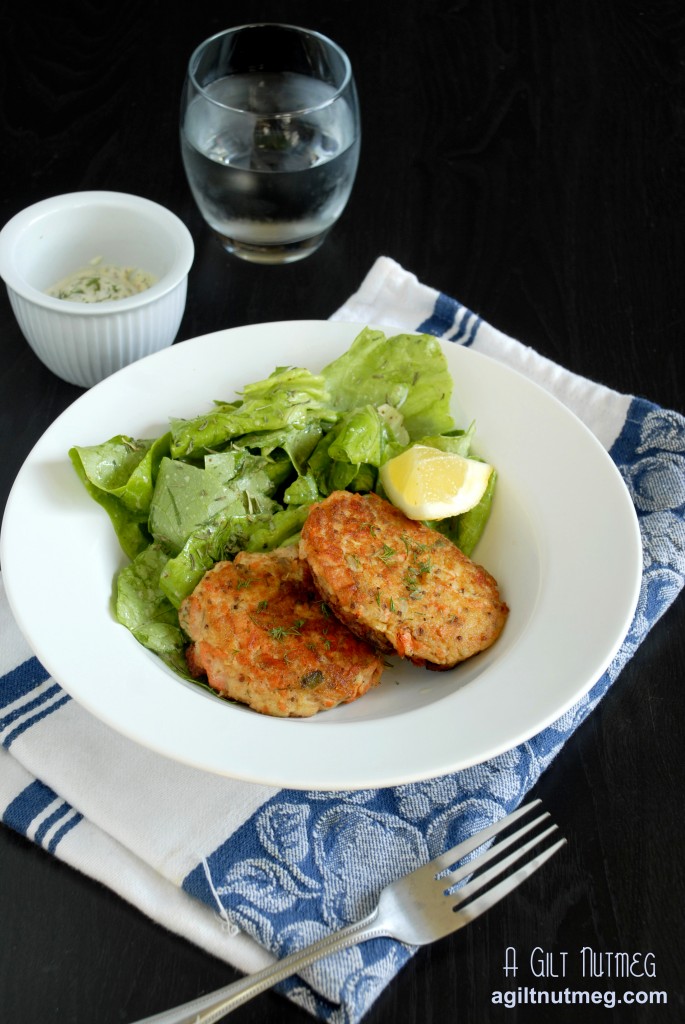
When I am making salmon for dinner, my favorite side dish to serve with it is whipped potatoes.  To me, nothing beats the soft, buttery potatoes in contrast to the flavorful, flaky fish-pair it with a simple salad and I’m in fish heaven.  While I love salmon, I’ve never been a huge fan of salmon croquettes because the binders (crackers, bread crumbs) were overbearing in flavor or unappealing in texture; the fish just always seemed to get lost.  Imagine my delight when I found this recipe for salmon croquettes that used mashed potatoes as a binder!

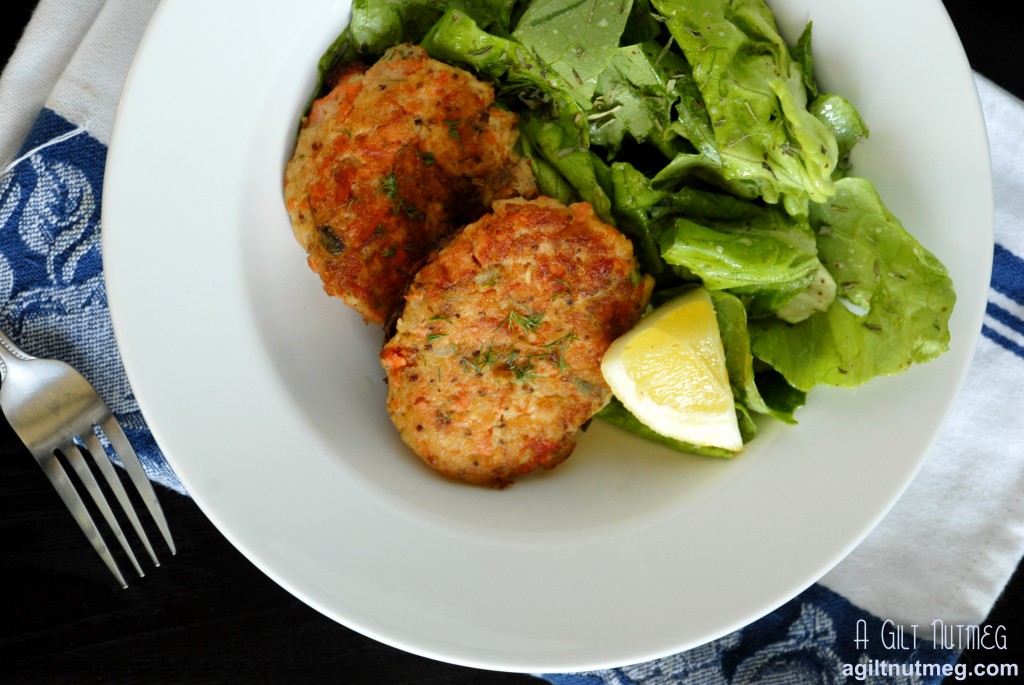
The texture is certainly a bit more delicate than your average croquette, but these croquettes put me right up there in fish heaven again and I’m so glad I’ve found this recipe.  Instead of an overwhelming breadcrumb flavor and texture, you get those wonderful mashed potatoes and flaky salmon mixed in with fresh dill, lemon zest, and scallions.  Even better, there’s a dill Dijon mayonnaise that pairs with it and, long story short, I will be happily eating these for days to come.  For those big eaters out there, I know the above picture looks like a pretty light meal, but these are surprisingly filling!


salmon croquettes


Pan Fried Salmon Croquettes
Adapted from Bon Appetit
Makes 12 medium sized cakes

  • 1/2 cup mayonnaise
  • 2 Tablespoons Dijon mustard
  • 3/4 pound salmon fillet, preferably sockeye
  • olive oil for brushing
  • 1 1/2 lbs russet potatoes, diced
  • 1 teaspoon kosher salt
  • 1 egg + 1 egg yolk, lightly beaten
  • 2 tablespoons chopped fresh dill (my secret: instead of chopping with a knife, I just use scissors and cut it over the bowl)
  • 2 scallions, thinly sliced
  • lemon zest from 1 large lemon
  • 1/2 teaspoon cayenne pepper
  • 1/2 teaspoon paprika
  • black pepper to taste
  • vegetable oil for frying
  1. Combine the mustard and mayonnaise in a small bowl.  Measure out 1/3 cup of the mixture for the croquettes and refrigerate the rest for later.
  2. Brush the fish with olive oil and bake in a 400 degree oven for about 12 minutes.  Set it aside to cool and in the meantime…
  3. Cover the diced potatoes with water, sprinkle some salt in, and boil until tender.  Drain the potatoes and let cool; mash them or use a stick blender until smooth.  (When I used the stick blender they got a little sticky and gummy, but I figured this was fine considering they were being used as fish glue).
  4. Remove the skin and any bones from the fish, move it to a medium bowl and using two forks, flake it into large pieces.
  5. In a large bowl, combine the mashed potatoes, salt, egg, dill, scallions, lemon zest, cayenne pepper, paprika and black pepper.
  6. Fold the Dijon mayonnaise mixture and salmon into the mashed potatoes mixture until thoroughly combined.
  7. Line a baking sheet with parchment paper or waxed paper.  Spoon (I used an ice cream scoop and it worked perfectly) the mixture into 12 even portions onto the prepared baking sheet, cover loosely with plastic wrap and put the sheet into the fridge.  You want to leave them in the fridge for at least an hour; I fried up a few for dinner that night and left the rest in the fridge overnight and they were great for dinner the next night, so prepping all of this the night before will mean a super fast dinner the next night.
  8. Heat a few tablespoons of vegetable oil in a large pan and add 3-4 cakes, flattening or shaping them into rounds as necessary (err on the side of more oil rather than less, as I found that the cakes stuck to the pan a bit when I used less oil).  Fry until golden brown on each side, about 3 minutes on each side.  I put the lid on the pan while I waited, to cut down on grease splatter and ensure that the cakes were hot enough to fully cook through.
  9. When ready to serve, add about a Tablespoon of lemon juice (I just squeeze a quarter of a lemon in that I had lying around) and any left over fresh dill to taste to the Dijon mayo sauce and serve the cakes with a lightly dressed salad.  Enjoy!

Up next to try: freezing the patties for a super quick dinner down the line and seeing how these turn out if I were to bake them instead of fry them.  Trust me, it won’t take long for me to get around to these again!

Risotto Cakes

Wednesday, June 1, 2011

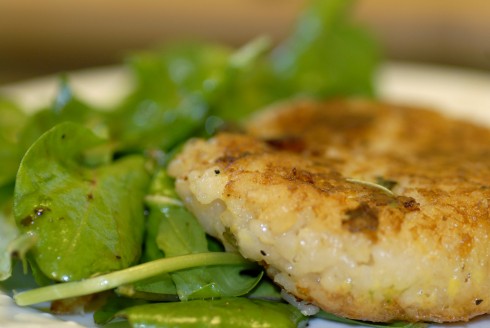
So while I don’t want to post recipes that are too similar, or worse, too similar AND too soon after one another, I’ve got to share this recipe so that you can use up the risotto leftovers from the awesome recipe last week.  These couldn’t be simpler to make and that’s coming from a girl who (despite her Southern roots) is actually pretty scared of frying things.  Bonus:  You likely won’t even have to buy any ingredients so figuring out what to do with leftovers is a no-brainer.

Risotto Cakes
Recipe adapted from Cooks Illustrated
makes 2 cakes (1 cake is perfect for a side dish)

Truth: Cooks‘ recipe calls for dipping these in breadcrumbs but I just wasn’t interested in using them. I prefer the texture of the fried risotto cakes without the added breadcrumb texture. If you’d like to add them, have about a 1/2 cup on hand, add them to the egg mixture, and use your fingers to press them on the cakes in an even coat.

  • 1 cup chilled risotto
    (risotto with big add ins, like seafood, isn’t such a good idea;
    the butternut squash worked perfectly as long as the cubes are small enough)

  • 1 egg
  • pinch salt
  • pinch black pepper
  • pinch cayenne pepper
  • 2 tablespoons mozzarella, cubed (Cooks also suggests fontina or provolone)
  • 1/2 cup canola oil for frying
  1. Mix egg, salt, pepper, and cayenne pepper in a bowl
  2. Take a 1/2 cup of risotto in your hand, arrange 1 tbsp of the cubed cheese in the center (I prefer a little less than a full tbsp) and form the risotto into a cake around the cheese-aim for about 3 inches across and 1 inch thick.  Don’t let any cheese show through the risotto. Repeat process to form second cake.
  3. Dip cakes in the egg mixture, let excess drip off and leave on a plate while you complete the next step
  4. Pour oil about 1/4 - 1/2 inch deep into an pan just big enough for the cakes to fit in and heat until shimmering (but not smoking, about 2 minutes)
  5. With a spatula, gently lower the cakes into the oil, about 3 minutes per side.  I found that grabbing a second spatula helped in flipping the cakes over so I didn’t splash hot grease
  6. When golden brown on each side, take the cakes out and place them on a paper towel lined plate

Just to reiterate, this is easy and not as scary as it seems-and most importantly, it’s a great way to make leftovers seem new again.