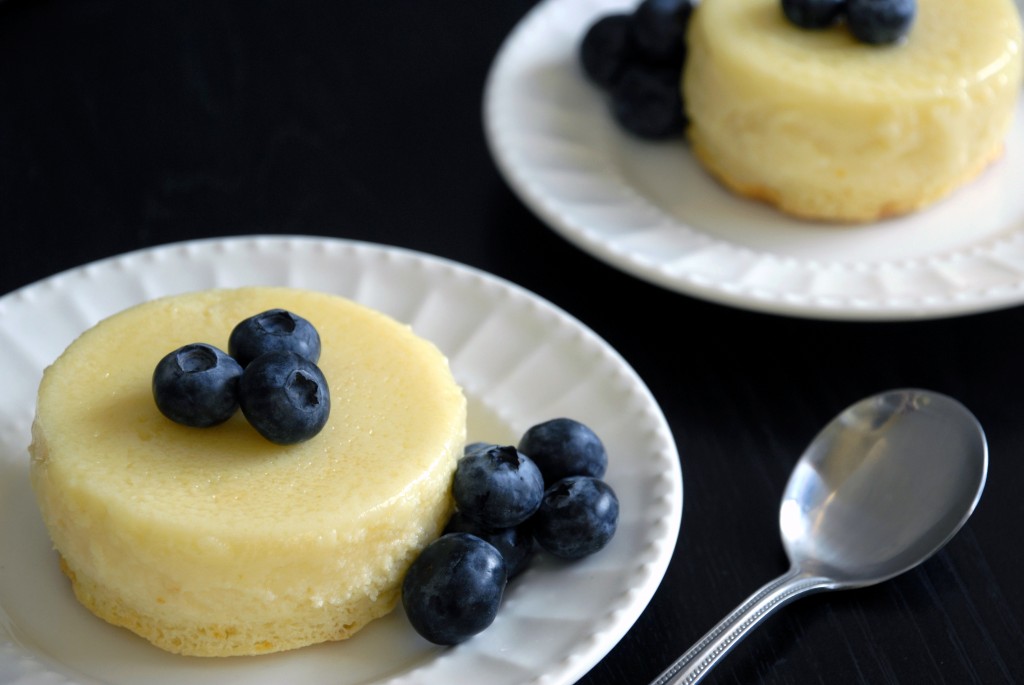
With Valentine’s Day on Tuesday, the internet has been flooded with all things either Red Velvet or triple rich chocolate. Allegedly, before kissing their loved one, people would like for their tongues to be stained red or brown. Being a fan of neither red velvet OR triple rich chocolate (or having my tongue stained weird colors before planting a kiss on The Boyfriend for that matter), I’m posting what will hopefully be an easy yet elegant alternative to the traditional V-day desserts.
I truly love these little desserts: they’re light sponge cake and smooth custard all in one; they’re a delicious light lemon flavor and made with ingredients you likely already have at home except perhaps the lemon. I want to say the only thing they don’t have going for them is that they have to chill for a few hours after you bake them so it’s not the fastest dessert, but truthfully that’s a good thing, because it means that, instead of rushing around to finish making dessert after your fancy dinner, you’ve got dessert already waiting in the fridge for you to enjoy. You can calmly pull it out, plate it and present it, which really gives you points in the “I’m Martha Stewart in the kitchen” department.
Lemon Spongette Cakes
Makes 4 small cakes
Adapted from The Kitchn
- 2 eggs, yolks and whites separated
- 3/4 cup whole milk
- 1 1/2 tablespoons unsalted butter, softened
- 1/2 cup sugar
- 2 tablespoons flour
- juice of 1/2 of one lemon (about 1 1/4 tablespoons)
- zest of 1/2 of one large lemon
- pinch of salt
- Heat the oven to 350 degrees and spray 4 ramekins (approx 6 oz and/or 3″ wide) with non-stick spray.
- In a small metal bowl, beat the egg whites on low first for about a minute, then on high until stiff peaks form and set aside to use later.
- In another small bowl (or as I did, just straight in the big glass measuring cup the milk was in), add the egg yolks to the milk and beat with a fork until combined.
- In a large bowl, beat the butter and sugar together. Normally these would turn into a creamy smooth mixture, but that won’t happen this time since there’s so little butter. Beat for 2-3 minutes so that the mixture is good and combined.
- Add the flour, lemon zest, lemon juice and salt to the butter-sugar mixture and mix until thoroughly combined.
- Pour the milk-egg yolk mixture into the butter-sugar-lemon mixture and beat until well combined.
- Fold the egg whites into the lemon batter. Normally I would say “gently” fold the egg whites in, but I had to be a little less than gentle this time since the egg whites didn’t really want to incorporate well. Instead, they just sort of broke up into little pieces and floated on top of the very liquid batter. Do the best you can, being a little rougher than normal folding them in until the bits floating on top are pea sized or smaller.
- Using a measuring cup, scoop the batter out of the bowl and pour it evenly divided into the 4 prepared ramekins (by dipping with a measuring cup instead of just pouring out of the bowl, it ensures you get an equal batter-floating egg whites ratio).
- Place the ramekins into a large roasting pan and fill the pan with water about 1/2 way up the sides of the ramekins.
- Put the roasting pan of water and ramekins into the oven and bake for 40-45 minutes. Instead of turning an even golden brown, mine started to turn dark brown in spots after about 35 minutes so I laid a sheet of tin foil over the top so they wouldn’t burn for the last 5-10 minutes of baking.
- The tops should feel a little stiff when you poke them. After the cakes are done, pull them out of the oven and take them out of the water bath, leaving them to cool on a wire rack for 10 minutes or so.
- Move the ramekins to the refrigerator for 1-2 hours.
- When ready to serve, run a knife along the inside edge of the ramekin and flip the ramekin over. The cake won’t just fall out-with the ramekin still upside down, I gently twisted the cake around back and forth a few times and it released from the ramekin.
- Place the dessert, cake side down on the plate, pudding side up. Garnish with fruit and powdered sugar and enjoy!


0 comments :