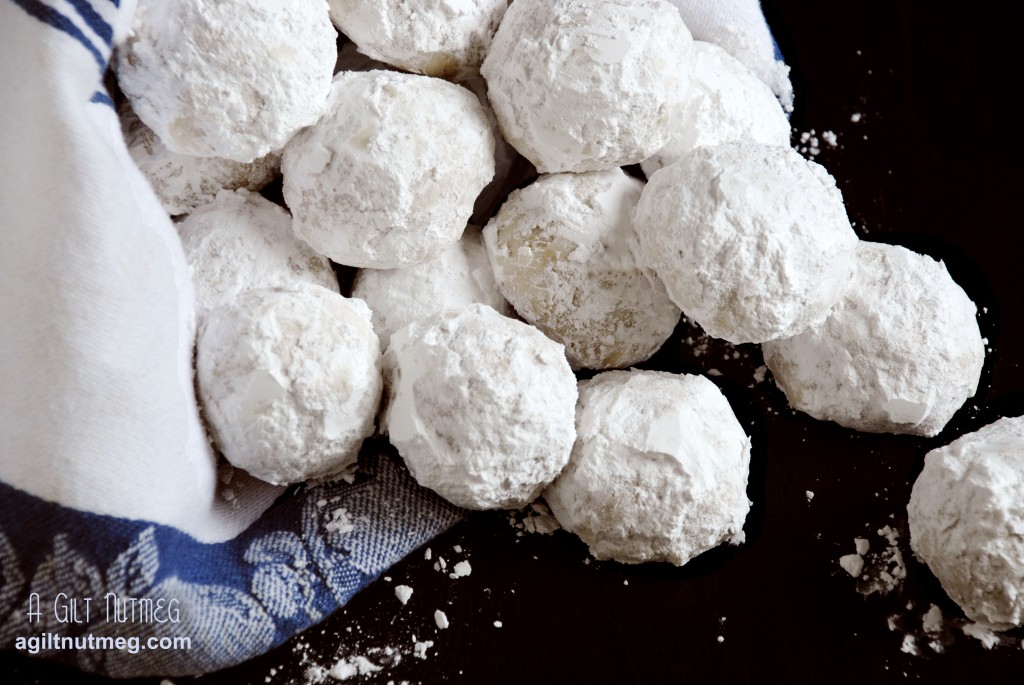
At the office, since Cinco de Mayo fell on a Saturday, we had a little Ocho de Mayo celebration yesterday instead. In trying to decide what to bring, the idea of Mexican Wedding Cookies floated into my head and then that idea stuck and wouldn’t let go and then there was just no turning back because I love these cookies and couldn’t bear not to make them at this point! And then last night, after our celebration, I had to tell The Boyfriend that there was good news and there was bad news: The good news is that I saved a cookie for him. The bad news was that I ate ALL THE REST of the leftover cookies. Oops.
These cookies are satisfyingly crunchy and surprisingly flavorful, but you do have to eat them over the sink unless you’re okay with powdered sugar going EVERYWHERE. It’s worth it, in my opinion. They’re some of my favorites!
Mexican Wedding Cookies
Adapted from Williams-Sonoma
Makes between 2-3 dozen
- 16 Tbs (2 sticks) unsalted butter, at room temperature
- 1/4 cup confectioners’ sugar + 1 cup confectioner’s sugar for dusting later
- 1 1/2 tsps vanilla extract
- 1/4 tsp salt
- 1 3/4 cups all-purpose flour
- 1 tsp ground cinnamon
- 1 1/2 cups blanched almonds, ground in a food processor until it looks like coarse cornmeal
- On high speed, beat the butter in a mixer until it is very light yellow and very fluffy, about 3-4 minutes.
- Reduce speed to medium and add the confectioners sugar to the butter, mixing until thoroughly incorporated, then switch the speed to low and add the vanilla and salt, again mixing until incorporated.
- With a fine sieve, sift the flour and cinnamon into the butter mixture, then mix in to batter on low speed (or else it’ll pouf all over your kitchen!).
- Add the almonds to the mixture and beat on low speed until those are mixed in.
- Cover the bowl with plastic wrap and put it in the refrigerator for 15-20 minutes. The goal is to chill the dough so that it is firm and no longer sticky, but not yet hard.
- Heat the oven to 350 degrees while the dough is chilling.
- Line a cookie sheet with parchment paper and scoop up chilled dough in balls approximately 1″ or 1 1/2″ wide and roll them in your palms to make the balls smooth. The bigger the cookie, the fewer you’ll have and vice versa. My cookies were about 1 1/2″ wide and I ended up with about 30 cookies.
- Place the cookies in rows, about 1-2″ apart and bake for 12-15 minutes. The cookies will not look done on top (they’ll stay white), but you can roll one or two over to look at the bottoms-they should be starting to turn golden brown. The cookies will also be almost firm if you poke one, but I find that the brown color underneath is the best indicator of doneness.
- Let the cookies cool on a wire rack for 15 minutes and in the meantime add that extra 1 cup of confectioner’s sugar to a bowl.
- When the cookies have cooled for a little while, roll them in the powdered sugar and put them back on the racks. The powdered sugar on the cookies will get a little sticky, but let the cookies cool some more and roll them again. Set them back on the racks and wait a few hours before giving the cookies their final roll in the sugar. You want them good and coated!
- Store in an airtight container and enjoy! (over a plate or the sink or a napkin, that is)


0 comments :