Entries from July 30th, 2012

Chewy Coconut-Lime Sugar Cookies

Monday, July 30, 2012

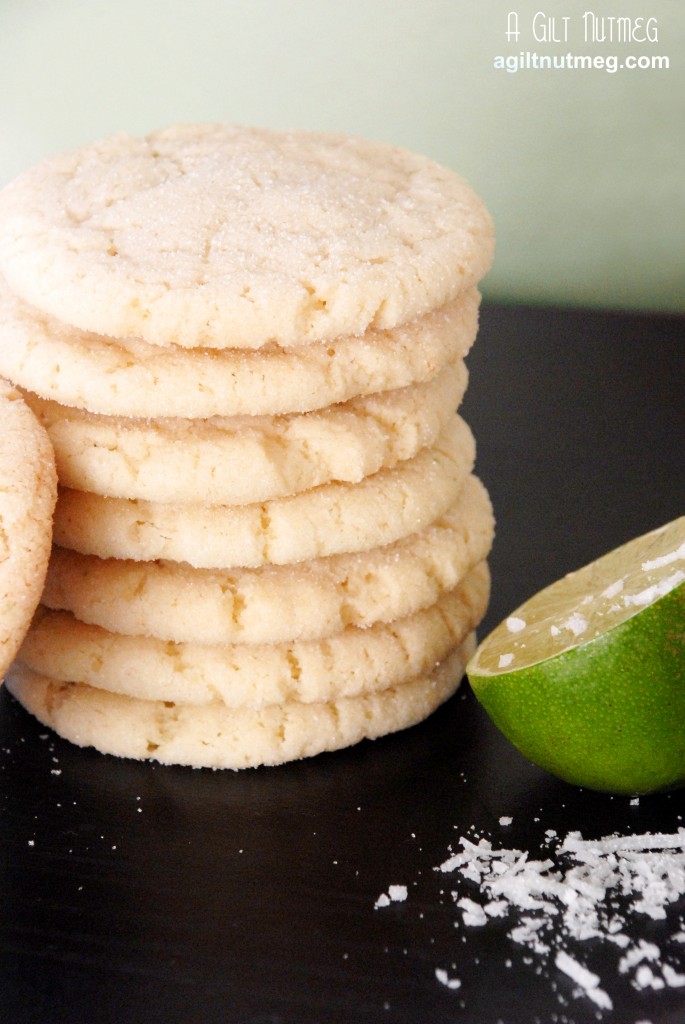
chewy coconut lime sugar cookies

The more us bloggers explore new recipes, its more likely than not that we’ll find a new basic recipe that dethrones our favorite.  Whether it’s chocolate cake or a standard frosting recipe, we love finding those little tweaks that someone discovered to make those every day recipes something outstanding.  This is not one of those cases.  Cooks Illustrated hands down has the best sugar cookie recipe I have ever found and no one has ever come close in comparison.  Luckily, Cooks has a ton of great variations on the flavor, so I’m never tired of them.

You may remember the Chai-Spiced Sugar Cookies, one of my early blog posts.  While those can’t be beat on a cold winter’s night, I think I may be also reaching for these for that instant taste of summer.  They’ve got a great subtle tropical flavor—you’re definitely not hit over the head with the taste of sunscreen, yet somehow they still seem to transport you to a beach and a fruity drink with an umbrella in it.

Chewy Coconut-Lime Sugar Cookies
Barely adapted from Cooks Illustrated
Makes approximately 3 dozen

  • 2 1/4 cups unbleached all-purpose flour
  • 1/2 tsp baking soda
  • 1 tsp baking powder
  • 1/2 tsp table salt
  • 1 1/2 cups sugar, plus 1/3 cup for rolling
  • 2 ounces cream cheese, cut into 8 pieces
  • 1/2 cup sweetened shredded coconut, chopped fine
  • 1 tsp finely grated lime zest
  • 6 Tbs (3/4 stick) unsalted butter, melted and still warm
  • 1/3 cup vegetable oil
  • 1 large egg
  • 1 Tbs milk
  • 1 Tbs lime juice
  1. Heat oven to 350 degrees and line 2 cookies sheets with parchment paper.
  2. In a medium bowl, whisk together the flour, baking powder, baking soda, coconut and salt and set aside.
  3. In a large bowl, add the 1 ½ cups of sugar, cream cheese and lime zest.  Pour the warm butter over the mixture and whisk together until more or less smooth.
  4. Whisk in oil until fully incorporated, then whisk in the egg, milk and lime juice also until fully incorporated.
  5. Add the flour mixture to the large bowl and mix thoroughly.
  6. Put the last 1/3 cup of sugar into a cereal bowl and set up your little station on a large table—sugar bowl, a drinking glass, the cookie dough and the prepared baking sheets.  Scooping up golf ball sized balls of dough, lightly roll them into a ball shape, roll them in the sugar until fully coated, then place on sheets 2” apart.  When you have a full sheet, take the drinking glass and lightly press the balls until they’re 2” wide.  They’ll still be at least a half inch thick.  Sprinkle additional sugar over each flattened dough ball.
  7. Bake one sheet at a time for 13-15 minutes until the edges are just starting to brown (the cookies will look very pale overall).  Cool them on the baking sheets at least 5 minutes, then move them to a wire cooling rack.
  8. Enjoy with milk or your favorite fruity tropical drink!

Plum Blueberry Upside Down Cake

Wednesday, July 25, 2012

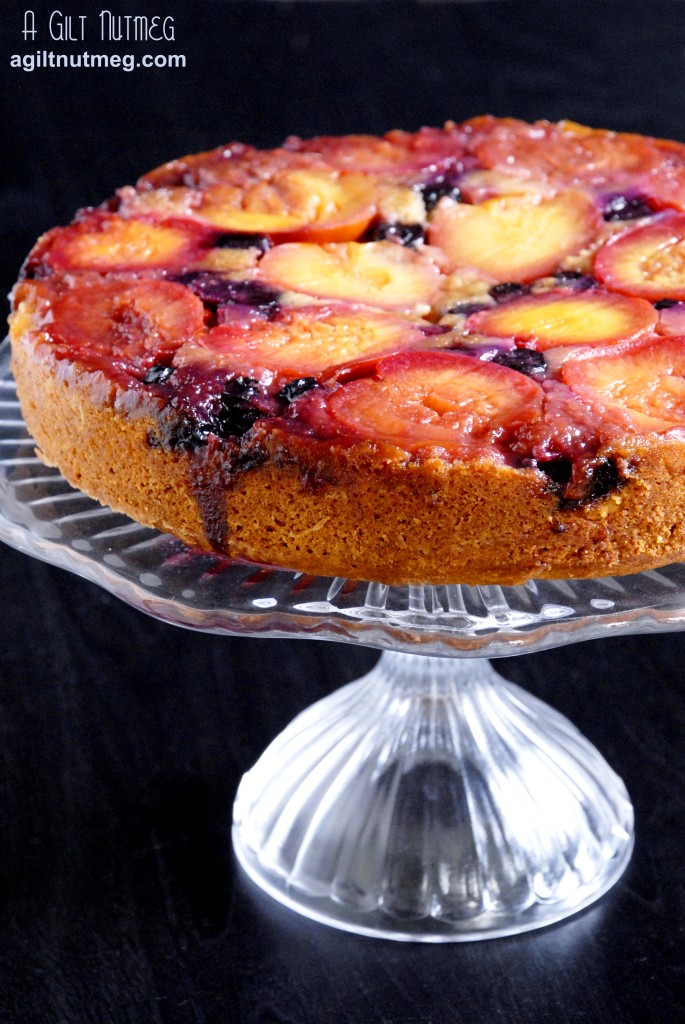
plum blueberry upside down cake

My CSA box came this week with a bag of plums.  I do like plums but they’re not my favorite to eat by themselves, so I started trying to figure out ways to utilize them.  I made Plum Butter last summer, but wanted to try something new.  The box also had some blueberries, so when I found a recipe for spiced plum and raspberry cake, my mind immediately turned to those blueberries.

The cake was such a hit at the office that I didn’t even get a chance to try it, but I’ll take that as a sign that it was great!

Plum Blueberry Upside Down Cake
Adapted from Martha Stewart Living, Sept 2001

  • 10 Tbsps unsalted butter, room temperature, divided into 2 Tbsp and 8 Tbsp
  • 1/3 cup packed light-brown sugar
  • 6-8 medium red plums, halved and pitted
  • 1/4 cup blueberries
  • 1 1/2 cups all-purpose flour
  • 1 tsp ground cinnamon
  • 3/4 tsp baking powder
  • 1/4 tsp baking soda
  • 1/4 tsp salt
  • 1/4 tsp grated nutmeg
  • 3/4 cup granulated sugar
  • 1 tsp pure vanilla extract
  • 3 large egg yolks
  • 1/2 cup sour cream
  1. Heat oven to 375 degrees.  Spray a 9″ springform pan with non-stick baking spray and line the bottom with a round of parchment paper.
  2. In a small saucepan, melt and whisk the brown sugar and 2 Tbsp of butter together over low heat until melted and thoroughly mixed.  Pour the mixture into the springform pan and use a spoon or spatula to spread the mixture relatively evenly over the bottom of the pan (don’t worry about being too neat or covering every inch of the pan).
  3. Place the plums, cut flat side down facing the bottom of the pan, evenly spaced within the pan and fill in the spaces between the plums with the blueberries.
  4. In a medium bowl, whisk together the flour, cinnamon, baking powder & soda, salt and nutmeg and set aside.
  5. With an electric mixer, beat together the rest of the butter (8 Tbsp) with the granulated sugar for 5 minutes, until light and fluffy.
  6. Beat the vanilla extract in as well as the egg yolks, one at a time.
  7. Mix in half of the flour mixture, then mix in the sour cream, then the rest of the flour mixture until just incorporated.
  8. Gently spread the batter in the pan over the plums and blueberries, being careful not to move them around too much.
  9. Lay a square of tin foil onto a cookie sheet and place the springform pan on top of the foil, to catch drips.
  10. Bake for about 60 minutes, until golden brown on top and an inserted tester comes out clean.
  11. Let cool for one hour on a wire cooling rack, then invert onto a plate and remove the springform pan and parchment paper from the top of the cake.  Serve with ice cream or whipped cream and enjoy!

Strawberries with Honey-Vanilla Creme Anglaise

Monday, July 23, 2012

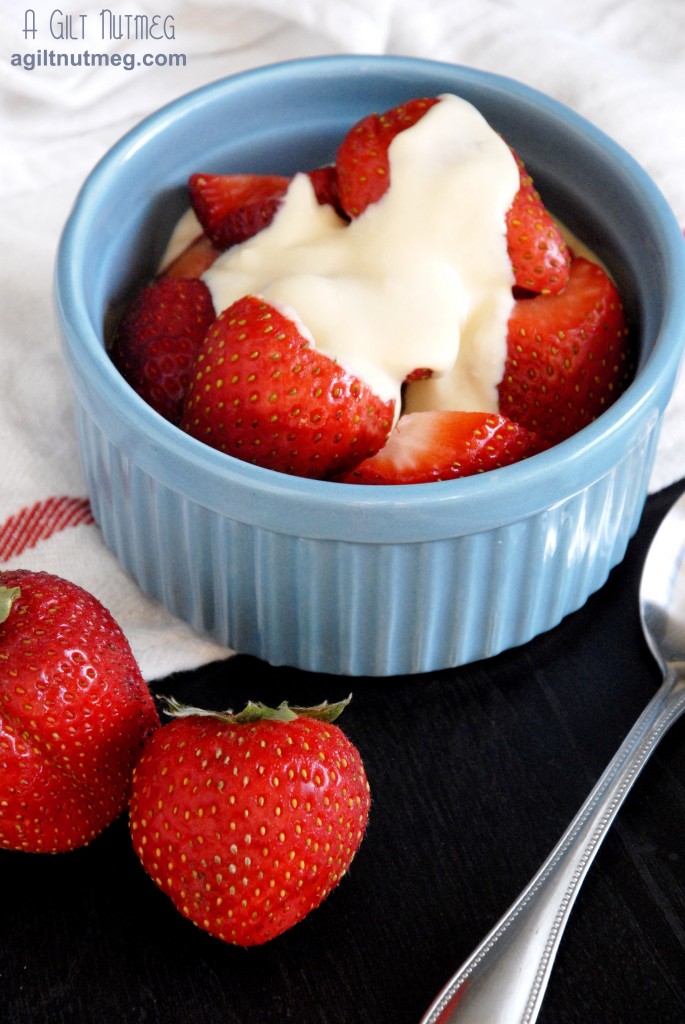
strawberries with honey vanilla creme anglais

Last summer I posted a recipe for Roasted Peaches with Oatmeal Streusel and Vanilla Bean Creme Anglaise.  While the picture definitely leaves something to be desired (it’s MUCH more tasty than it looks in that photo), that creme Anglaise pretty much changed my life.  I never knew such vanilla-packed creaminess could come out of my kitchen.  Now that summer fruits and berries are back with a vengeance, I knew the creme would be making an appearance again, but I wasn’t sure when until I saw Not Without Salt’s honey variation a few weeks ago.  She posted the recipe on July 3 and by the next morning I was serving it for 4th of July brunch.

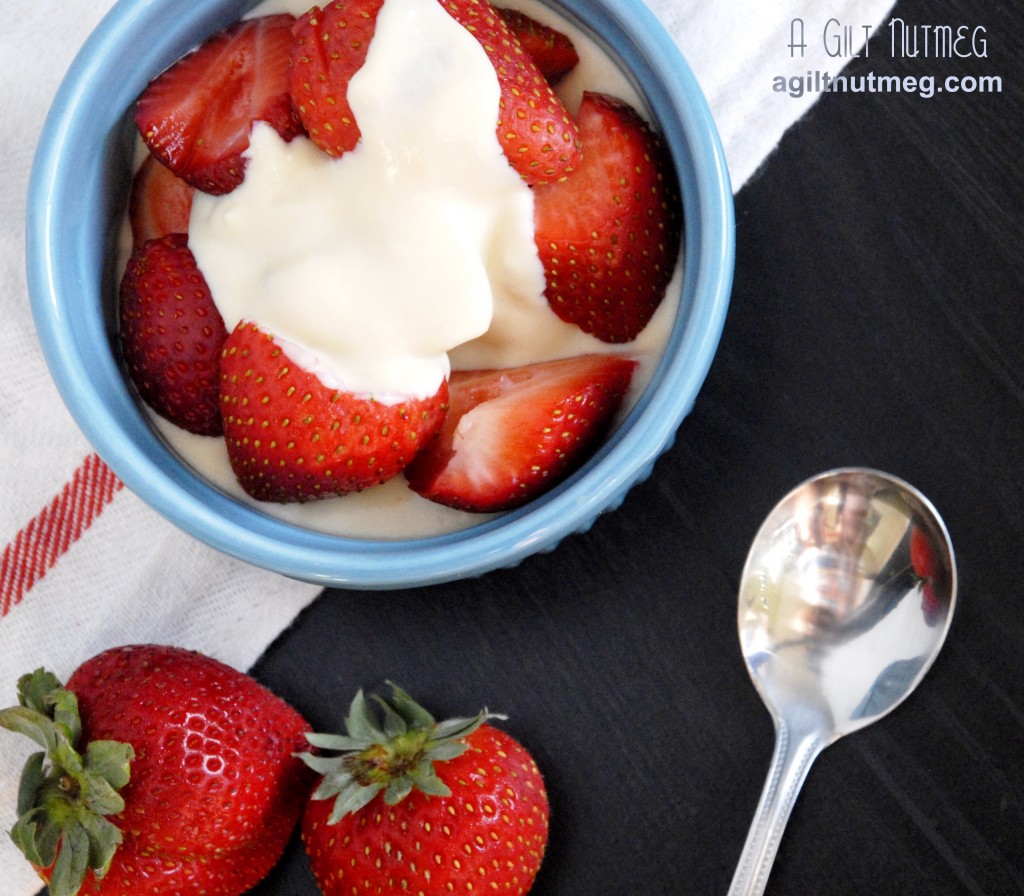
strawberries with honey vanilla creme anglais - overhead

While I loved the intense vanilla flavor of the first creme Anglaise I made, this version has overtones of honey that lend a very interesting depth to the creme.  It elevated what were already perfect summer strawberries to a whole new level.  Best of all, you can absolutely make this easy sauce ahead of time and all you have to do later to serve it is slice up some strawberries.

Honey-Vanilla Creme Anglaise
Adapted from Not Without Salt

  • 1 ½ cups heavy cream
  • ½ cup whole milk
  • 1 1/2 Tablespoons vanilla bean paste or extract
  • pinch of salt
  • ¼ cup honey
  • 4 egg yolks
  1. In a medium saucepan, stir together the cream, milk and vanilla.  Bring the mixture to a simmer and then let rest for 15 minutes.
  2. In a separate medium sized bowl, whisk together the salt, honey and egg yolks until thoroughly combined.
  3. Bring the cream-milk mixture back to a simmer.
  4. Slowly drizzle the warmed milk mixture into the honey-yolk mixture, whisking constantly as you go.
  5. Pour the contents of the bowl back into the saucepan and heat slowly to 175 degrees.  You’ll know it’s ready when the mixture coats the back of your wooden spoon.
  6. Using a fine mesh strainer over a clean medium mixing bowl, strain the mixture.
  7. Gently press a piece of plastic wrap over the surface of the creme Anglaise and refrigerate it for at least half an hour.  It will thicken and cool while in there.  (Not Without Salt suggests you can eat it warm, but my favorite is cold)
  8. When ready to serve over fruit, pour a little into the serving bowl first, then add the berries, then top with more creme.  Enjoy for brunch, dessert, whenever!

Pineapple Coconut Cobbler

Friday, July 20, 2012

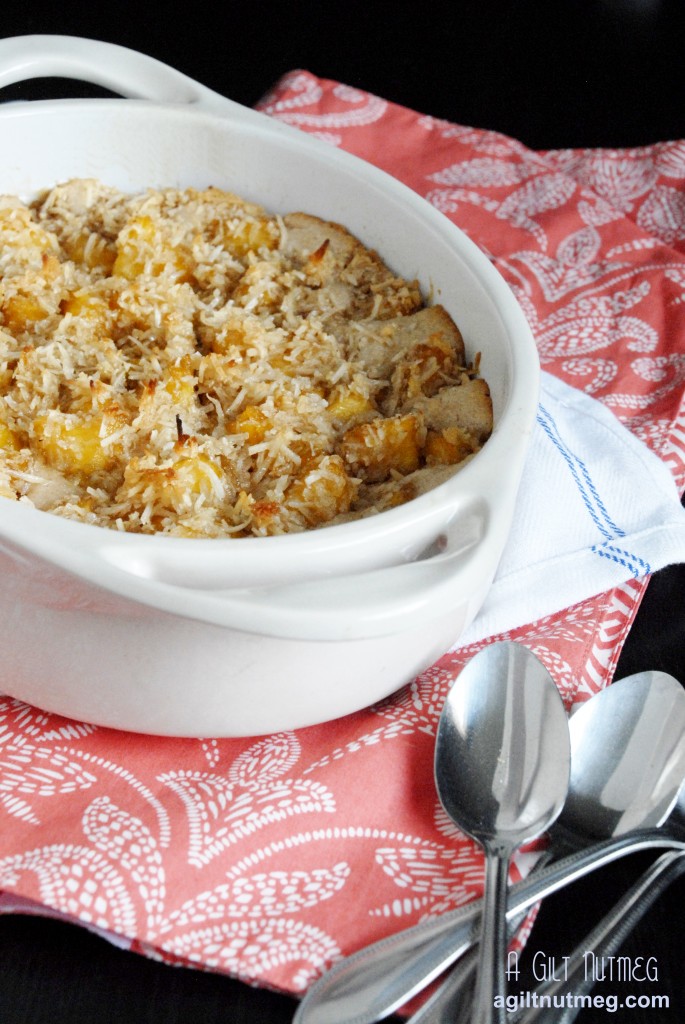
coconut pineapple cobbler

When I think of cobbler, I always think of berries, or maybe peaches.  Pineapple had never EVER crossed my mind to put in cobbler and, I confess, now that I’ve made it, I can’t stop thinking about it.  The same thing happened when I moved to California, where fresh pineapple is much more abundant-I never went back to canned pineapple again.  This cobbler is a delicious tropical version of a very traditional dessert and one you should give a try as soon as you can!

When I found this recipe, it was good the first time, but I felt like it could use some spicing up, so I tweaked it to include flavors that would compliment the tropical fruit featured-ginger, vanilla, rum.  I think it’s perfection, as long as you have a scoop of vanilla ice cream to compliment it on your plate.

Pineapple Coconut Cobbler
Adapted from Patrick Callarec, executive chef, Aulani

  • 1 medium pineapple, peeled, cored and diced
  • 1/3 cup brown sugar
  • 1 cup shredded coconut (if you want a less sweet cobbler, track down some unsweetened coconut)
  • 1/2 cup all-purpose flour
  • 1/2 cup sugar
  • 1/2 cup milk
  • 1/4 cup butter, melted
  • 1/4 teaspoon baking powder
  • Pinch of salt
  • 1/4 teaspoon cinnamon
  • 1/8 teaspoon ginger
  • 3/4 teaspoon vanilla
  • 1 Tablespoon rum
  1. Heat oven to 350 degrees.  Spray a baking dish with baking spray-you can use an 8 x 6″ square pan as the original recipe suggested, but I used a 2 quart oval baking dish.
  2. In a large saute pan, stir the pineapple and brown sugar together until melted and bubbling.  Let the mixture simmer and bubble for 10 minutes, stirring occasionally stirring.
  3. After sauteing, pour the mixture into a small bowl and add the coconut.  Mix together until the coconut is evenly coated in the melted brown sugar-pineapple mixture (or until the pineapple is evenly coated in coconut, depending on which way you look at it) and set aside.
  4. In a medium bowl, whisk together the remaining ingredients-flour, sugar, milk, butter, baking powder, spices and rum.
  5. Pour the batter into the prepared baking dish and evenly distribute the pineapple-coconut mixture over the top of the batter.
  6. Bake for 40-45 minutes until the edges are golden brown.
  7. Serve warm with vanilla ice cream and enjoy!

Bacon and Cheddar Scones

Wednesday, July 18, 2012

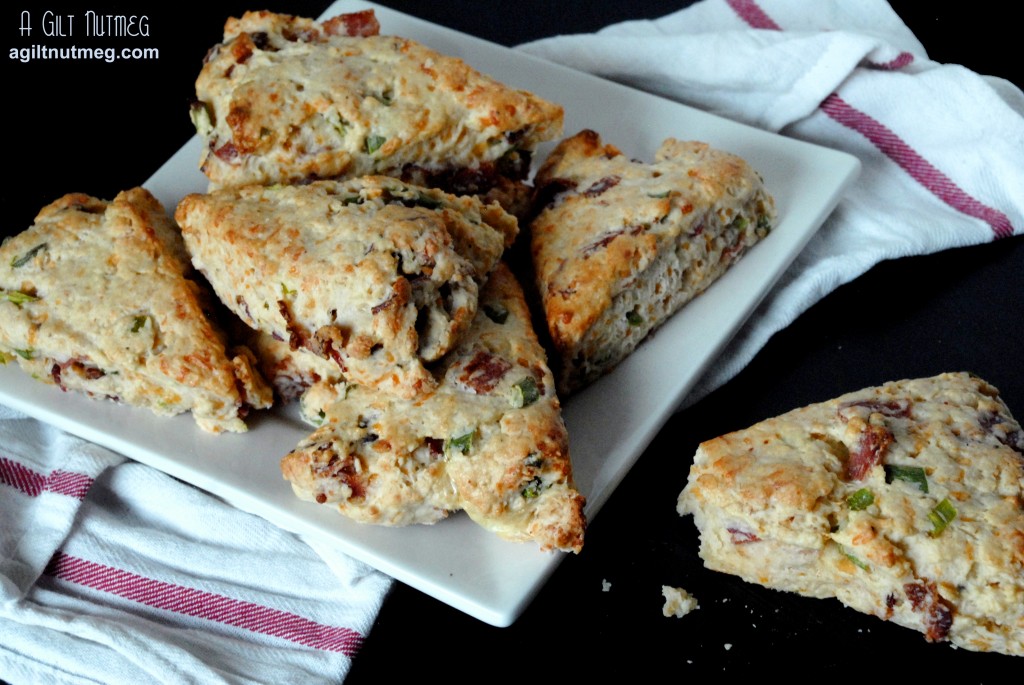
bacon cheddar scones

I’m so glad I went back and made sure to try this recipe for Project Pastry Queen, because these are really fantastic scones!  I’d never made a savory scone before, so I was curious about how these would turn out.  In the end, they’re a meal in themselves-hearty, filling, and satisfying.  There’s sharp cheddar cheese, smoky bacon, fresh green onions, and piquant black pepper.  All that’s missing for breakfast are the eggs, but those aren’t hard to scramble up.  Everyone who ate these gave them rave reviews, so I’m definitely adding them to my regular breakfast/brunch menu for when something a little special is in order!

Be sure to check out Emily’s Ruf Love blog, who chose this recipe, as well as the rest of the PPQer’s take on the recipe.

Bacon and Cheddar Scones
Adapted from The Pastry Queen by Rebecca Rather

  •  3 cups flour
  • 1 tablespoon baking powder
  • 1 teaspoon salt
  • 2 teaspoons freshly ground black pepper
  • 1/2 cup chilled butter, cut into cubes
  • 1 1/2 cups grated Cheddar cheese
  • 4 green onions, thinly sliced
  • 10 slices of bacon, cooked and chopped into 1″ pieces
  • 3/4 to 1 1/2 cups buttermilk
  • 1 egg
  • 2 tablespoons water
  1. Heat the oven to 400 degrees.  Cook the bacon and chop it, if you haven’t already done so.
  2. In a large bowl on low speed, combine the flour, baking powder, salt and pepper.
  3. With the mixer still on low speed, add the cubes of butter one at a time, until the mixture is crumbly.  You want pieces no bigger than peas.
  4. Add the cheese to the bowl and turn off the mixer as soon as the cheese is incorporated into the mixture.
  5. Put the electric mixer away and, with a wooden spoon or sturdy spatula, mix in the green onions, bacon, and 3/4 cup of the buttermilk until combined.  You want to do as little stirring as possible or else your scones will be tougher than a boot.  If there are still crumbles that sit in the bottom of the bowl, add a teensy bit of buttermilk at a time until the dough sticks all together and can be squished into a ball.
  6. Lightly flour a cutting board and turn the dough ball out onto the board.  Pat the dough into a round shape and, with a floured rolling pin, roll the dough out until it’s a circle 8″ wide.
  7. Using a large knife, cut the round into 8 wedges.
  8. In a small bowl, whisk together the egg and water and brush the mixture over the tops of the scones.
  9. Move the scones to an ungreased baking sheet and bake for approximately 18 minutes until golden brown on top.
  10. Definitely warm them up again in a 350 degree oven for 10-15 minutes if you’re going to serve them later.  Enjoy with a tall glass of milk!

Lime Meringue Cake

Monday, July 16, 2012

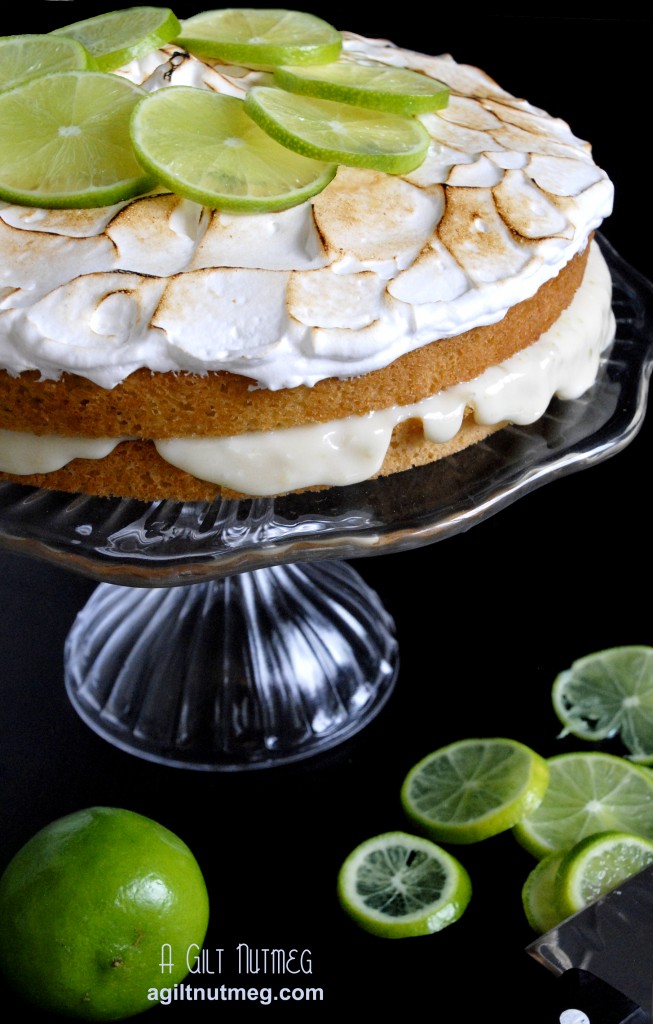
key lime meringue cake

I absolutely love Key Lime Pie.  I really think it’s got to be in my top 5 list of favorite desserts…although I’m sure that list is changing all the time.  Despite it being one of my favorites, I wanted to find a twist on the usual pie to bring to my cousin’s 4th of July gathering in Anaheim, and thought this cake might be just the trick.  You don’t usually see meringue as a topping on cake, but I think the effect overall was quite delicious.  It’s a little more sturdy than a traditional Key Lime Pie, with the pie filling sandwiched between two thin layers of sponge cake instead of sitting on top of a pie crust.

Just a few notes: I used normal limes instead of Key limes just because I like the stronger lime punch that normal limes give, plus they’re easier to find and and there’s less time spent juicing.  Also, I used meringue powder instead of egg whites for the meringue topping, just to play on the safe side.  Traditional egg white meringue recipes are a dime a dozen on the internet; the link below will give you one.

Lime Meringue Cake
Adapted from Eating Well; meringue from Wilton

  • 1/2 cup all-purpose flour
  • 1/3 cup cake flour
  • 1/4 teaspoon salt
  • 4 large eggs at room temperature
  • 2/3 cup sugar
  • 1 teaspoon vanilla extract
  • 1 teaspoon freshly grated lime zest
  • 3 tablespoons canola or vegetable oil
  • 1 can (14 oz) sweetened condensed milk
  • 1/3 cup lime juice
  • 1 teaspoon freshly grated lime zest
  • 1 tablespoon meringue powder
  • 1/4 cup cold water
  • 6 tablespoons plus 2 teaspoons granulated sugar
  1. Heat oven to 350 degrees and spray two 9″ cake pans with baking spray.
  2. In a medium bowl, whisk together the all purpose flour, cake flour, and salt; set aside.
  3. In a large bowl, beat the eggs and sugar on medium-high speed until doubled in volume, about 10 minutes.  Add the vanilla and lime zest, beating for one more minute.
  4. Very gently fold the oil into the egg and sugar mixture until fully incorporated.
  5. Also very gently, fold the flour mixture into the egg, sugar and oil mixture until the white streaks are gone.  Folding in the flour in three or so parts will help make sure you don’t find giant pockets of flour not incorporated later.
  6. Divide the batter between the two cake pans and tap the pans on the counter so that the largest of the air bubbles come to the surface.
  7. Bake for 20-22 minutes until an inserted toothpick comes out clean.  I warn you, the cakes may look a little strange.  At least, they did for me.  The tops were totally pocked with popped air bubbles.  But it did taste great, so no worries!
  8. While the cakes are baking, whisk the condensed milk, lime juice, and lime zest together in a small-medium bowl that you won’t be needing later.  Put it in the fridge to thicken for 30 minutes.
  9. Let the cakes cool for ten minutes on wire racks before turning them out of their pans and cooling.
  10. In a large bowl, add the meringue powder, the water and half the sugar (3 tablespoons + 1 teaspoon).  Whip at high speed for 5 minutes.
  11. Gradually add the rest of the sugar and whip for 5 more minutes.
  12. Spread the meringue on top of one of the cake layers.  Brown the meringue either by using a kitchen torch, or by placing the cake layer on a cookie sheet and putting it under your oven’s broiler element.
  13. To assemble the cake, place the remaining cake layer on the plate you plan on serving the cake on, spread the lime filling over the layer, then add the layer with the meringue on top.  Top with lime slices, if you desire, for decoration and enjoy!