Entries Tagged as 'Project Pastry Queen'

Bell Pepper-Sausage Kolache & Apricot-Nectarine Kolache

Monday, August 20, 2012

kolache

Being a part of a family that very proudly celebrates our Slovak heritage, I was fascinated to hear about Texas’ love affair with kolache, a Czech pastry.  Even better, kolache is a strongly featured recipe in The Pastry Queen—I’m so glad that I was able to circle back around and make it before Project Pastry Queen was officially over.  My biggest problem, it turns out, was just figuring out how to say the darn thing!  The world wide webiverse told me it was “ko-losh” or “ko-losh-ee”.  Enlisting the help of a Czech coworker, she said it was “ko-lotch-ee”.  I guess, in the end, it doesn’t matter, because—even though I’m still uneasy with all bread-making activities—these were mostly successful.  I’ve never eaten one made by someone else, so I don’t have anything to compare them to, but I can say that the dough is sweet and tastes very close to my favorite Cantonese Dim Sum BBQ Pork Filled Buns, albeit a little bit denser.  I know it’s a strange comparison, but in the end, it’s a small world, after all.
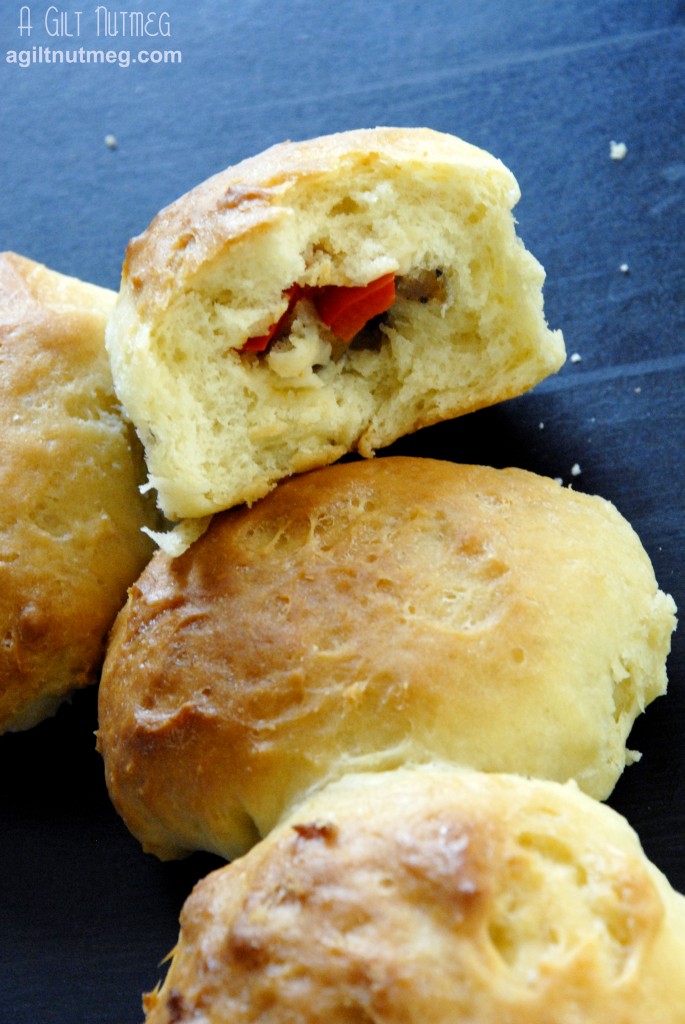
bell pepper sausage kolache

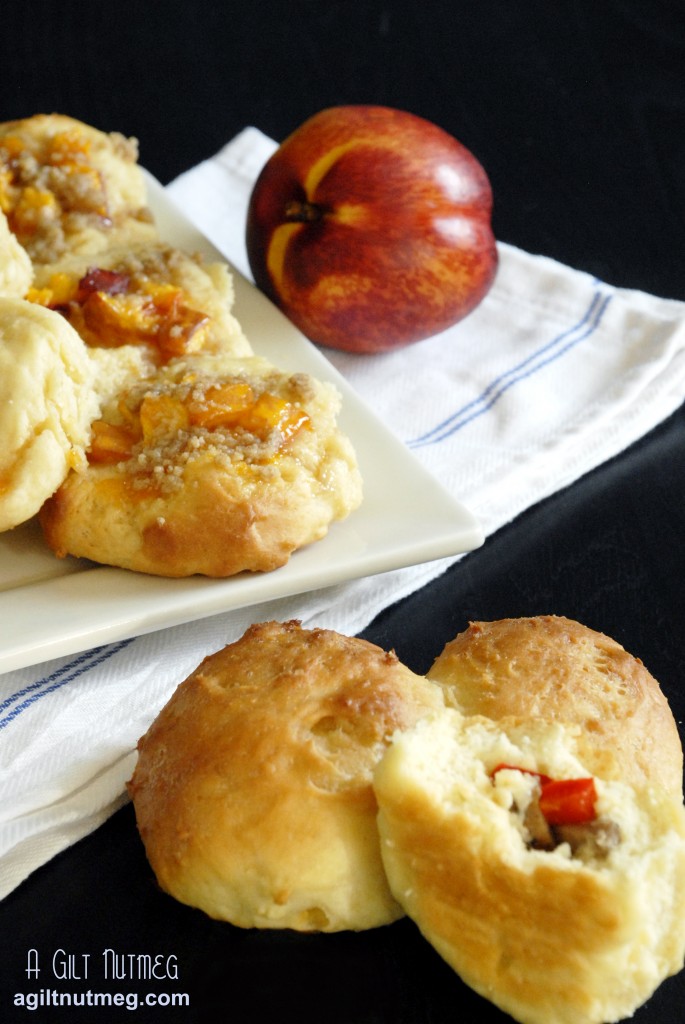
I split the recipe into half and made one half open-faced with nectarines, apricot jam, and brown sugar streusel.  The other half had the dough wrapped around a red bell pepper and sausage filling so that the filling was hidden inside.  I will say that I definitely have to work on my technique—as we all know here, bread dough and I don’t get along, so the nectarine kolache weren’t so much perfect little deep wells of fruit, but instead the fruit kind of hovered on top.  I also would add more of the savory filling next time because you can, obviously, never have enough sausage.  Overall, though, they were great!  The dough didn’t require any kneading, so, even though mine weren’t perfectly beautiful, I still recommend this recipe to anyone wanting to try yeast breads.  You literally just mix the dough, then stick in the fridge till morning and voila!
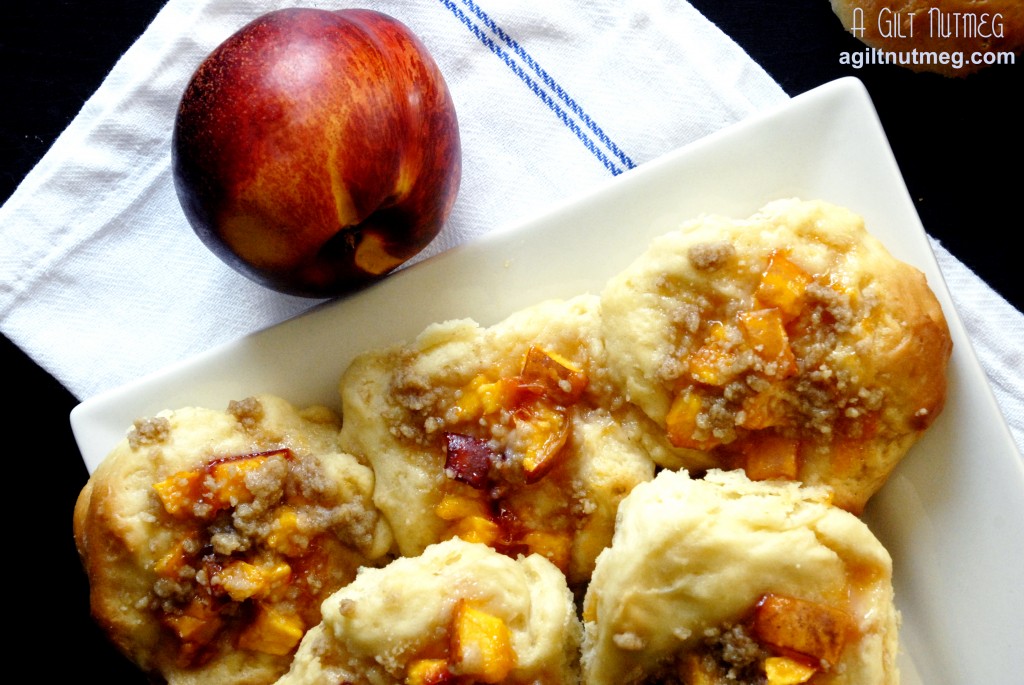
apricot nectarine kolache

Kolache
Makes 16-18 kolache
Dough adaptation directly from The Foodie Bride

Fillings inspired by The Pastry Queen

Dough (for a full recipe - 16-18 kolache)

  • 1 package (2 1/4 tsp) active dry yeast
  • 1/4 cup water, warmed to 110-115F
  • 1 cup milk, warmed to 110-115F
  • 4 Tbsp butter, melted and cooled to warm
  • 2 large eggs
  • 5/8 cup sugar + 1 teaspoon sugar
  • 1 tsp salt
  • 4 1/4 cups flour

Red Bell Pepper & Sausage Filling (for a half recipe - 8-9 kolache)

  • 1 cup cooked sausage, chopped (I used a chicken sausage)
  • 1 cup red bell pepper, chopped

Nectarine-Apricot Filling & Streusel (for a half recipe - 8-9 kolache)

  • 1 large nectarine, chopped
  • 1/4 cup apricot jam/jelly, melted
  • 2 tablespoons flour
  • 2 tablespoons brown sugar
  • 2 tablespoons chilled butter
  1. Add your warm water to your mixing bowl (or bowl of stand mixer) and stir in 1 teaspoon sugar..  Sprinkle yeast over the sugar water mixture and let stand 5 minutes until foamy.
  2. Add milk, butter, eggs, sugar and salt to bowl and mix on low until ingredients are thoroughly incorporated.
  3. Also on low, mix in half of the flour, wait until its incorporated, then mix in the second half of the flour, mixing just until incorporated.  My dough was pretty lumpy looking and, truthfully, I’m not sure if that’s how it’s supposed to look or not.
  4. Let the dough rest 1-2 hours, until doubled in size.  Punch the dough down (deflate it) and then cover it with plastic wrap and stick it in the fridge overnight.  If you’re in a rush, 4 hours is enough, but who doesn’t want the ease of just throwing something in the fridge and not worrying about it until morning?
  5. When ready to start, heat the oven to 375, line a baking sheet with parchment paper (or use non-stick spray) and divide the dough into balls.  They’ll be a bigger than golf balls, about 2 1/2″ wide.  Shawnda helpfully points out that the balls should weigh about 2.5 oz each.
  6. Let the dough rest for 15 minutes while you prepare the filling ingredients- make sure the bell pepper and sausage is chopped; combine the warmed apricot jam in a bowl with the chopped nectarine and stir to coat the nectarine.  You could easily make the streusel topping in a food processor, but it’s such a small amount that I just tossed the flour, brown sugar and butter into a mixing bowl and mushed it around with a fork and a butter knife until it was well combined and crumbly.
  7. If making sausage kolache, flatten out the balls of dough, press about a tablespoon of filling into each round of dough and then wrap the dough over the filling, pinching it shut.  Arrange the balls of dough with the seam side down on the baking sheet and arrange so that the balls are just an inch or so apart.
  8. If making open faced nectarine kolache, slightly flatten the balls and then poke a little well into the dough.  Fill the well with a tablespoon or so of fruit filling, then sprinkle the streusel topping over each one.  Arrange on the baking sheet so that the edges are just touching.
  9. Let the prepared kolache rest for 20 minutes or so and then bake for 20-25 minutes until golden brown on top.  I brushed some melted butter over the tops of the kolache warm from the oven, but that’s up to you.
  10. Serve warm and enjoy!

White Peach Cream Cheese Tart

Monday, August 6, 2012

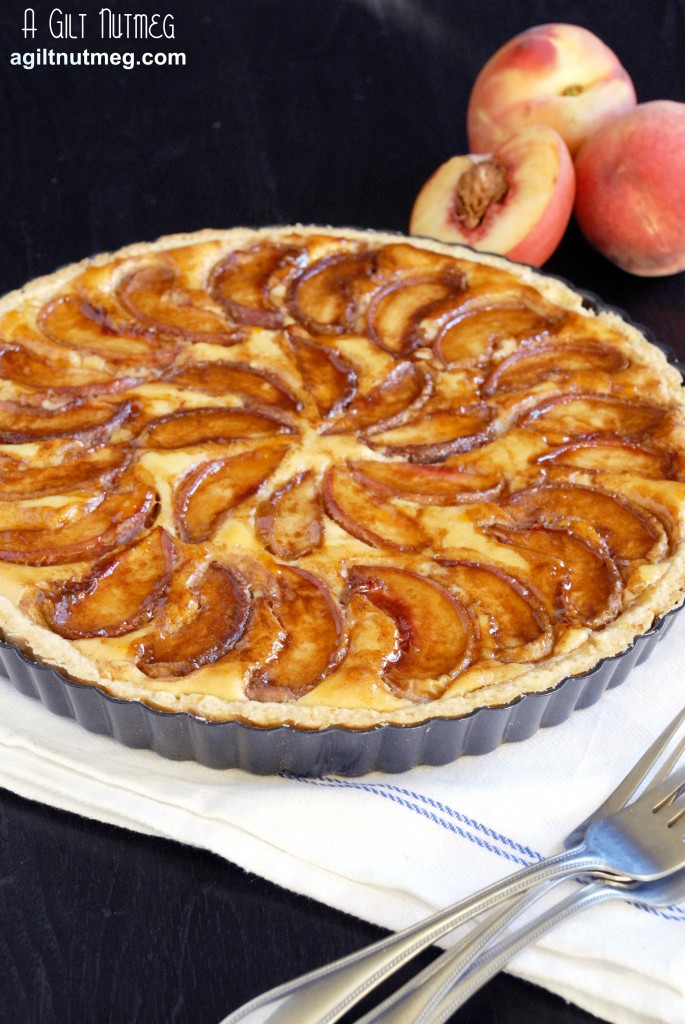
 white peach cream cheese tart

I turned the Way-Back Machine on for Project Pastry Queen this week, everybody!  The truth is, we’re nearing the end of the book and the final handful of remaining recipes aren’t the most interesting to most people.  As such, we’re going back to pick some recipes that were completed before most of us joined the group.  I’ve had this tart on my list of things to make for quite some time, but had to wait until peach season hit full stride, of course.

The truth with this tart is that I had it in the oven for approximately 1 and a half minutes before I realized that I had miscalculated my time and we had to leave for a performance at the Hollywood Bowl right that moment and not in the hour that I originally thought.  Cut to me hurriedly swiping the tart out of the hot oven, throwing it in the fridge and running out the door hoping to goodness I didn’t have flour hand prints all over my dark jeans.  I came back home and found that the peaches dipped in cinnamon and sugar macerated while sitting on the tart in the fridge, so there was peach juice all over the surface of the cream cheese filling. Oh well!  In to the oven it goes.

When I pulled it out, there was no sign of the juice anywhere-success!  But because I used white peaches (they were all that were ripe at the store), the cinnamon’s brown color was more dominant than the cheery yellow color of everyone else’s tarts.  Also, I a) forgot to peel them, but that’s no big deal and b) chose not to use halves of peaches as Rebecca suggests, instead going with a more elegant circular pattern that still covers the top of the cream cheese filling just fine.

White Peach Cream Cheese Tart
Makes one 10″ tart
Adapted from The Pastry Queen by Rebecca Rather

Lemon Zest Tart Crust

  • 2 cups flour
  • 1/2 teaspoon salt
  • 1/3 cup sugar
  • zest of one lemon
  • 11 Tbsp chilled butter, cut into Tbsp sized chunks
  • 1 egg
  • 1/4 cup heavy whipping cream

Filling

  • 8 oz cream cheese (1 package)
  • 1/2 cup sugar
  • 1/2 cup mascarpone cheese
  • 1 Tbsp vanilla extract
  • 2 eggs
  • 1/2 cup flour
  • 1/4 tsp salt

Topping

  • 2 teaspoons ground cinnamon
  • 1/2 cup sugar
  • 3-4 large peaches

Glaze

  • 1/4 cup apricot jam
  • 1 1/2 tsp brandy
  • 1 1/2 tsp water
  1. Combine the flour, salt, sugar and lemon zest in the bowl of an electric mixer and combine ingredients at low speed.
  2. Add the butter chunks one at a time to the flour mixture and continue beating until the mixture is crumbly and no large chunks of butter remain (the largest size should be pea-sized).
  3. Whisk together the egg and cream and pour into the flour mixture, beating on low until just incorporated.  Watching as the mixer beats on low speed, the dough should form a ball within seconds.  If it’s too dry, you can add a tablespoon of cream more.
  4. Spread a piece of plastic wrap on the counter, turn the dough out onto the saran wrap and form the dough into a round disk.  Wrap it with the plastic wrap and refrigerate for an hour.
  5. After an hour, generously flour a flat surface (and rub some flour onto your rolling pin) and roll the dough out to about 1/8″ thick.
  6. Once the right thickness, gently roll it up on your rolling pin and transfer it to your tart pan, pressing it into place and trimming off the edges that stick out over the top of the tart pan sides.
  7. At this point, you can heat the oven to 375 degrees and you might want to clean out your mixer’s bowl, too.
  8. In your mixer’s bowl, beat the cream cheese and sugar about 2 minutes, until well combined.
  9. Add the mascarpone and vanilla and beat until, again, well combined (you’ll probably need to use a spatula to scrape the sides of the bowl in the middle of this).
  10. Add the eggs and beat for about one minute until smooth, then add the flour and salt, beating just until combined.
  11. Pour the cream cheese mixture into the unbaked tart shell and set aside while you slice the peaches.
  12. Stir together the sugar and cinnamon in a medium bowl.
  13. Slice the peaches in half and then again into 6 slices per half.  Drop the slices into the cinnamon-sugar mixture and toss until the peaches are evenly coated.  Arrange the slices on top of the cream cheese filling, making sure to cover as much of the filling as possible.
  14. Bake for 50-57 minutes until the center is set and the edges are turning golden brown.
  15. In the final minutes before the tart comes out of the oven, heat the jam, brandy and water in a small saucepan over medium heat.  Bring to a boil for a minute or two, then let cool for five minutes.
  16. Once the tart comes out of the oven, brush the glaze over the tart and leave it to cool before serving.  Enjoy!

Virtual Baby Shower for Baby Ruf Love!

Monday, June 18, 2012

Emily Ruf, of Ruf Love, is having a baby!!  While we would all love to show our support for her in person, the truth of the matter is that us members of Project Pastry Queen are scattered all over the country.  Thus, the Virtual Baby Shower was a way to show we care by doing what we do best: blog!  Members of Project Pastry Queen submitted items they would like to “bring” to the shower and I’ve shared them below.  Click on the photos below to be taken to the website for each recipe.  Emily, feast your eyes…


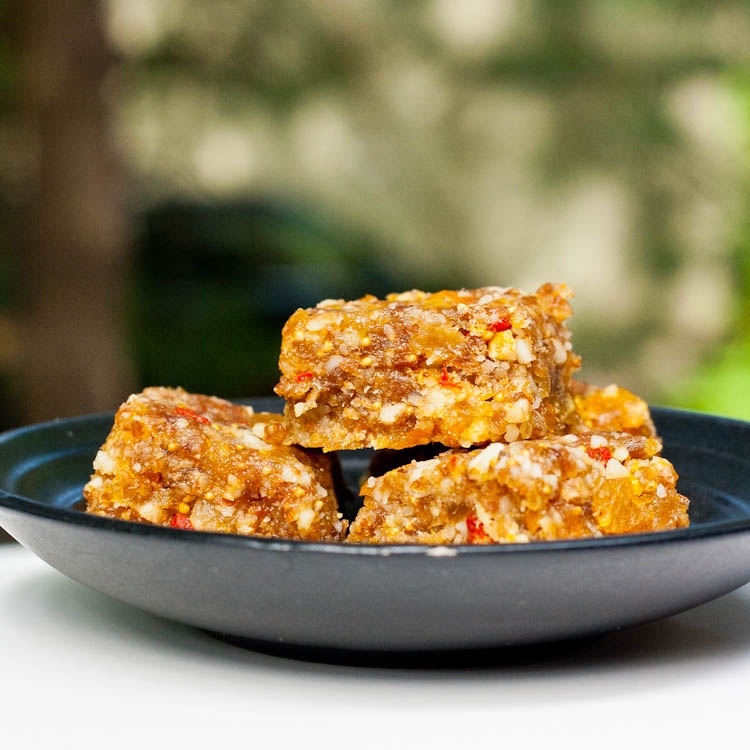
Vicky, of Avocado Pesto, made these Dried Fruit and Nut Bars.  Gotta keep Baby Ruf healthy!


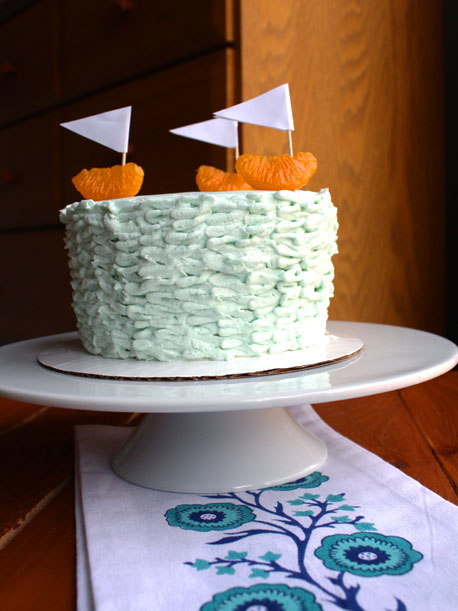
Emily (yes, there are three of us Emilys in PPQ!), of She Makes and Bakes, made this beautiful Lemon Blueberry Cake that matches Baby Ruf’s nautical themed nursery!


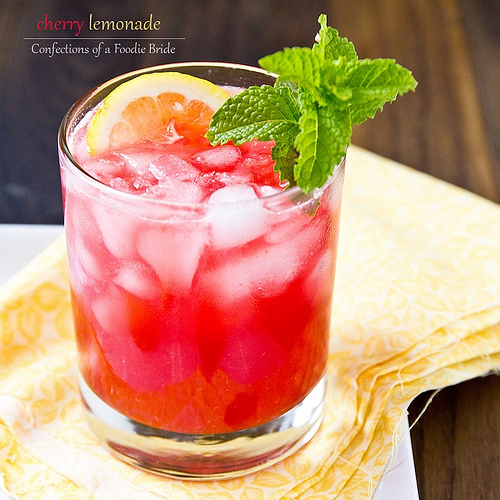
Shawnda, of Confections of a Foodie Bride, made this thirst-quenching Cherry Lemonade- looks delicious!


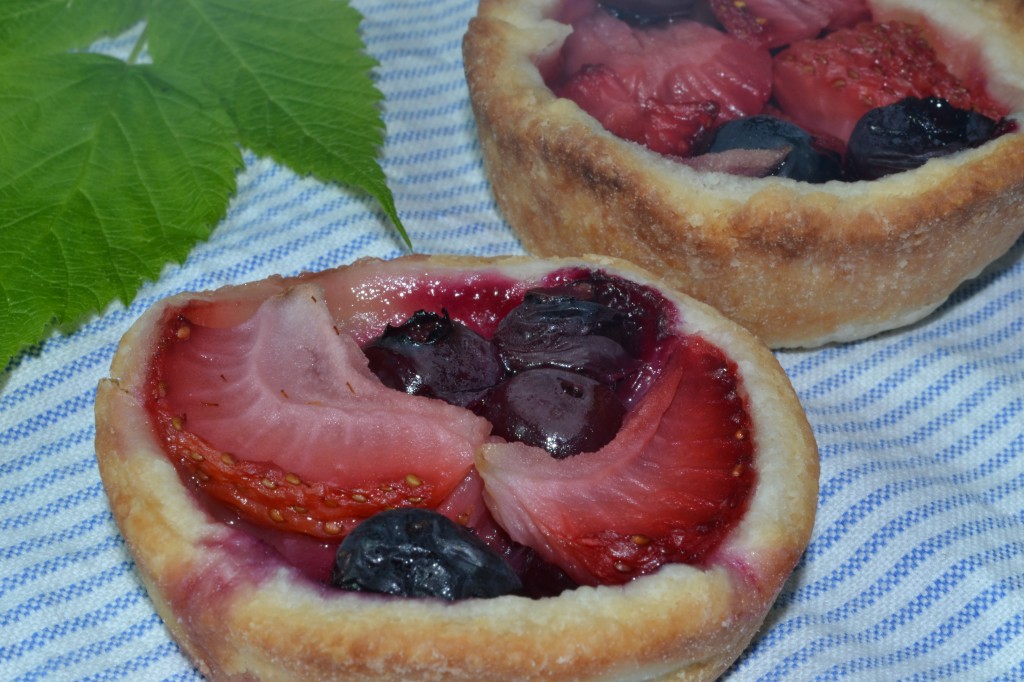
Jennifer, of Sweet Morris, made these Fruit Crostadas from the PPQ cookbook. Nothing beats fresh fruit in the summer!


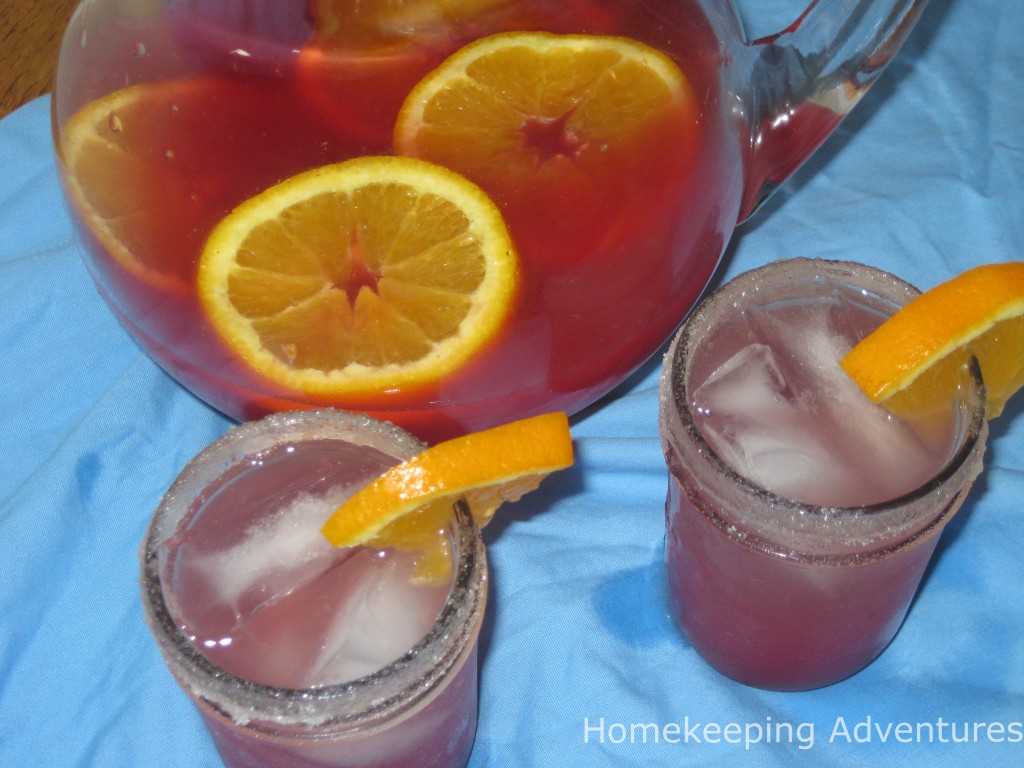
Amanda, of Homekeeping Adventures, made Orange-Cran Sparklers-I love drinks that tickle your nose!


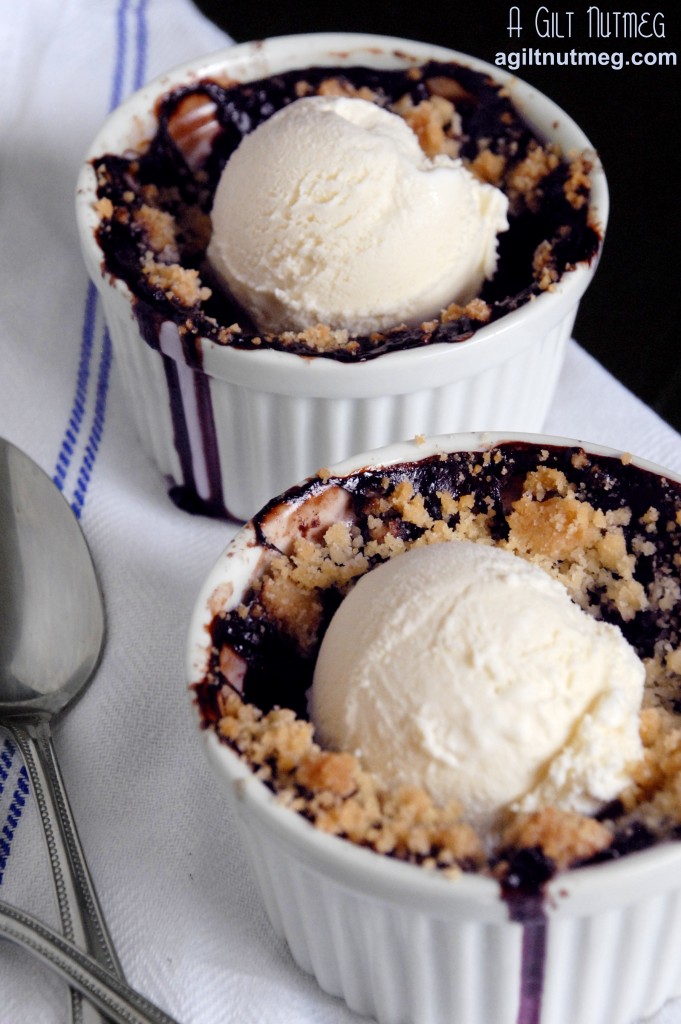
blueberry crisp ice cream
and finally, I made individual Blueberry Crisps for Emily and Baby Ruf

Aren’t you just dying to dig into all of that food??  Thank you to all of the PPQ members who contributed.  Emily, we all sincerely wish nothing but health and happiness coming your way in the next few months!


Apple Cinnamon Mini Loaves with Apple Brandy Glaze

Monday, May 14, 2012

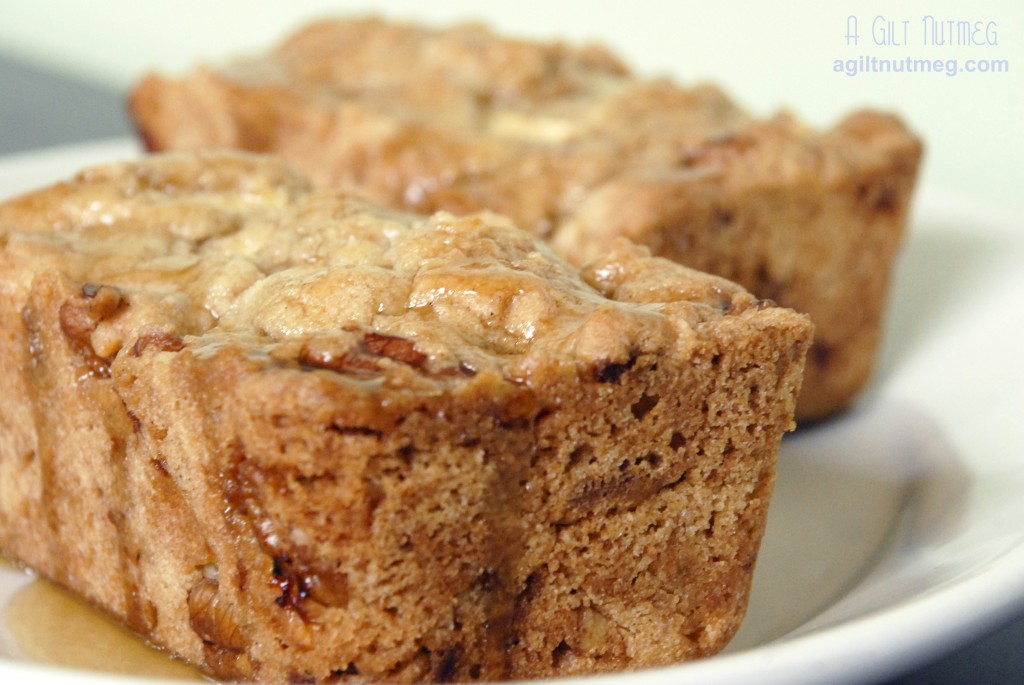
apple cinnamon loaves with apple brandy glaze

In trying to pick this week’s PPQ recipe, I chose these little cake loaves thinking they might be nice for Mother’s Day Brunches.  What I didn’t realize was that I might come across one of my new favorite recipes from The Pastry Queen.  These little loaves are super moist yet they have a great crunchy-chewy crust and the nutty spicy apple flavor is just phenomenal.  The cakes are not too sweet and perfect for any time of the day…which is bad news for me because it means I’ll be eating them morning, noon and night if I can.  You can bake it as one big cake instead, but mini loaf pans are super cheap at Sur la Table and I think they’re totally worth the few dollars investment (especially around the holidays).

I only made two changes to Rebecca’s original recipe: first, since I had limited time and only 2 loaf pans, I made a half recipe.  The Boyfriend loves spice more than anything so I dutifully used the original cinnamon and nutmeg measurements instead of halving them and they turned out so well that I will absolutely be doubling the amount when I make a full sized batch next time.  I almost worry about the lack of spicy flavor there could have been if I had followed the original recipe.  Second, I didn’t feel like hunting down a bottle of Calvados (an apple brandy), so instead of the 1 Tablespoon of Calvados, I subbed 1 Tablespoon of apple juice and 1 Tablespoon of normal brandy and just let it boil off a little longer.  I think the result was just as good as the original.

Really, I can’t say enough about how much I love this recipe.  It strikes exactly the right chord of sweetness, crunch, nuttiness, and soft moist cake texture.  Since we finished the two mini loaves I made today for Mother’s Day within minutes, I am absolutely coming home from the office tomorrow and using up the rest of my apples on another batch.

Be sure to check out the other Project Pastry Queen-ers versions here!

Mini Apple-Cinnamon Loaves with Apple-Brandy Glaze
Adapted from The Pastry Queen by Rebecca Rather
Makes 5 Mini Loaves

Loaves:

  • 1 1/4 cup vegetable oil
  • 2 cups sugar
  • 2 large eggs
  • 2 tsp vanilla
  • 3 cups flour
  • 1 tsp cinnamon
  • 1 tsp nutmeg
  • 1/2 tsp baking soda
  • 1 tsp salt
  • 3 large apples, peeled, cored and diced (I used Granny Smith apples)
  • 1 cup pecans

Glaze:

  • 1/4 cup unsalted butter
  • 1/3 cup packed light brown sugar
  • 1 Tbsp light corn syrup
  • 1 Tbsp apple juice
  • 1 Tbsp brandy
  1. Heat the oven to 350 degrees.  Grease 5 miniature loaf pans (sized approximately 6″ x 4″ x 2″) and set aside.
  2. In a large bowl, whisk together the oil, sugar, eggs and vanilla until thoroughly combined.
  3. In a separate bowl, mix together the flour, cinnamon, nutmeg, baking soda and salt.
  4. Add the flour mixture to the oil mixture until fully incorporated.
  5. Rebecca helpfully pointed out that the batter will be very stiff at this point, not very liquid, so it will be a little difficult to mix in the apples and pecans, but it works.  I didn’t want to use my stand mixer in case it broke up the apples into mush, so I pulled the bowl off the mixer and stirred the apples and pecans in by hand with a wooden spoon.  Mix in until they’re evenly distributed.
  6. Press the batter into the loaf pans so that the pans are about 3/4 full and smooth the tops out with the back of the spoon.
  7. Bake for 55-60 minutes; an inserted toothpick should come out clean and they should be a light golden brown on top.
  8. Cool in the pan for 10 minutes then take the loaves out of the pan and let them finish cooling on a wire rack.
  9. While the cakes are cooling, melt the butter in a small saucepan whisk in the brown sugar, corn syrup, apple juice and brandy.  Let it simmer for 5 minutes so it can thicken and then spoon a couple of spoonfuls of the glaze over each loaf.
  10. Let the cakes fully cool and the glaze dry for at least an hour before wrapping them-if they even last that long!  Enjoy!

Oatmeal Crisps

Monday, April 23, 2012

oatmeal crisps

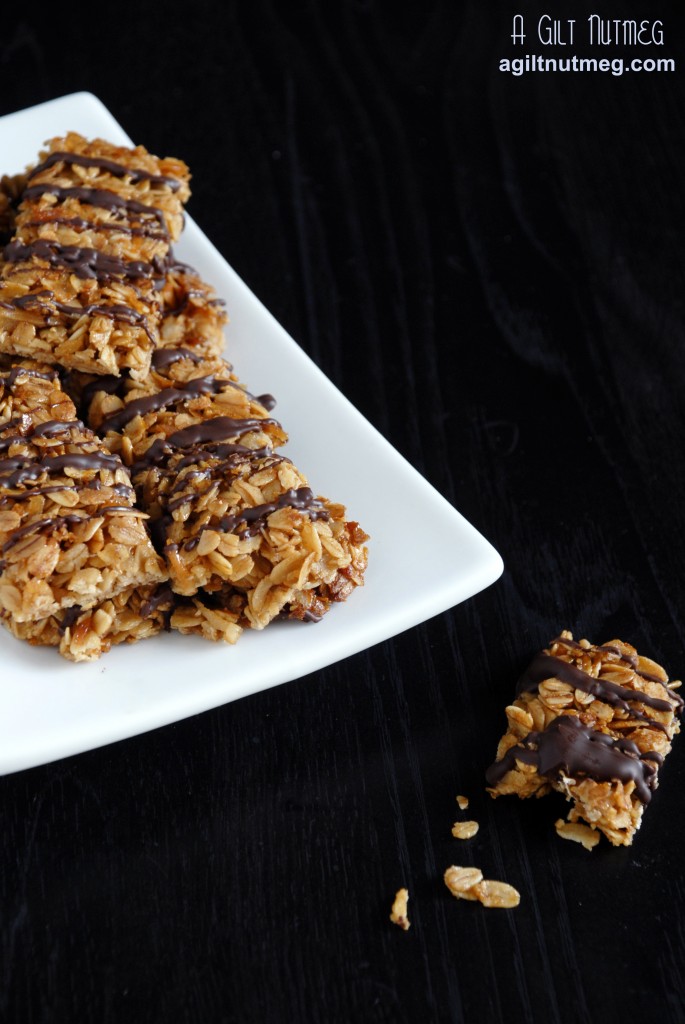
Considering Oatmeal Raisin Cookies are one of my favorite cookies of all time, I had a suspicion that these crisps from The Pastry Queen might be particularly up my alley-and I was right!  These are deliciously oaty and brown sugary and (thanks to the incorrect assumption that I had corn syrup at home) full of honey flavor.  These remind me of my favorite crunchy granola bars and, truthfully, I don’t think these even need chocolate on top, which is why I just drizzled it on instead of making one thick layer of it-and when I make them again I won’t even add the chocolate.  I can’t wait to make another batch just to crumble over yogurt or ice cream!

Thanks to Missy for choosing this week’s recipe and check out the other PPQ members versions here!

Oatmeal Crisps
Yields one 9×13″ pan
Adapted from The Pastry Queen

  •  1/2 cup unsalted butter
  • 1/2 cup firmly packed dark brown sugar
  • 1 Tablespoon honey
  • 2 cups old-fashioned rolled oats
  • 1 teaspoon baking powder
  • 1/4 teaspoon salt
  • 1/3 cup sweetened shredded coconut
  • 1/2 cup bittersweet chocolate chips (optional)
  1. Heat the oven to 350 degrees and grease a 9×13″ glass baking dish.
  2. In a small saucepan, melt the butter and stir in the brown sugar and honey until the mixture is smooth, about 2 minutes and turn off the heat.
  3. With a wooden spoon in a large bowl, stir together the oats, baking powder, salt and coconut; stir in the butter mixture until the dry ingredients are fully coated in the liquid ingredients.
  4. Pour the mixture into the prepared dish and, with the back of the wooden spoon, pat the mixture into a flat, even layer in the dish.
  5. Bake for 20-25 minutes and take the dish out to cool on a wire rack for 20 minutes.  When you pull the dish out, the mixture will still be liquid, but it will harden and crisp as it cools.
  6. After cooling for 2o minutes, line a cutting board with wax paper or parchment paper.  Lay the cutting board over the top of your glass dish (papered side facing the cooled oatmeal mixture), then flip the pan over so that the oatmeal mixture lays flat on the papered cutting board.  With a sharp knife or pizza cutter, gently cut the oatmeal slab into bars.  The bars will be fragile and will stretch a little bit; just push them back into shape with your fingers.  If you are planning on drizzling chocolate over the bars, leave them on the parchment paper while you melt the chocolate.
  7. If you choose to drizzle chocolate over the bars, set a large pot of water simmering and in a metal bowl placed over the pot of simmering water, melt the chocolate chips.  Once the chocolate is melted, drizzle it in a thin stream back and forth over the bars.  Let the chocolate cool and harden completely.
  8. My only warning is that humidity will turn these bars soft, but they will still be delicious.  Store them in an air-tight container until you’re ready to eat.  Enjoy!


Peanut Buttercups with Peanut-Penuche Icing

Monday, April 16, 2012

peanut butter chocolate cupcakes

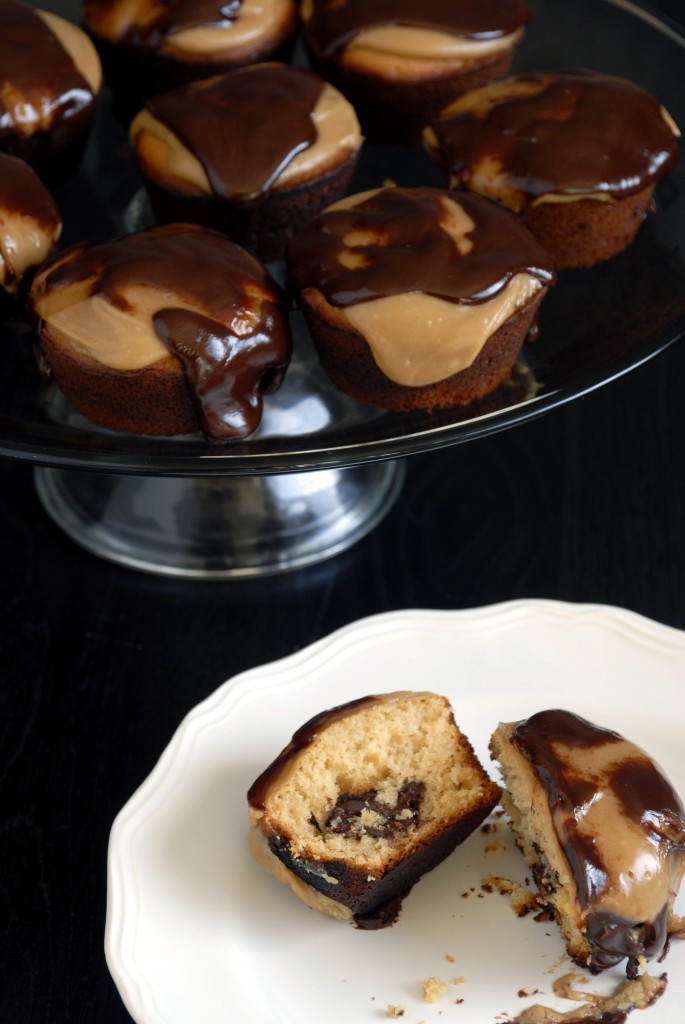
While peanut butter cupcakes aren’t my favorite, I knew these would be a hit for our April birthdays celebration, so I made Jen‘s PPQ choice as well as next week’s PPQ Oatmeal Crisps to bring into the office.  Good for any sort of celebration, these cupcakes are sort of like an inside-out Reese’s Peanut Butter Cup with the peanut butter on the outside and a pocket of chocolate on the inside.  They’re topped with a peanut butter penuche icing-a term I had not known before Pastry Queen and, subsequently, Wikipedia, which says it is a “fudge-like candy made from butter, brown sugar and milk”.  Rebecca added peanut butter for flavor and I thought the rich, gooey topping was a nice change from the normal whipped buttercream frosting.  To balance out the peanut-butter-on-top-of-peanut-butter overdose, I added some bittersweet chocolate ganache on top.  You can see that the chocolate sort of separated as it ran down the sides of the cupcakes, but it still adds that little break from the peanut butter I think is necessary.  Be sure to check out Project Pastry Queen for the other members’ takes on the recipes.

Aside from adding the ganache on top, I also made these in normal cupcake tins as opposed to the “Texas-sized muffin tins” Rebecca suggests.  Other PPQ members warned against over filling the muffin tins and I concur with this advice-I filled the cups just halfway, inserted the chocolate pieces, then dabbed just enough batter over the chocolate to cover it.  The cupcakes baked up beautifully.  In addition, the batter made enough for 20 normal-sized cupcakes, not the suggested 12.

Peanut Buttercups with Peanut-Penuche Icing
Adapted from The Pastry Queen
Yields about 20 standard size cupcakes

Cupcakes

  • 1 3/4 cups flour
  • 1 Tablespoon baking powder
  • 1/4 teaspoon salt
  • 1 1/4 cups firmly packed dark brown sugar
  • 6 tablespoons unsalted butter at room temperature
  • 1/3 cup peanut butter (smooth or chunky will do)
  • 1 cup milk
  • 1 teaspoon vanilla extract
  • 2 eggs
  • 1 bar bittersweet chocolate (4 oz), broken into 20 equal-ish pieces

Penuche Icing

  • 1/4 cup unsalted butter
  • 1/4 cup smooth peanut butter
  • 1/4 cup milk
  • 1 cup firmly packed dark brown sugar
  • 1/8 teaspoon salt
  • 1 teaspoon vanilla extract
  • 1/2 cup powdered sugar

Chocolate Ganache

  • 1 bar bittersweet chocolate (4 oz), chopped
  • 1/2 cup heavy cream
  • 2 tablespoons corn syrup
  1. Heat the oven to 350 degrees and lightly coat two cupcake tins with non-stick baking spray or cupcake paper cups.
  2. In a large bowl, mix the flour, baking powder, salt and sugar until well combined.
  3. Add the butter, peanut butter, milk and vanilla, beating until thoroughly combined, about 1 minute.
  4. Add the eggs and beat for another few minutes on medium speed until the eggs are fully incorporated.
  5. Fill 20 of the cupcake cups halfway to the top and insert a piece of chocolate into each cup.  Dab a spoonful of batter on top of each chocolate piece to cover it-you should have just barely enough batter to complete this.
  6. Bake for 30-35 minutes until the tops are light brown and an inserted toothpick comes out clean, except for melted chocolate from the center.  While the cupcakes are baking, start making the frosting, since you’ll need to let it rest for a while.
  7. In a medium saucepan, melt together the butter, milk, brown sugar and salt.  Bring the mixture to a low boil and, without stirring once, let it boil slowly for 1 1/2 minutes.  Turn the heat off and let the mixture cool for 30 minutes at the most.
  8. Cool the muffins for 10 minutes before taking them out of the pan, then let them cool on a wire rack before frosting.
  9. Add the vanilla and powdered sugar to the cooled frosting and beat it for about 1 minute on medium speed until the icing is creamy.
  10. Frost the cupcakes right away or else the peanut butter icing gets clumpy.
  11. Once you’ve got those iced and the icing is setting, heat the heavy cream until almost boiling, then pour it over the chopped chocolate, whisking until you’ve got a smooth ganache.  Pour a spoonful of ganache over each cupcake and enjoy!

Tropical Carrot Cake with Coconut Cream Cheese Frosting

Monday, March 19, 2012

tropical carrot cake

In my house, carrot cake and I have a very notorious love/hate relationship and it’s exactly this love/hate relationship that made me choose this recipe for Project Pastry Queen this week.  Love because while I certainly enjoy carrot cake’s spicy, moistness, The Boyfriend LOVES carrot cake and things are always more fun to make when you know the person receiving it is going to love it.  Hate because I have never found a carrot cake that works out according to the recipe.  Long story short: no matter what carrot cake recipe I try (even Cooks Illustrated’s recipe!), the bake time for me is always almost double what the instructions call for.  Pastry Queen’s recipe is no different.  (I might add that this phenomenon only happens to me with carrot cake-my oven bakes everything else exactly according to the instructions!)  I let the carrot cake bake longer than the suggested time, took it out to cool when I thought it was done and cut into it, found it was still cake batter in the middle, and had to put it back in the oven.  I thought I had ruined the cake and went to bed very angry that night, but woke up the next morning, tasted the cake, and to my delight (maybe just relief) realized that it turned out just fine.

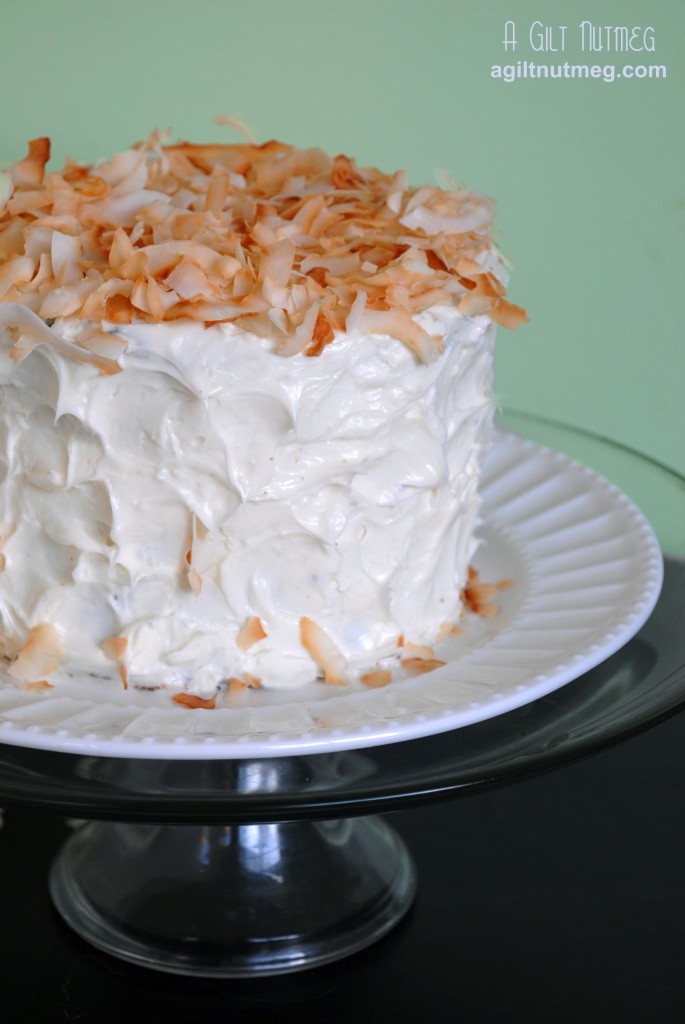
That all said, this is one outstanding cake.  Truly it is!  Instead of just a spice cake with flecks of orange in it, this is a cake packed with ingredients-pineapple, coconut flakes and macadamia nuts make this one incredible cake with a very tropical flair.  There’s even cream of coconut in the frosting.  Despite baking for so long, the cake didn’t dry out at all.  And to amp it up just a little more, I added some toasted shaved coconut to the top of the cake as well.  I think that, now that I’ve figured out to just leave the cake in the oven for as long as humanely possible, I’ve finally found a carrot cake recipe that I can stand behind!  Check out the other PPQer’s takes on the recipe here.

Notes: The cake above is a half recipe, baked in two 6″ cake pans, but was frosted with a full recipe of frosting.  If you make a full recipe of cake (which, in true Pastry Queen style, makes a BIG cake), I suggest doubling your frosting recipe.  I found the shaved coconut at my local co-op: they were selling a small package of it on the shelf next to the other coconut products for $3.95, but I found shaved coconut in their bulk aisle and filled a giant bag, twice as much as I needed, for 60 cents.  I’ve learned my lesson in creative shopping and deal hunting!

Tropical Carrot Cake with Coconut Cream Cheese Frosting
Adapted from The Pastry Queen by Rebecca Rather

Carrot Cake

  • 1 cup macadamia nuts
  • 3 cups flour
  • 3 cups sugar
  • 1 tablespoon baking soda
  • 1 teaspoon salt
  • 1 tablespoon cinnamon (I doubled this in my recipe)
  • 1/2 teaspoon nutmeg (I doubled this in my recipe)
  • 1 1/2 cups sweetened shredded coconut
  • 4 large eggs
  • 2 tablespoons vanilla
  • 1 1/2 cups canola oil
  • 1 1/2 cups shredded carrots (Pre-shredded carrots from Trader Joes are a time saver!)
  • 1 1/2 cups canned pineapple pieces (I roughly chopped them into smaller bits)
  • 1/2 cup sweetened cream of coconut, such as Coco Lopez (found in the alcohol section as a drink mix-in at my grocery store)

Coconut-Cream Cheese Frosting

  • 3 packages (8 oz) cream cheese, room temperature
  • 1 1/2 cups powdered sugar
  • 1/4 cup heavy whipping cream
  • 1/4 cup sweetened cream of coconut, such as Coco Lopez
  • 1/2 teaspoon of salt


  1. Heat the oven to 350 degrees.  Spread the macadamia nuts in a single layer on a baking sheet and toast them in the oven for 7 to 9 minutes.  Leave the oven on.
  2. Evenly space your oven racks so that one is 1/3 from the bottom of the oven and the other is 1/3 up from that.
  3. Line three 9″ cake pans with circles of parchment paper  and spray with non-stick baking spray.
  4. In a large bowl, whisk together the flour, sugar, baking soda, salt, cinnamon, nutmeg, coconut and macadamia nuts.
  5. In another large bowl, whisk together the eggs, vanilla, oil, carrots, pineapple and cream of coconut.
  6. Add the wet ingredients to the dry and mix until thoroughly combined.
  7. Evenly divide the batter amongst the three cake prepared cake pans and arrange the pans in the oven so that two pans are on one rack, the third is on the other rack, and that none of the pans are directly above or below the others.
  8. Bake for 30-35 minutes (or, in my case, closer to an hour-put some tin foil over the top if it starts to darken too much, but before taking it out, make sure that the center is fully set and that a cake tester comes out clean and not sticky whatsoever.)
  9. Cool the cakes on a wire rack for 5 minutes still in their pans, then invert them and cool completely before frosting them.
  10. Beat the cream cheese and powdered sugar together in a large bowl until combined and creamy.  Add the whipping cream, cream of coconut, and salt and beat until combined and smooth.
  11. Frost the cakes according to your desire- the cake layers did sink just a little bit so I added a bit of extra frosting to make them sit evenly on each other.
  12. To make the toasted shaved coconut, set your oven on broil, spread 1-2 cups of the coconut in a single layer on a baking sheet and toast for 2 minutes, stir the coconut so that it is redistributed for even browning, and toast for another 2 minutes until golden brown.  Let cool before sprinkling it over the top of the cake.  Enjoy!

Rebecca notes: “The cake can be covered with plastic wrap and refrigerated up to 4 days.  Let it cool in the refrigerator about 1 hour before covering to ensure the frosting has hardened and will not stick to the plastic wrap”.  I can add that I hate hate hate cake in the fridge because it dries out and doesn’t taste as good, but this cake is so moist and flavorful that it was great straight from the fridge even.  If serving a whole cake to friends, though, I’d let it warm up 30 minutes or so before serving.

Rather Rich Corn Muffins

Monday, March 12, 2012

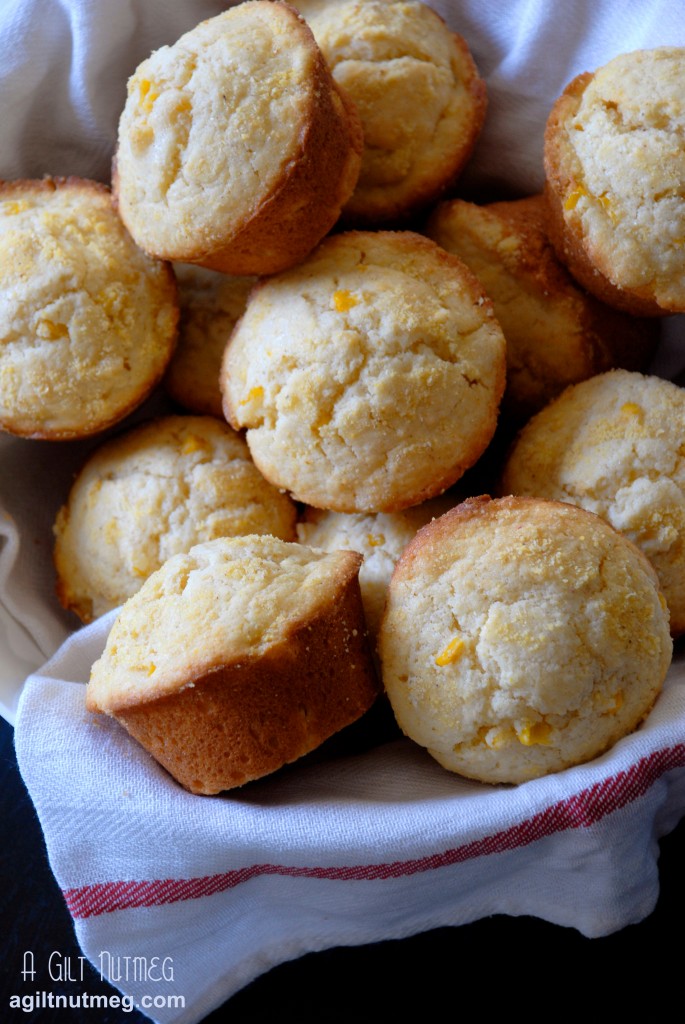
I don’t know if words can even begin to describe these corn muffins.  I mentioned in a previous post that a friend had a rating system for tiramisu all over the city of LA.  Well, The Boyfriend has a similar system in place for corn muffins and cornbread.  Currently, his favorite is at a restaurant called Bandera, and while I know that Bandera’s cornbread still has a stronghold on his heart, I think he was pretty impressed with these corn muffins.  I know I was at least:

This recipe makes some of the most delicious, tender, delicate corn muffins I have ever had the pleasure of eating!  I almost can’t believe that they came out of my kitchen.  The only change I made to the recipe was to use fine ground corn meal instead of coarse ground, mostly just because that was all I had on hand.  That said, I think the texture of the fine ground corn meal was what contributed to such a tender muffin while still giving it the occasional chewy grains that I love so much in corn muffins.  The recipe below is for a half batch-it makes about 12 muffins.

Pay no attention to the name, “Rather Rich”…just ignore it and savor them and forget about the health level of muffins made entirely with heavy cream.  Amanda, of Fake Ginger, hosted this recipe on Project Pastry Queen way back in February of 2010, but I sure am glad I came back to try them!  Many of the other members loaded the muffins up with cheese and jalapenos and such, so check out everyone’s versions here.

Rather Rich Corn Muffins
Adapted from The Pastry Queen
Makes 12 muffins

  • 6 tablespoons unsalted butter, melted and cool
  • 1 1/2 cups heavy cream
  • 2 eggs
  • 1 3/4 cups flour
  • 3/4 cup fine corn meal
  • 1/2 cup sugar
  • 1 tablespoon baking powder
  • 1/4 teaspoon salt
  • 1/2 cup canned corn kernels
  1. Heat the oven to 350 degrees and thoroughly spray a muffin tin with nonstick baking spray.
  2. Mix the melted butter, cream and eggs in a large mixing bowl.
  3. Stir in the flour, cornmeal, sugar, baking powder and salt until ingredients are combined.
  4. Stir the corn into the batter, then evenly divide the batter among the 12 muffin cups.  Sprinkle some additional cornmeal over the top of the batter.
  5. Bake for approximately 15 minutes until the muffins are light brown around the edges and firm when you press them on top.
  6. Let them cool in the muffin tin for 5-10 minutes, because they’ll be fragile at first, but be sure to take them out of the pan and let them cool on a wire rack so they don’t get soggy.
  7. They’ll be best served warm; but it seems Rebecca too has discovered my favorite way to eat a corn muffin: cut in half, toasted, smeared with butter!

Rum Pecan Pound Cake

Monday, February 27, 2012

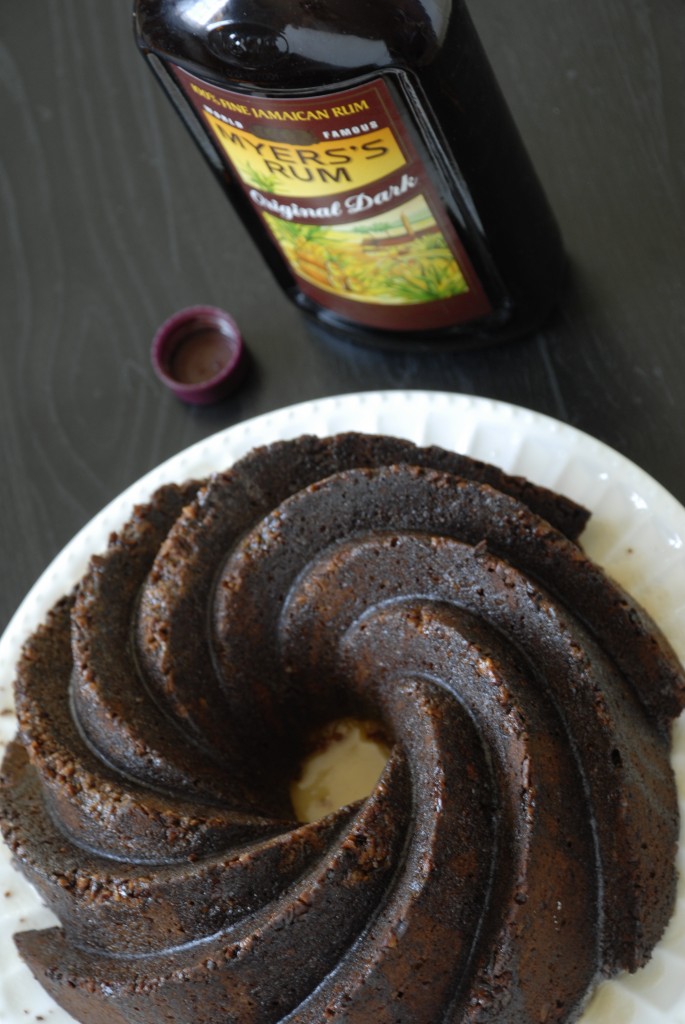
rum pecan pound cake

If you don’t like rum, then this is not the recipe for you: this is a VERY rummy pound cake.  I’m not sure why exactly my cake turned out so very dark-I baked it to the time Rebecca suggested and it didn’t seem overbaked on top, so I was quite surprised to see it pop out of the mold this color.  The cake sure tasted fine and was certainly the right buttery color on the inside, so I’m not too worried.

Overall, I’m not the biggest fan of rum, but if you want an adult cake for an adult gathering, this is certainly a recipe you should give a try.

Shawnda picked this recipe and you can see how the other PPQ’ers liked the recipe here.

Totally Rummy Pound Cake
from The Pastry Queen by Rebecca Rather

For the cake:

  • 1 1/2 cup pecans
  • 2 sticks unsalted butter, room temperature
  • 2 1/2 cups sugar
  • 5 large eggs
  • 3 cups flour
  • 1 teaspoon baking powder
  • 1/2 teaspoon salt
  • 2/3 cup sour cream
  • 1 tablespoon vanilla
  • 1/2 cup dark rum

For the glaze:

  • 1/4 cup unsalted butter
  • 1/4 cup water
  • 1/2 cup sugar
  • 1 tablespoon freshly squeezed lemon juice
  • 1/4 cup dark rum
  1. Heat the oven to 350 degrees and grease a 10-12 cup bundt pan.
  2. Spread the pecans out on a baking sheet and bake them for 5-7 minutes.
  3. Take 1/4 of the pecans and coarsely grind them in a food processor.  Keeping the rest of the pecans separate, roughly chop them and put them aside.  Use the 1/4 cup of coarsely ground pecans to dust the inside of the greased pan.  Shake the pan around so that it’s evenly coated in pecans.
  4. In a large mixing bowl, beat the butter for 1 minute.  Add the sugar and beat for 2 additional minutes, scraping the sides of the bowl down with a spatula.
  5. Add the eggs and beat for 2 minutes.  The batter should be light yellow and well incorporated at this point.
  6. In a separate medium bowl, combine the flour, salt and baking powder and mix together.
  7. Add approximately one third of the flour mixture to the butter-sugar mixture and beat on low until the flour is fully incorporated.  Add half the sour cream and mix.  Repeat with the next third of the flour, the rest of the sour cream, then the rest of the flour mixture.
  8. Finally, add the vanilla and rum, beating until thoroughly incorporated, then gently mix in the chopped pecans that were set aside.
  9. Pour the batter into the prepared pan and bake about 1 hour 20 minutes (although I wonder if that time is too much-keep checking yours and pull out as soon as the top seems done and slightly springs back when pressed).
  10. Let the cake cool 15 minutes then invert it onto a wire cooling rack and let it cool for an hour before serving.  In the meantime, make the glaze.
  11. In a small saucepan, melt the butter and add the water, sugar, lemon juice and rum.  Bring it to a boil for one minute before taking it off the heat.
  12. Poke the cake repeatedly all over with a toothpick or wooden skewer and then pour the glaze all over the cake.  The instructions say to pour all of the glaze over the cake, but there’s so much of it, that I poured only about 2/3 of it before I decided that it was just too much glaze.  You can use your best judgement over how much glaze you want to use.
  13. Rebecca suggests that the pound cake flavors will mellow overnight, so  try baking it a day or two before you plan to serve it.  Enjoy-but try not to get drunk off two slices!


Mexican Chocolate Cake

Monday, February 20, 2012

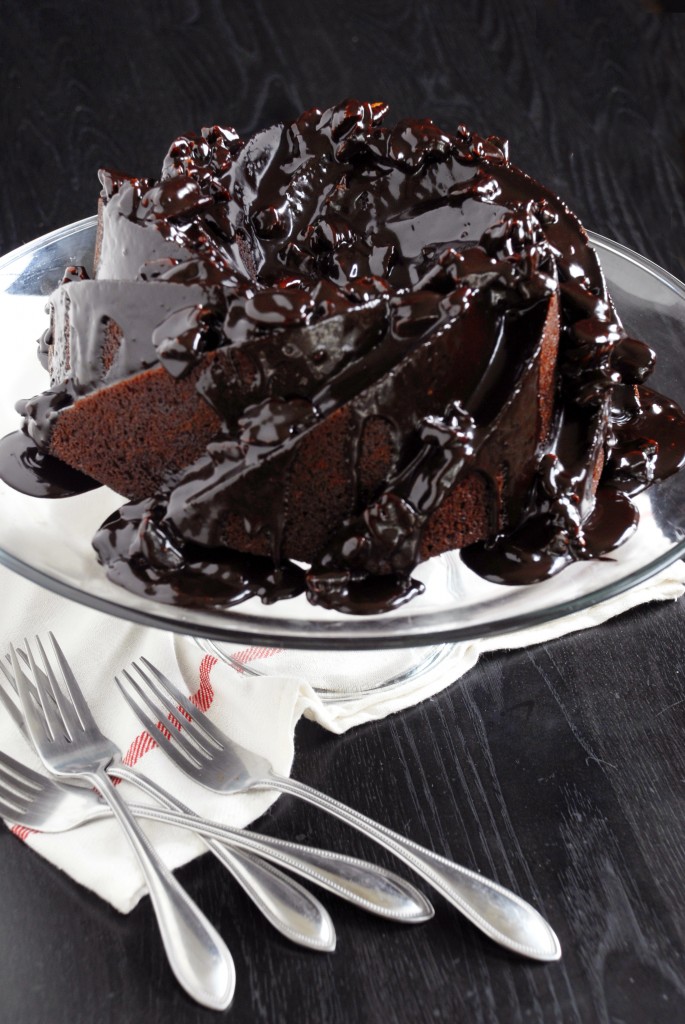
mexican chocolate cake

So every once in a special while my friend hosts Taco Night at a nearby bar.  They don’t normally allow outside food in, but Jake charms them and this Polish (yes, Polish) bar lets Jake bring in 100 tacos for his friends to feast on.  So in honor of Tacozawa night, I did this week’s Project Pastry Queen project a little early and was able to bring Mexican Chocolate Cake to go with the tacos.  In a testament to Rebecca’s recipe, the cake got more compliments than the tacos, which I’m pretty sure is a first!

The cake is light in texture but rich in flavor and the glaze is…well, it’s the icing on the cake.  Except for the little problem I had with the glaze seizing up on me (turning super gritty to the point of no return-it was my fault for having the heat on too high) and having to start over on it, this cake is super simple and took almost no work at all.  The cinnamon in the batter makes this a very fun and refreshing change from your normal chocolate cake and at Tacozawa I was even told from someone whose family is actually from Mexico that this cake tasted extremely authentic.  Bring it to your next gathering and it’ll be the talk of the party!

Note: I used E. Guittard Cocoa Rouge for the cocoa powder in this recipe and it was absolutely delicious.  I think it’s the reason my cake almost came out jet-black and so rich in chocolate flavor.  I highly recommend it!

Check out the other PPQers take on this recipe here and thanks, Jen, for a fantastic choice this week!

Mexican Chocolate Cake
From The Pastry Queen by Rebecca Rather

Cake

  • 1 cup unsalted butter
  • 1/2 cup unsweetened Dutch-process cocoa powder
  • 3/4 cup water
  • 2 cups sugar
  • 2 eggs
  • 1 cup buttermilk
  • 2 tablespoons vanilla extract
  • 2 cups all purpose flour
  • 1 tsp baking soda
  • 1 1/2 tsp ground cinnamon
  • 1/4 tsp salt

Glaze

  • 1 cup pecans
  • 1/2 cup unsalted butter
  • 1/4 cup milk
  • 1/2 cup high-quality cocoa powder
  • 2 cups sifted powdered sugar (sift first, then measure the 2 cups of sugar out)
  • 1 tablespoon vanilla extract
  • 1/4 tsp salt
  1. Heat the oven to 350 degrees and heavily grease a 9″ tube pan or a Bundt pan (this was my first foray into owning a Bundt pan and, as you can see, I went for the vintage shaped pan instead of the more traditional shape).  If you don’t have baking non-stick spray, use butter and then sprinkle the inside with flour, tapping the excess out of the pan.
  2. In a large saucepan, melt the butter over medium-low heat and whisk in the cocoa until smooth.  Add the water to the cocoa butter mixture and whisk until smooth, then turn the burner off.
  3. Add the sugar, eggs, buttermilk and vanilla to the cocoa mixture and whisk until ingredients are thoroughly incorporated.
  4. Add the flour, baking soda, cinnamon and salt all at once and whisk until everything is, again, fully incorporated (Rebecca warns it’s okay if there are some small lumps, but I didn’t encounter any).
  5. Pour the batter into the prepared pan and slide it in the oven to bake for 40-45 minutes, until firm yet springy to the touch and the edges start to pull slightly away from the pan.
  6. Take the pan out (leave the oven on) and let the cake cool for 20 minutes in the pan, then invert the cake on to a wire rack to finish cooling.
  7. Once you take the pan out of the oven, spread the pecans out on a baking sheet and toast them in the oven for 5-7 minutes.  Let them cool for a few minutes and then coarsely chop them.  I like lots of big pecan pieces so I didn’t chop them up too much.
  8. Melt the butter over low heat in a medium saucepan, then turn off the burner.
  9. Add the milk, cocoa and powdered  sugar and whisk until glossy.  (Warning:  My glaze seized and turned super gritty at this point so that it was completely unusable, and all of this happened super fast.  I think it was because I accidentally overheated it, which is why I had you turn off the heat in the last step.)
  10. Whisk the vanilla, salt and pecans into the glaze.
  11. Carefully move the cake onto your desired serving dish and pour the warm glaze over the top of the cake.  Enjoy-and be sure to have a glass of milk on hand!