Entries Tagged as 'Side Dish'

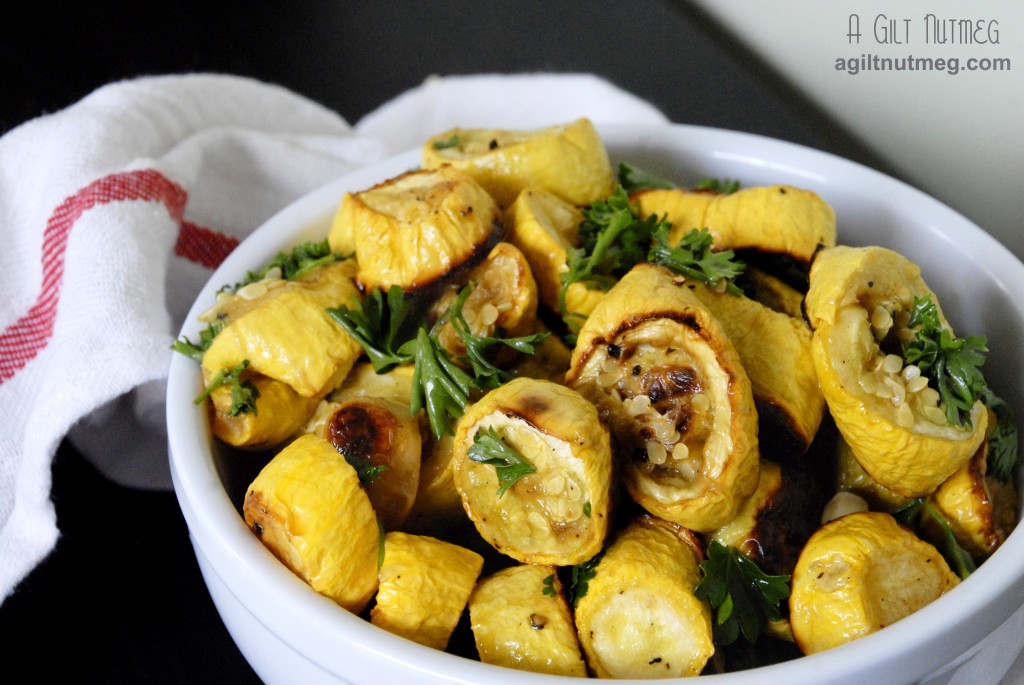
Roasted Yellow Summer Squash Salad

Wednesday, May 30, 2012

roasted yellow summer squash salad

I can’t remember not liking yellow squash.  Actually, that’s only partially true-I’m sorry, Mom & assorted other relatives, I never liked Squash Casserole, but that’s mostly because of the onions.  Other than that, you can happily feed me yellow squash any way you can: grilled, fried, sauteed, stir fried, roasted, baked in this awesome vegetable lasagna I made this weekend…the possibilities are endless.  When you want yellow squash fast and portable, this is the recipe you should turn to; I made it for a picnic and it was fantastic both warm (I snuck some out of the oven) and cooled after being transported in the picnic basket.  Full of roasted squash flavor, the parsley and lemon bring out fresh acidic flavor notes and the olive oil deepens the flavor profile.  This was the easiest dish I made for that entire picnic, so don’t hesitate to give it a try!

Roasted Yellow Squash Salad
Adapted from Martha Stewart
Serves 4-5

  • 5 lbs yellow squash, sliced into 3/4″ - 1″ thick rounds
  • 6 cloves garlic
  • 3 tablespoons olive oil
  • coarse salt and pepper
  • 1 large handful of fresh parsley (either flat-leaf or curly-leaf fine)
  • freshly squeezed juice from one large lemon
  1. Heat oven to 475 degrees and line one or two rimmed baking sheets with tin foil.
  2. In a large mixing bowl, combine the sliced yellow squash, garlic cloves, 2 tablespoons of olive oil, and salt and pepper and mix with your hands until the squash is thoroughly coated in the oil and seasonings.
  3. Spread out the seasoned squash in an even layer on the baking sheets and bake for 45 minutes to an hour until the squash is nicely browned (be sure to check underneath-my squash were almost too dark on the bottom and I wouldn’t have realized it because the top wasn’t even close to that brown).
  4. Pull the baking sheets out of the oven and let the squash cool on the sheets.
  5. Move the squash back into that big mixing bowl, add the last tablespoon of olive oil, the parsley and lemon juice and toss to coat.  Add extra salt and pepper if you think necessary.
  6. Serve warm, room temperature, or cold from the fridge, it’s up to you, because it will be delicious either way!  Enjoy!

Zucchini Rice

Wednesday, May 2, 2012

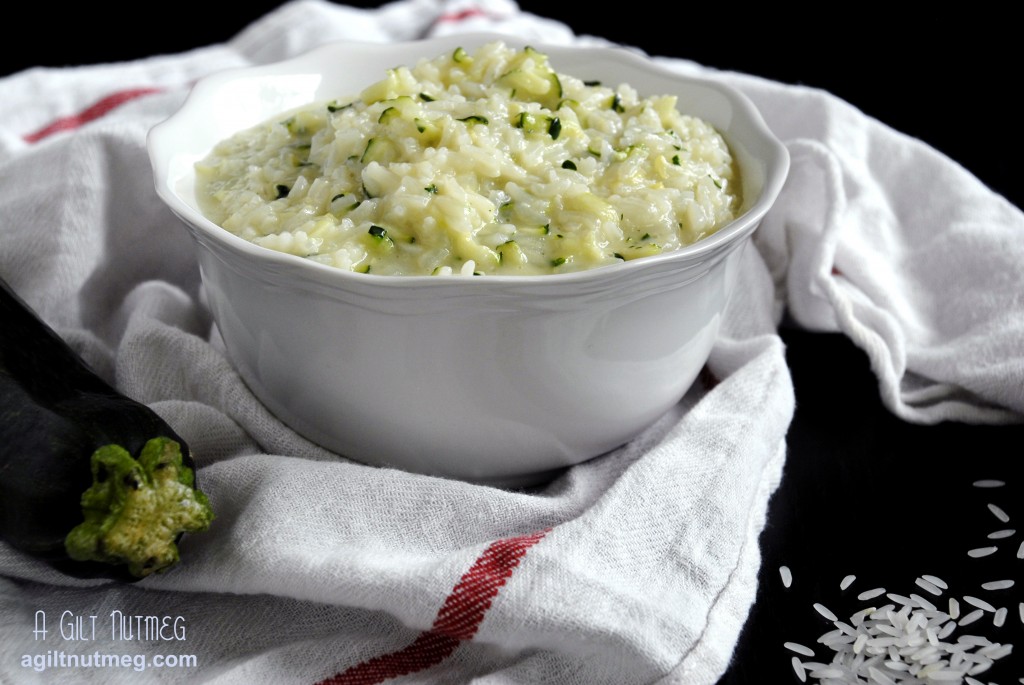
zucchini rice

I have a busy week this week, so I’ve been making some quick dishes and sneaking in some veggies wherever I can to keep my nutrients level up.  This cheesy zucchini rice is quick and comforting and I imagine would go well with any protein you’d care to pair it with (I ate mine with a chicken I roasted a few days ago), while at the same time getting in at least a little bit of vitamins in there.  In fact, and not that I don’t like zucchini, but I was pretty surprised at how little I was able to taste the zucchini in this dish both flavor and texture wise, so if you have picky kids out there, this would likely be a great side dish to try on them!

Zucchini Rice
Adapted from Pink Parsley

  • 2 cups chicken broth
  • 1 cup jasmine rice, or other long grain white rice
  • 2 Tablespoons butter
  • 1 large zucchini, grated on the large holes of a grater
  • 1 cup shredded cheddar or gruyere
  • salt to taste
  1. If the instructions on the rice call for it, rinse the rice.
  2. In a saucepan, bring the chicken broth to a boil, add the rice, cover it with a lid and bring the heat down to low.
  3. Cook the rice for 20 minutes, then turn off the heat.
  4. Drop the butter and zucchini into the pot on top of the rice, replace the lid and let it stand for 5 minutes so that the zucchini softens in the steam.
  5. After the 5 minutes, stir the zucchini into the rice, then stir the cheese into the rice and season with salt to taste.  Enjoy!

Roasted Cabbage

Friday, December 30, 2011

I know a lot of you are trying to eat healthy after the holidays and as part of your New Year’s Resolutions.  I can warn you that this is the last healthy recipe of 2011 and that you should probably just ignore the blog for a week because I’m starting off the year with something that will derail that diet of yours before January 2nd is even done.

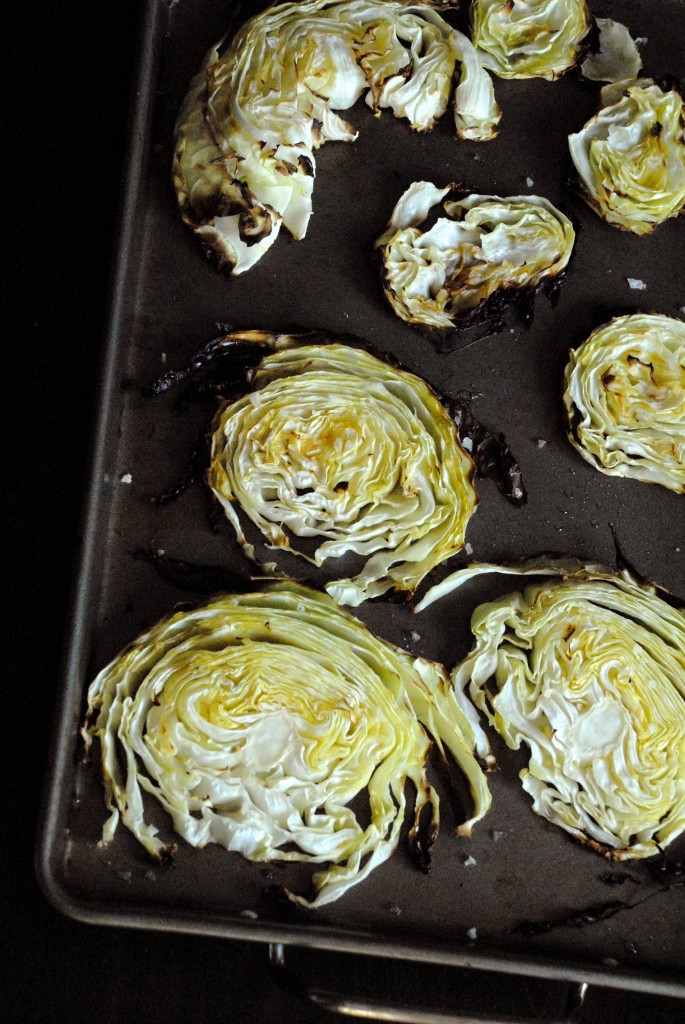
Now that all said, I really do love cabbage.  I don’t know why or how I came to love cabbage, but I really do love it.  Mom would always steam it and add butter and salt to it (never pepper, which hides the natural sweetness of the cabbage for some reason).  Steamed cabbage isn’t very pretty, though, so I’m willing to bet it won’t convert any non-cabbage eaters, whereas this recipe just might.  Roasted in olive oil and sprinkled with salt, I could barely wait for the cabbage to cool before I was picking the rounds up off the cookie sheet with my fingers and eating them as if they were some odd looking savory cookie.  With hardly any work involved, this is a great way to start off the new year with a healthy kick as a side dish or even just a delicious snack!

Roasted Cabbage

Adapted from Martha Stewart

  • 1 head of green cabbage
  • olive oil
  • sea salt
  1. Preheat oven to 400 degrees and brush a cookie sheet with olive oil (I pour a little in the pan then swirl it all over with a paper towel).
  2. Slice cabbage into thin slices, about 1/2″ - 3/4″ thick and arrange on oiled cookie sheet.
  3. Lightly drizzle more olive oil over cabbage slices and sprinkle with sea salt.
  4. Roast in oven for 30-40 minutes until the outside edges are starting to get toasty and crunchy and the inside is tender.
  5. Serve immediately and enjoy!

Parmesan Orzo

Monday, November 14, 2011

What a weekend!  The International Food Bloggers Conference was everything I had hoped for and more!  Hopefully you’ll be seeing many improvements coming to the blog very soon (and French macarons now that I’ve had some hands on practice with them).  That said, the one side effect I never expected as a result of IFBC was the food hangover that resulted on Sunday.  I’ve heard people complaining about being sick after too much rich food, but always thought that was ridiculous…until today.  Chef Michael Moore’s dinner was great, but I could barely bike home afterwards and couldn’t even make it to bed-I immediately passed out on the couch instead.

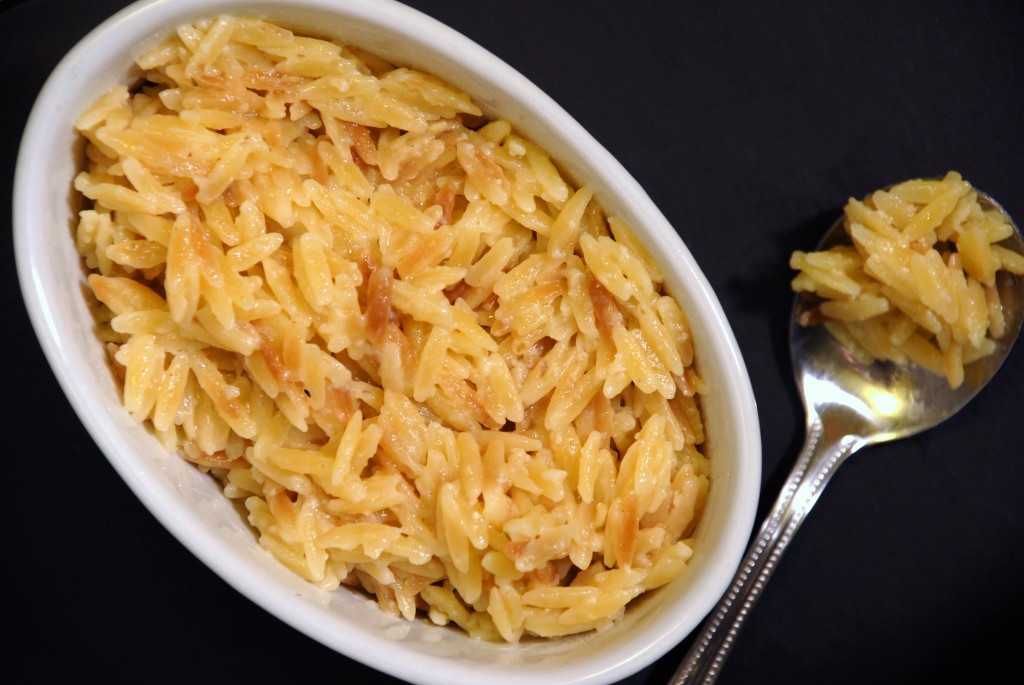
After all that food and, frankly, just being exhausted from a long weekend, I needed something super easy and not too heavy to throw together for dinner tonight.  I had been thinking about making this parmesan orzo for quite a while now, and now that I’ve had a chance to make it I can say that that is just as easy as it looks-it will be ready in less than 20 minutes, most of which are hands-off.  It’s great as a side dish, but tonight the BF and I got some roasted red pepper and garlic chicken sausage, sauteed them, sliced them, and threw them into the pasta.  It made a good filling dish for him, but was still light enough that I didn’t need to be rolled to bed.

Parmesan Orzo
Serves 2-4, depending on serving method
Adapted from Cooking Light via CheapHealthyGood

  • 1 tablespoon butter
  • 1 cup orzo
  • 1 1/4 cups water
  • ¾ cup chicken broth
  • ½ cup white wine
  • ¼ cup grated parmesan
  • 1 tablespoon olive oil
  • salt
  1. In a saucepan, melt butter over medium heat.  Pour the orzo in to the saucepan and cook orzo in the melted butter for 3 minutes until some of the pieces turn toasted brown, stirring periodically.
  2. Add white wine, water, and broth, and bring to a boil (careful, it’ll make a loud noise and lots of steam when you do this, since you’re adding liquid to a dry pot).  Lower heat to a simmer and cook for 15 minutes, until most of the liquid is gone.
  3. Remove pan from heat and stir in parmesan and olive oil; salt to taste and serve piping hot.

Garlic Corn on the Cob

Wednesday, August 3, 2011

For those of you who didn’t see my ecstatic posts on Facebook this weekend (follow A Gilt Nutmeg on Facebook here!), I was at the Garlic Festival in Gilroy, CA last weekend.  The boyfriend and I can actually eat garlic raw and were disappointed with the lack of garlic at the entirely garlic-centric menu at “The Stinking Rose.”  So finally we were going to get a proper dose of garlic!  And proper dose we did: garlic bread, garlic tamales, deep fried garlic, garlic pesto, garlic ice cream (which is actually one of my favorite flavors of ice cream ever)…but one of the best things we ate was garlic corn on the cob.

Daniel and our friend, Rhianan, enjoying their corn.  I was digging into the deep fried garlic at the time, but I snuck bites of Daniel’s corn whenever he wasn’t looking.

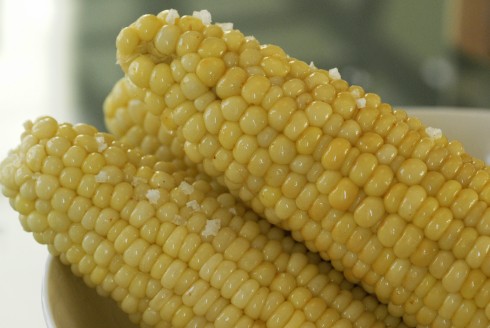
So home we went, stopping on the way for those amazing strawberries from Monday’s post and fresh picked corn, 6 for $1.  Is there any need to guess what my plans for the corn were?  It was my mission to try to recreate the amazing clean, clear butter-garlic flavor on the sweet fresh corn we ate the day before.

One of the cooking tricks I pulled out of the hat for this one was something called “blooming”.  As spices get older, they lose flavor and heat (if they’re spicy).  The remedy for this is to “bloom” the spices by heating them in oil or butter for a minute or so.  It magically brings back all the flavorful oils in them and your taste buds will thank you!  I’ve also discovered that clarifying your butter really set the garlic and sweet corn flavors off the best-I’m never going back to slapping a cold pat of butter onto my corn again.

Aim for farmers markets or farm stands for your corn.  Dad taught me long ago that there are few things better than fresh farm corn-he used to drive all the way to New Jersey to get fresh corn from the farm stands.

Garlic Corn on the Cob

  • fresh ears of corn, stripped of leaves and “silk” (the stringy bits)
  • 5 cloves of garlic, sliced
  • 1 tablespoon of butter per ear of corn
  • 1 teaspoon garlic powder (or to taste)
  • high quality salt
  1. Set a large pot of water boiling and toss in approx 2 sliced cloves of garlic.  Set ears of corn into boiling water and boil for approx 15 minutes or to desired doneness.  I remember growing up we just turned off the burner and left the corn in the pot of hot water until we went back for seconds, so I don’t think there’s really a danger of overcooking it.
  2. In the meantime, gently melt the butter in a small saucepan.  After it’s completely melted, tilt the pot forward and carefully use a spoon to remove just the white floaty bits-these are called the milk solids.  Voila, clarified butter!  You’re ready for lobster…or really amazing corn.
  3. Add the rest of the sliced garlic plus the garlic powder to the butter and stir.  Remove from heat after a few minutes and brush the butter over the ears of corn.  I leave the garlic slices behind, but if you want to brush them over the corn as well, be my guest-there’s really never too much garlic in my book!  You’ll probably want them minced instead of just sliced if you plan on doing this, so the garlic bits can stick to the ears of corn.
  4. Sprinkle with some good salt and get ready for a delicious treat!  On one final note: I mentioned that there is never enough garlic for me.  This recipe will give you a delicate, even garlic flavor for your corn.  I absolutely kicked it up an extra notch by sprinkling additional garlic powder directly on the corn as well, but that level of garlic is not for everybody :)

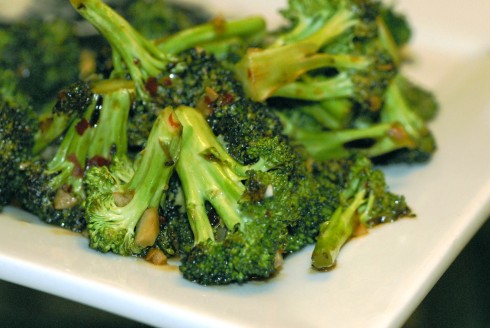
Stir-Fried Broccoli with Chili-Garlic Sauce

Wednesday, July 27, 2011

Chinese food has long been my go-to comfort food.  No matter where I live, there’s always at least one hole-in-the-wall Chinese food restaurant where the waiters know my face and ask if I want “the usual” (“the usual” for me is won-ton soup and beef and broccoli).  I always knew that I should be able to make this at home, given how much I eat it, but I always just left it to the professionals because the ingredient lists were daunting and I didn’t have a wok.  Until this recipe.  I still don’t have a wok, but I’ve certainly got a new way to whip up some broccoli quickly when I get home from work, since I had 75% of the ingredients already in my fridge.

I ran to the store to pick up some ingredients-my local Vons had no chili-garlic sauce, but they did have a giant $10 bottle of sesame oil.  No way! I would be skipping sesame oil and the sherry, because I just didn’t want to spend the money.  So I headed to Whole Foods, since they have a strangely more international section than any super grocery store for the chili-garlic sauce.  Lo and behold, they had a smaller $5 bottle of sesame oil and I grabbed it.  Once I got home, I opened the bottle of sesame oil and hesitated before taking a sniff…and that one sniff changed my whole perspective of making Chinese food at home.  Sesame oil IS the smell of Chinese food!  I couldn’t believe that all this time I had been foregoing what was probably the most important ingredient of Chinese food.  No wonder it never tasted as good as what I got from the local take-out place!

Stir-Fried Broccoli with Chili-Garlic Sauce
Serves 2
Adapted from America’s Test Kitchen Cooking for Two 2011

  • 2 tablespoons low-sodium chicken broth
  • 1 1/2 teaspoons soy sauce
  • 1 teaspoon Asian chili-garlic sauce
  • 1/2 teaspoon sesame oil
  • 1/2 teaspoon cornstarch
  • 3 1/2 teaspoons vegetable oil
  • 2 garlic cloves, minced
  • 1/8 teaspoon red pepper flakes
  • 12 ounces broccoli florets
  • 1/8 teaspoon sugar
  1. In small bowl, whisk broth, soy sauce, chili-garlic sauce, sesame oil, and cornstarch together until well combined
  2. In second small bowl, combine 1/2 teaspoon of vegetable oil, garlic and red pepper flakes
  3. Heat remaining 1 tablespoon vegetable oil in 12-inch non-stick skillet over medium-high heat until just smoking.  Add broccoli and sugar and cook, stirring frequently, until broccoli is well browned, 5-7 minutes.
  4. Stir in garlic-oil mixture and cook until fragrant, about 15 seconds.  Add broth-soy sauce mixture and toss until broccoli is evenly coated.

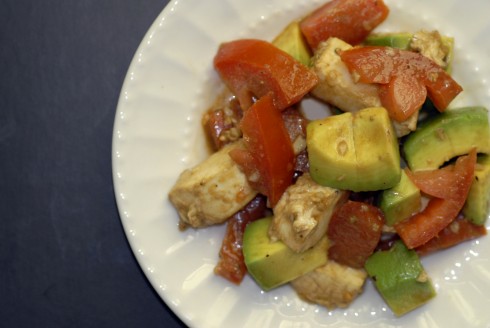
Tomato Mozzarella Avocado Salad

Wednesday, July 20, 2011

It is a decided fact that you cannot take a good photo of beautiful, snow white mozzarella once it’s been tossed with balsamic vinegar.  The good news is, this salad is DELICIOUS.  It’s what got me eating avocado finally after a good two years of living in California and turning my nose up the stuff.  It also got my roommate eating tomatoes, so I’m pretty sure this salad has secret magic in it.

Best of all, it can be thrown together in the miniscule time it takes you to chop up 4 little ingredients.  I was so hungry when I got home from yoga last night that I was literally was “throwing” the salad together.  It was as if there was a race between me and my stomach-if I win, I get fed, if my stomach wins, I die of starvation.

That all said, this is delicious Californian start to any meal or a meal in itself and shows off the best of California summer produce.

Tomato Mozzarella Avocado Salad
serves 2-4 as a side

  • 1 ripe tomato
  • 1 ripe avocado
  • 3 golf ball sized fresh bocconcini or a handful of smaller sized mozzarella balls, the kind found in a container of water
  • 3 cloves of raw garlic (this will make for a spicy salad, which is delicious, but you can adjust to your own taste)
  • balsamic vinegar
  • olive oil
  • salt & pepper

…I’m not sure instructions can get any easier than this….

  1. Chop tomato and avocado; toss into bowl (for full disclosure…I get rid of the tomato seeds…they’re a culinary pet peeve of mine)
  2. Chop bocconcini into bite sized pieces, if using small mozzarella balls, slice in half; toss into bowl
  3. Finely chop garlic cloves; toss into bowl
  4. Drizzle contents of bowl with 2 parts balsamic vinegar and 1 part olive oil
  5. Salt & pepper to taste
  6. Enjoy!

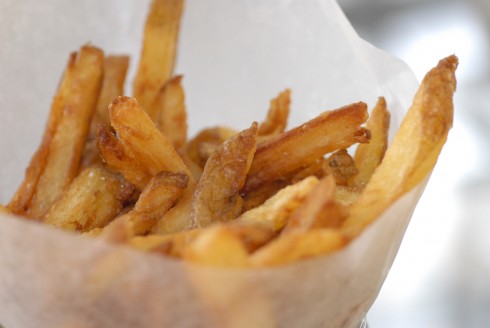
French Fries

Thursday, July 7, 2011

What’s better than french fries?  Pretty much nothing, so then you have to get down to the nitty gritty and pick out which french fries are better than others.  It’s hard to beat the sweet potato fries from Father’s Office down the street here.  It’s also hard to beat good old McDonald’s fries fresh from the fryer.  The best, though, may be those you make at home.  They’re healthier, tastier, and surprisingly easy to make.

I do admit that I’ll need to give these a second go round, as I beat them up pretty badly while stirring too much as they were frying.  They ended up mostly little fried crispy ends, which, luckily enough are my favorite part of eating an order of fries, so I can’t complain that much!  They’re best eaten fresh, of course, so don’t bring them to a pot luck and try to time the rest of dinner accordingly.

Note: Unfortunately, because of the cold oil frying technique used, I’m told this recipe will not work with sweet potatoes or even normal Russet potatoes which are more commonly found in grocery stores than the Yukon Golds.  Regardless, you shouldn’t have much trouble finding the Yukons.

French Fries
adapted from Summer Entertaining 2011
serves 3 - 4

  • 2 1/2 lbs Yukon Gold potatoes (not the baby new potatoes; try to get at least palm-sized)
  • 6 cups peanut oil
  • good salt
  1. Slice the potatoes into french fry shapes, which is a lot easier than expected.  First of all, wash them but there’s no need to peel them (Yukon Gold skin is very thin). Slice off a thin slice from each of the 4 “sides” of the potato, so that it lies flat on the cutting board without rolling around.  Cut the potato vertically into 1/4″ slices, lay those slices flat, stacking them on top of each other, and cut vertically again into 1/4″ french fry sticks.
  2. Put peanut oil and sliced potatoes into a large pot.  Turn the burner on high so that the oil comes to a full rolling boil, which should be about 5 minutes. It’ll be hard, but don’t stir them for another 15 minutes, just let it boil.
  3. After 15 minutes are up, you can gently stir the potatoes, scraping up any that stuck to the bottom.  Keep cooking, stirring occasionally, until golden and crisp.  Summer Entertaining said it will be another 5-10 minutes.  I think mine took an extra 20 minutes at least and I have no idea why!  The fries were just chewy until they started to crisp up properly, so have patience, because they were worth the wait.
  4. Once golden, scoop out of the grease and place on a paper towel-ed plate to drain.  Now for a fancy chef trick, transfer the fries to a mixing bowl (metal is normally used), and sprinkle salt over them with one hand as you toss the fries around with the bowl in your other hand.  Feeling chefy already, right?

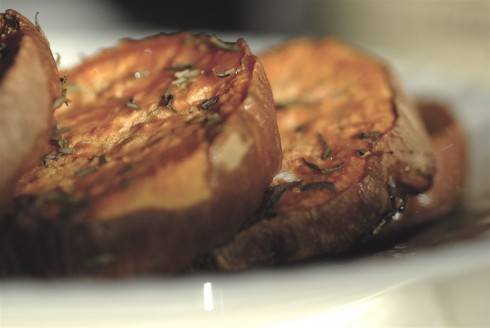
Maple Thyme Roasted Sweet Potatoes

Thursday, June 2, 2011

I promise that I will start sharing some fancy desserts soon, but, full disclosure: my boyfriend AND roommate have both been out of town and I can’t be trusted alone in the house with, say, a cake sitting on the counter.  Or a plate of brownies.  Or lemon squares.

So in the meantime, I’ve been at home cooking healthy for just me.  I ended up with a couple of sweet potatoes and while I typically bake and mash them with some butter and salt and pepper, I found myself wanting something a little fancier-I figure if you’re not excited to eat what you’re making, what’s the point?  And this recipe is what came out of it.  A little sweet, a little salty, a little savory and a great way to transfer that sweet potato sitting on top of your fridge into a fun side dish or even a good little dinner by itself, if you’re not too hungry (for example, me, tonight).

Maple Thyme Roasted Sweet Potatoes

Note:  I’m pushing you baby birds out of the nest and teaching you to fly-no measurements here, you’ll just have to decide what fits your tastes!

  • 1 sweet potato per person
  • maple syrup
  • thyme
  • fleur de sel or another coarse sea salt
  1. Heat oven to 400°
  2. Scrub the sweet potato(es) and slice into approx 1/2 inch thick rounds
  3. Place slices, flat side down, in single layer in a glass baking dish
  4. Drizzle with maple syrup-I keep it pretty light, but it can certainly handle more than what I put on
  5. Sprinkle with thyme and salt
  6. Bake until slices are soft, about 20 minute

Bon Appetit!