My Aunt Fannie Mae is famous in my family for her Red Velvet cake. As such, Red Velvet was the traditional Southern layer cake that I remember growing up with (well, that and the Coconut Cake we always had at Christmas, but that wasn’t homemade). It wasn’t until recently that I started learning about other Southern layer cakes long steeped in tradition- Hummingbird Cake, German Chocolate Cake, and now Caramel Cake. Out of those three I just listed, Caramel Cake “takes the cake” by far in my opinion (pun intended). I mean, really: it’s got fantastically fluffy yellow cake layered with frosting that tastes exactly like a Werther’s Original candy. It was irresistible! Granted, I don’t have an overly sweet-tooth, so only one slice was plenty for me, but that one slice was outstanding. The one tricky aspect was the frosting-as it cools, a crystallized sugar crust forms on the frosting (delish!) instead of whipped soft creaminess of buttercream frosting, so you have to frost quickly and not aim for too smooth a finish.
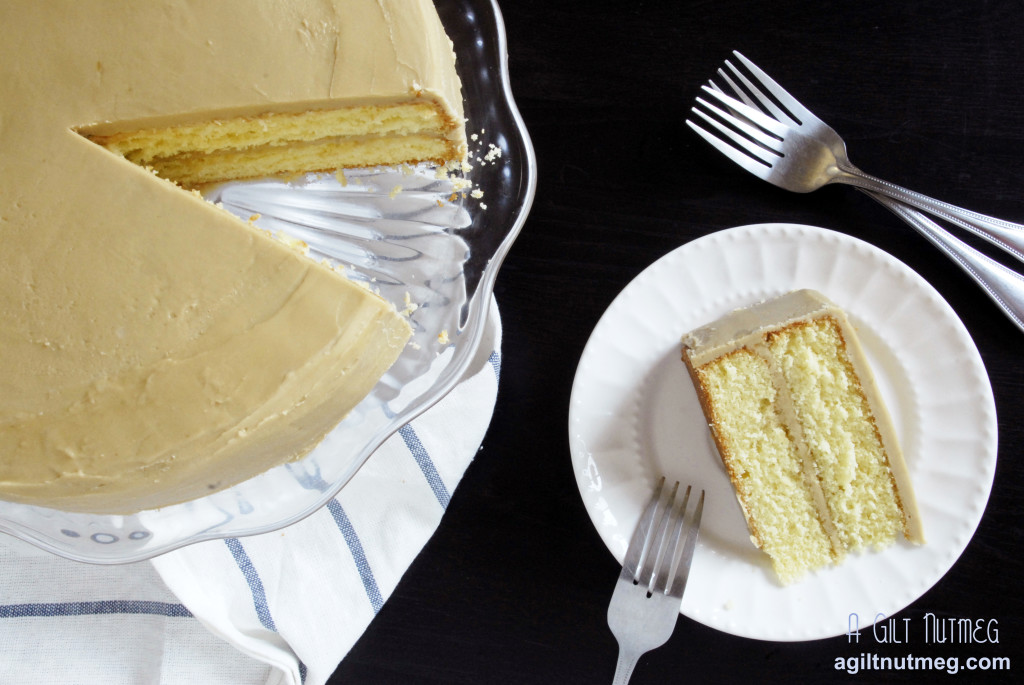
Southern Caramel Cake
from America’s Test Kitchen Season 12
- 1/2 cup buttermilk, room temperature
- 4 large eggs, room temperature
- 2 tsp vanilla extract
- 2 1/4 cups all-purpose flour
- 1 1/2 cups granulated sugar
- 1 1/2 tsp baking powder
- 1/2 tsp baking soda
- 3/4 tsp salt
- 2 sticks (16 Tbs) unsalted butter, cut into pieces and softened
- 1 1/2 sticks (12 Tbs) unsalted butter, cut into pieces and softened, divided into 8 Tbs and 4 Tbs
- 2 cups packed brown sugar
- 1/2 tsp salt
- 1/2 cup heavy cream
- 1 tsp vanilla extract
- 2 1/2 cups confectioners’ sugar, sifted
- Heat the oven to 350 degrees and spray two 9″ round cake pans with baking spray.
- In a large measuring cup, whisk together the buttermilk, eggs and vanilla.
- In a large bowl, combine flour, granulated sugar, baking powder, baking soda and salt at low speed with an electric mixer.
- Add the butter, one piece at a time, until the chunks are no bigger than pea-sized.
- Add half of the buttermilk mixture to the butter-dry ingredients mixture and beat for one minute on medium speed until fluffy. Slowly pour in the rest of the buttermilk and continue to beat on medium speed until just incorporated.
- Divide the batter evenly between the two pans and bake 20-25 minutes until golden brown. While the cakes are baking, if you have just one bowl for your stand mixer and it is now dirty, take the time to wash it because you’ll need it for the frosting.
- Cool cakes in pans for 10 minutes before removing them from pans and letting them finish cooling on wire racks before frosting. If your cakes rose a bit too much in the middle, let them cool and then level off the tops with a serrated knife before frosting. I’ve also seen caramel cake with 4 very thin layers of cake instead of 2 thick layers. To do this, equally cut the 2 individual cakes horizontally so that you end up with 4 thinner cake layers and frost a thin layer between each layer of cake.
- In a large saucepan, melt together the first 8 tablespoons of butter, brown sugar and salt. When small bubbles appear around the edge of the pot after 5 or so minutes, whisk in the heavy cream and heat until the bubbles appear again a minute later. Remove from heat and whisk in vanilla extract.
- Pour the sugar mixture into a large mixing bowl and turn the electric mixer on to low. Slowly add in the confectioners’ sugar until fully incorporated.
- Bump the speed up to medium and beat the frosting mixture for 5 minutes, until it is pale brown and no longer hot (but still warm).
- Drop the 4 Tbs of butter in, one piece at a time, and beat for another 2 minutes until butter is fully incorporated.
- To frost, place one cake on your cake plate, dollop about 1 cup of frosting on top of the cake and spread it evenly over the cake. Add the second layer on top and frost the top and side of the cakes with the remaining frosting. As I mentioned above, frost quickly! Test Kitchen says you can microwave the frosting for 10 seconds or so to soften it back up, if necessary.
- Since it tastes like a rich Werther’s Original candy, be sure to have a glass of milk on hand when you cut a slice. Enjoy!