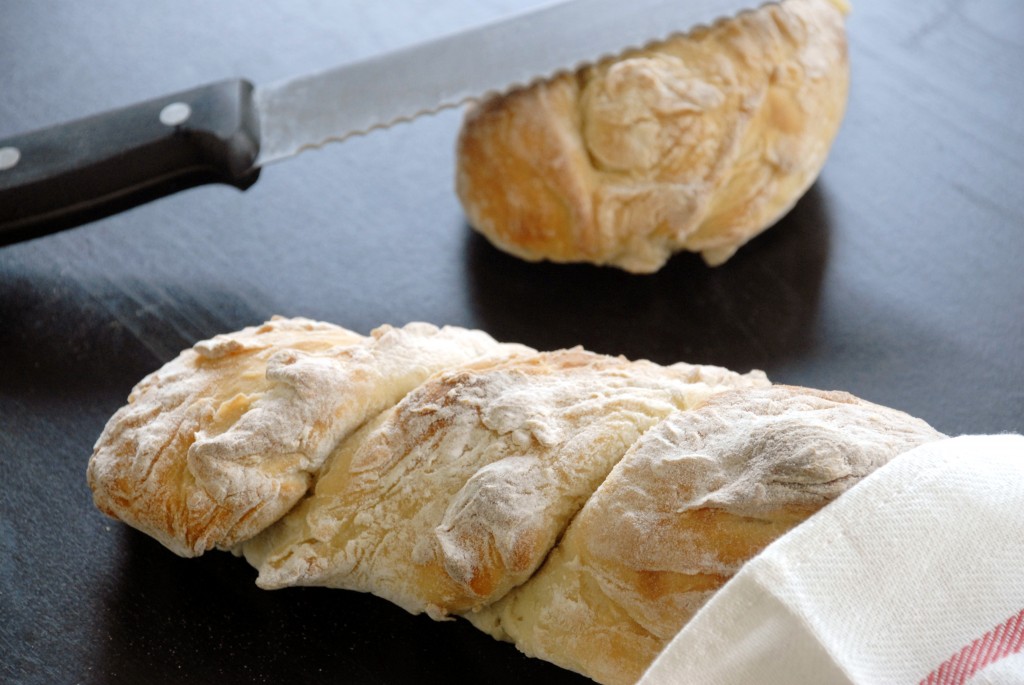
Fresh Bread in 30 Minutes
2 Dec

I will be the first to admit that this isn’t a special fancy recipe. You don’t create a sponge or set up a sourdough starter days ahead to develop great yeasty flavor. You don’t lovingly shape the loaves into perfect braids. You don’t even have to use bread flour. No, this is slacker bread. This is a practice bread to dip your toes into the (scary) bread-making world and it’s a recipe for when you don’t have time but you just really could go for a hot piece of bread fresh from the oven to go with that soup.
I will also be the first to admit (as I often do on this blog), making this recipe didn’t turn out as planned-apparently Southern California likes to play tricks on me and while the humidity is currently 33% (my throat is dry as a desert as I’m writing this), some evenings it’ll sneak up to 95% when I’m not paying attention and then when I’m trying to make bread, I have to use waaaaay more flour than the recipe calls for to even make the bread kneadable. This recipe also uses a trick to create steam in the oven (a requirement for traditional French baguettes) by tossing ice cubes in the bottom of your hot oven and quickly closing the oven door to trap it (the moisture keeps the outside from forming a crust too quickly so that the inside has time to bake up nice and fluffy first before the crust traps it). This resulted in me turning around after a few minutes to see a giant puddle of water leaking out from underneath my oven. But that’s why it’s nice to have this recipe: to understand the basics of how bread making works so that I (we) can be successful with more advanced recipes later.
Fresh Bread in 30 Minutes
Makes 2 baguettes (even though they’re not technically baguettes)
Adapted from The Family Kitchen
- 2 cups water, between 105-115 degrees
- 1 packet of rapid-rise yeast
- 2 tablespoons sugar
- 1 1/2 teaspoons salt
- 3-4 cups flour (plus maybe some extra if your humidity is playing tricks on you)
- 2-3 cups of ice cubes
- Heat oven to 425 degrees and place a large, rimmed metal baking sheet in the very bottom of your oven. A glass pan will take longer to heat so we want metal to ensure those ice cubes sizzle and steam when they hit the sheet-also make sure it’s rimmed so you don’t also have a lake forming in front of your oven like I did.
- In a large bowl, mix the water and sugar and sprinkle the yeast over the surface, let sit for 10 minutes.
- Stir in the salt and add the flour to the mixture, a half a cup at a time, mixing with a wooden spoon (it’ll get too thick for a whisk). You’re aiming for dough that you can knead without it sticking to your fingers or the board. If you get through all 4 cups of flour and your dough is still too sticky, try kneading it (on a surface dusted with flour) for a few minutes and then adding more flour, a quarter of a cup at a time until the dough is workable without you having to pull it off your fingers every other minute.
- Once it’s workable, knead the dough for 10 minutes. Kneading basics: take a handful of dough from the edge of the dough ball farthest from you, stretch it out a little, then pull it up and over into the center of the dough ball, pushing it in with your fist. Turn dough ball a quarter turn (90 degrees) and repeat.
- Let the dough rest for a few minutes while you’re covering a baking sheet with parchment paper, then cut the dough into 4 equal pieces.
- Roll (or stretch) the dough into 4 long ropes, then place them on the papered baking sheet. Twist two ropes together to form one long loaf and tuck the ends under, shaping them into nice rounded ends. Repeat with the other two ropes so that you have two loaves. At this point, let the bread rise with a towel covering it, sitting near your warm oven for 15 minutes. Or you can just put it in the oven now.
- Put baking sheet into oven (close door in meantime) then grab your ice cube, open the oven door, throw them onto the rimmed baking sheet in the bottom of the oven, and quickly shut the oven door again to trap in the steam.
- Bake for 15 minutes and check on your loaves. Mine still had plenty of time to go -I think mine baked for 25 minutes at least before it was ready-but your oven may be faster than mine. You want the loaves to be golden brown all over and to sound hollow when you tap it.
- Let cool at least for a little while so you don’t burn yourself cutting it, but be sure to grab some while it’s it still warm for you to enjoy!

No comments yet