Two Decembers ago, The Boyfriend came home to Georgia with me for his first Southern Christmas and, in a very thoughtful gesture, my Dad made a Pineapple Pie our first night home—fitting, considering pineapples are the universal sign for “welcome”. I remember Dad remarking on how much he loved pineapple pie and it stuck with me, mostly because I don’t remember us ever really making it before that Christmas.
Usually resigned to seeing my family only once a year, I have the rare pleasure of seeing my family this weekend—and it’s not even a holiday! Since Father’s Day is only a week away, I decided to take the opportunity to make Dad a little gift. Remembering the Pineapple Pie, I was pleased as punch when I came up with an idea to make Pineapple Jam, a fitting summer twist on the pie. I haven’t told him yet, so no one ruin the surprise until tonight, okay?
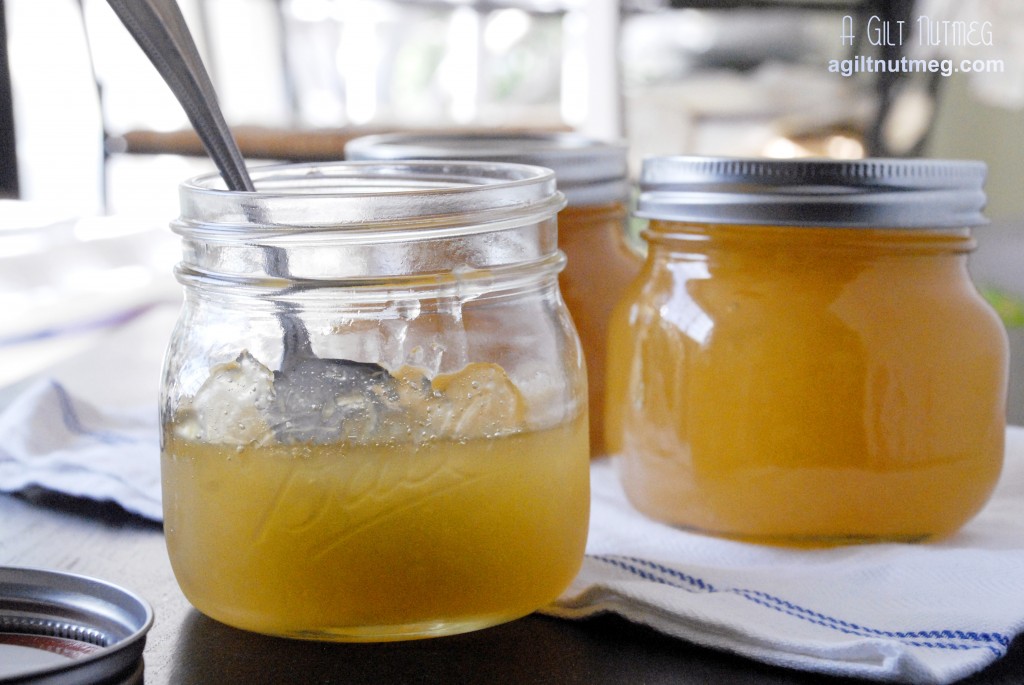
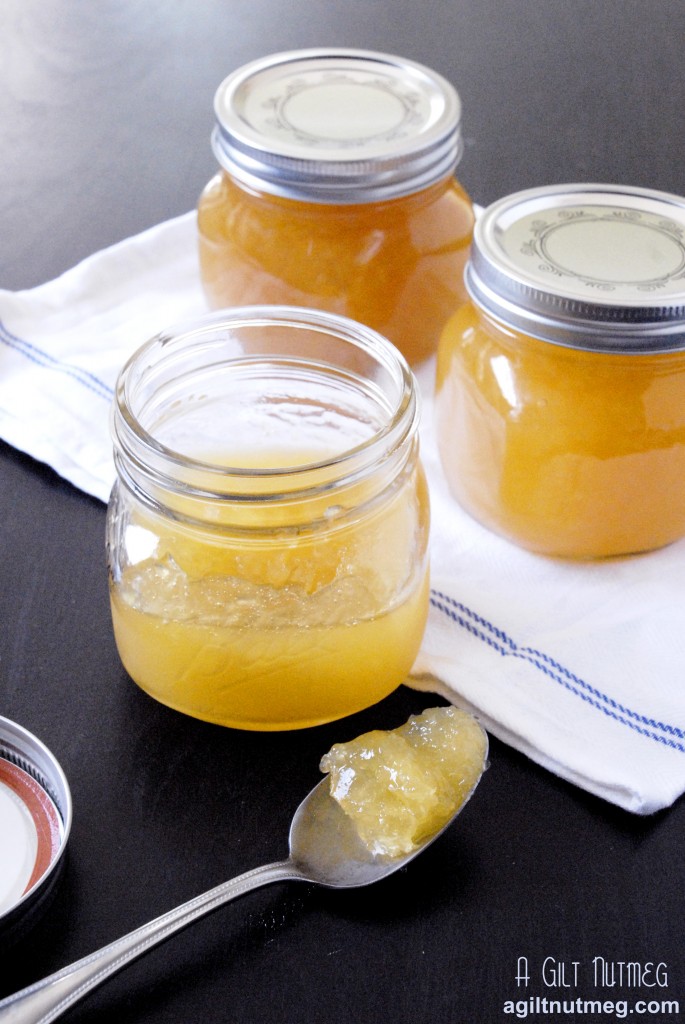
For those of you nervous about jam-making, this makes a very small batch and one that is relatively quick as well. It’s a great starter into the world of jam and canning! That said, I do wonder if what I made is more like Pineapple jelly rather than jam, but either way it’s a delightfully sweet and acidic flavor that you wouldn’t normally find at the grocery store. Even better, if you’re not a breakfast person, you can use it as a glaze for ham or chicken instead.
Finally, you’ll notice in the photo that one jar is darker than the other. I made one jar of plain Pineapple Jam (to showcase the clean sweetness I love about pineapple) and, to make things interesting, I stirred a little bit of vanilla bean paste and some powdered ginger into the other jar while the jam was still hot. Since the jars have been through the canning process so they were airtight for my parents to be able to travel back home with, I admit I haven’t been able to taste it, but I promise I will report back here with Dad’s thoughts—fingers crossed he loves it. I’ve listed the ingredients for the variation at the bottom if you don’t want to wait for our word on it.
Update: Dad loved both jams! He said that initially his favorite was the plain jam and finished that jar first, but he let me know later that after the Ginger-Vanilla flavor had a chance to mellow and meld in the fridge, that it turned out to be his favorite after all. So just know, you’ll want this flavored jam to “age” a little bit, but you’ll be rewarded with a wonderful depth of flavor.
Note: For canning, you’ll need two ½ pint jars, plus an extra little Tupperware or jar for whatever doesn’t fit into the first two jars—you’ll throw this extra in the fridge to eat in the next week or so without having to worry about the canning process since there will be too much air in that last jar to go through canning.
Pineapple Jam
Adapted From Coleen’s Recipes
Makes 2-3 cups
- One can (20 oz) crushed pineapple
- 1 ¼ cups pineapple juice
- 1 ¾ oz fruit pectin powder
- 3 cups sugar
- Start a large pot of water boiling and in the meantime, wash your jars and lids with hot soapy water. Set the jars and lids into the pot of water and let them boil for ten minutes (about the time it takes to measure out the ingredients and make the jam). Doing this keeps the jars hot so that they don’t crack and break, which would happen if you put hot jam into cold jars.
- In a large saucepan, combine the pineapple, juice and pectin and stir continuously until boiling. Make sure the pectin is completely dissolved and no blobs of powder remain. If you want a smoother jam, you can use a stick blender to blend the pineapple a little bit (later I wondered if this is why mine came out more jelly like in texture. I won’t blend it next time).
- After it’s boiling, add the sugar, stirring until dissolved, and bring it back to a rolling boil. Coleen says to bring it “a boil you can’t stir down”, which was an excellent way to put it, and let it boil for 1 minute.
- Spread a clean towel on your kitchen counter and (I just use normal kitchen tongs) carefully pull the jars and lids out of the hot water and wipe them down with another clean towel (be careful, they’re hot!). Keep the pot boiling in the meantime.
- Skim the foam off the top of the boiling jam and discard.
- Ladle the jam into the waiting jars, filling the jars to within ¼” of the top rim. Wipe off any jam that you dripped on them, and quickly screw the lids on (they don’t need to be super tight, just tight enough that you’ll be able to unscrew them without issue later).
- Carefully lower the lidded jars into the boiling water and let them boil for 10 minutes. Putting a towel in the bottom of the pot will reduce some of the racket of the jars rattling around.
- After ten minutes is up, take the jars out and set them on another clean towel on your counter. Press the lids—they should be tight and not pop up and down. If they pop up and down when you press, put them back in the water for another 5 minutes. I will admit that the last time I made a large batch, some of the lids popped up and down slightly and I was just too tired at that point to put them back in the water, so I left them on the counter and when I came back in the morning, tada! They were tight in the morning and didn’t pop. But then, I’ve always been a little lax when it comes to rules like that and I’ve never gotten food poisoning, so I’ll leave that call up to you.
- The jars that have been through the canning process can be left out until ready to give as gifts or to use yourself, but once you open them, put them in the fridge. The leftovers that didn’t fill up a whole jar should go straight into the fridge. Enjoy on toast or as a glaze to spice up whatever meat you’re cooking that night!
Variation: Ginger-Vanilla Bean Pineapple Jam
If you want your whole batch to be flavored, stir in a ½ teaspoon of ground ginger and 2/3 teaspoon of vanilla bean paste (or seeds of ½ a scraped vanilla bean, plus a splash of extract). If you want one jar flavored and one plain, ladle the jam into the jars and then stir ¼ teaspoon of ground ginger and 1/3 teaspoon of vanilla bean paste directly into one of the jars before canning.
