Strawberry Cake

4 Jun
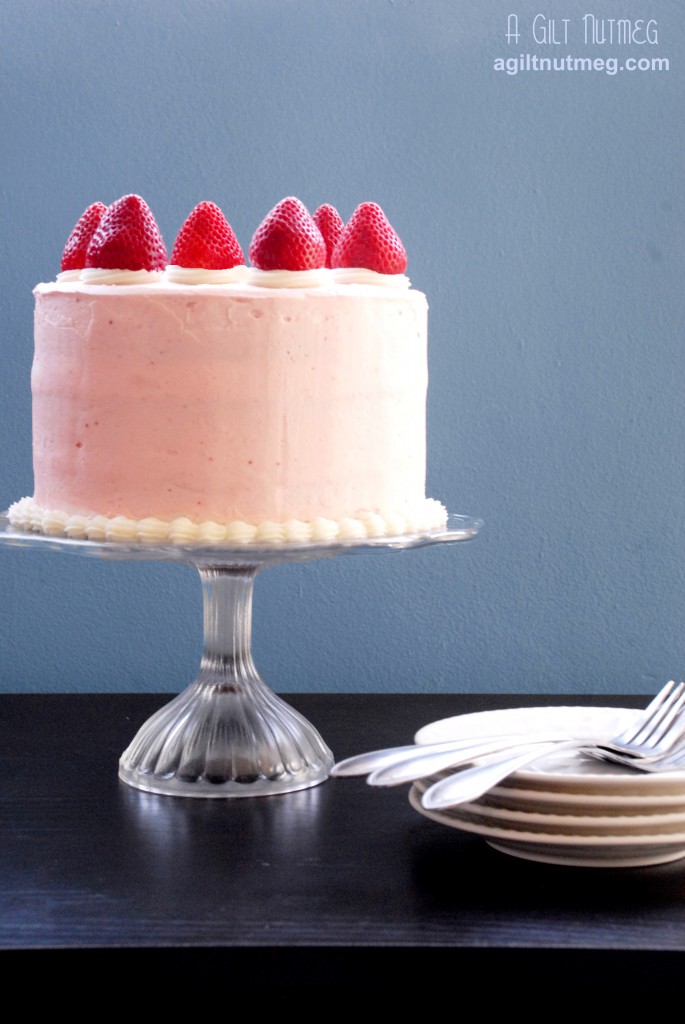
 

Mission: a birthday cake for a little girl.  Obstacle:  it must be bright pink.  Naturally, my mind immediately turned to the rows and rows of boxes full of ripe strawberries at the market.  What could be more perfect for a little girl’s spring princess birthday party than a strawberry cake?  Sweetapolita had just the recipe I was looking for, which included some strawberry jell-o to the batter to up the color from a gentle soft pink hue to bright hot pink.  Although I don’t have pictures of the inside, you’ll have to take my word for it-this was a seriously pink cake!  The jell-o also gave an otherwise light and fluffy cake a bit of a firmer, dense texture, but in a good, rich-tasting way, not in a “I accidentally used too much flour” way.
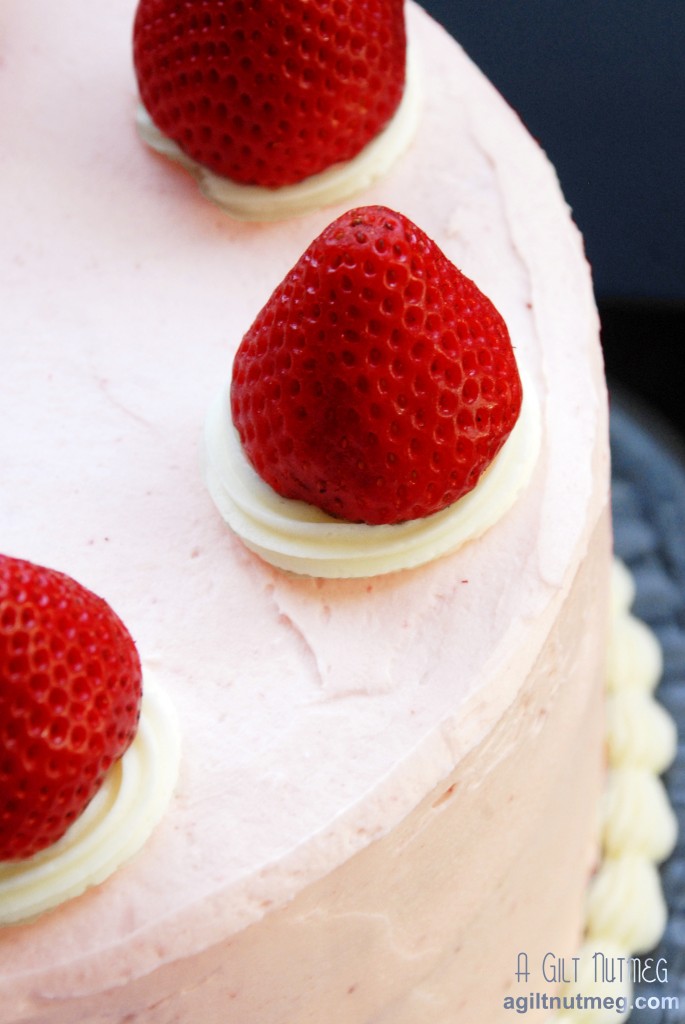
strawberry cake - close up

Then I strained some strawberry puree for the buttercream frosting and covered that pink cake in more pink.  To top it off, I picked the brightest, most perfect strawberries from the bunch to place on top of the cake.  If you squint, it’s almost like a crown or a castle, perfect for the pink princess theme!  As if you need any more encouraging, just as Sweetapolita promises, this cake tastes exactly like strawberry ice cream…so why are you still reading?  Go bake!

Notes: This recipe makes three layers, 8″ across, so you’ll need 3 specific 8″ pans for this cake.  Many bloggers have discussed how a three layer 8″ cakes have the most pleasing ratio of width to height, and I must say that I’m on board with them.  Also, going forward, I would make 1 1/2 recipes of the frosting, as it was a bit thin on the sides-you can just barely make out the layers through the frosting in the photo above.  That said, it would be strictly for aesthetic purposes; I don’t love tons of frosting, and many people said it was just the right ratio of cake-to-frosting so you can go based on your own preferences.

Strawberry Cake
Adapted from Sweetapolita

  • 1 lb box of strawberries
  • 1 cup milk
  • 1 Tablespoon vanilla extract
  • 3 cups cake flour
  • 1 Tablespoon baking powder
  • 3/4 teaspoon salt
  • 1 3/4 cups sugar
  • 1 box (3 oz) strawberry jell-o
  • 1 cup butter, room temperature
  • 4 eggs

Frosting

  • 3 sticks + 2 Tablespoons unsalted butter, softened
  • 4 cups powdered sugar, sifted
  • 1 Tablespoon milk
  • 1 1/2 teaspoons vanilla extract
  • pinch of salt
  • 3 Tablespoons of strained strawberry puree (you don’t want seeds in your frosting!)
  1. Heat oven to 350 degrees; line your three cake pans (8″ width) with parchment paper rounds and spray with nonstick baking spray (and pull out your butter to soften, if you haven’t already)
  2. Pick out the 6 prettiest strawberries and set aside for the top of the cake; hull and puree a handful of the remaining strawberries to get 1/4 cup of puree plus 3-5 tablespoons of puree for the frosting later (I love my hand held stick blender and the “smoothie cup” it comes with for this purpose).
  3. In a small mixing bowl, whisk together the milk, vanilla, and 1/4 cup strawberry puree; set aside.
  4. In a medium mixing bowl, sift together the flour, baking powder, and salt; set aside.
  5. In a large bowl, beat the butter, sugar and jell-o with an electric mixer on high speed for 5 minutes.
  6. Add the eggs to the butter-sugar mixture, one at a time, letting each egg fully incorporate before adding the next (and scrape down the sides of the bowl as necessary).
  7. Add approx 1/3 of the dry ingredients to the eggs/butter/sugar batter, 1/2 of the liquid ingredients, the second 1/3 of the dry ingredients, the last of the liquid ingredients and then the last of the dry ingredients.  Stop mixing as soon as that last streak of white flour disappears.
  8. Divide the batter equally among the three prepared cake pans and bake for about 30 minutes.  A toothpick or cake tester should come out clean when poked into the cake.  The cake won’t brown too much on top at all.
  9. Let the cakes cool on wire cooling racks for 10 minutes before taking them out of the pans and letting them sit on the racks until fully cooled.
  10. To make the frosting, whip the butter in an electric mixer for 8 minutes on medium speed; the butter should be super super soft and fluffy.
  11. Add the powdered sugar, milk, vanilla, and salt, and beat until fully incorporated and the frosting is creamy.
  12. If you plan on doing some white frosting decorations on your cake, take out about 3/4 cup of frosting and set it aside now.
  13. Add the strawberry puree and beat until frosting is smooth and creamy.
  14. To assemble the cake, spread a 1/2″ layer of frosting on the first cake layer, top with the second cake layer and spread another 1/2″ layer of frosting.  Add the last cake layer on top.
  15. Spread a very thin layer of frosting over the top and sides of the cake, then refrigerate for 30 minutes.  (I know this “crumb layer” step seems like a waste of time, but I promise, this is the first time I gave it a try and I fully understand now why it is necessary.)
  16. Spread the rest of the frosting over the cake in an even layer, refrigerate for 30 minutes and then decorate with your white frosting.  I did a piped border around the bottom of the cake, then piped little circles at intervals around the top edge of the cake and nestled the hulled strawberries on each of the rings.  Enjoy!

Roasted Yellow Summer Squash Salad

30 May


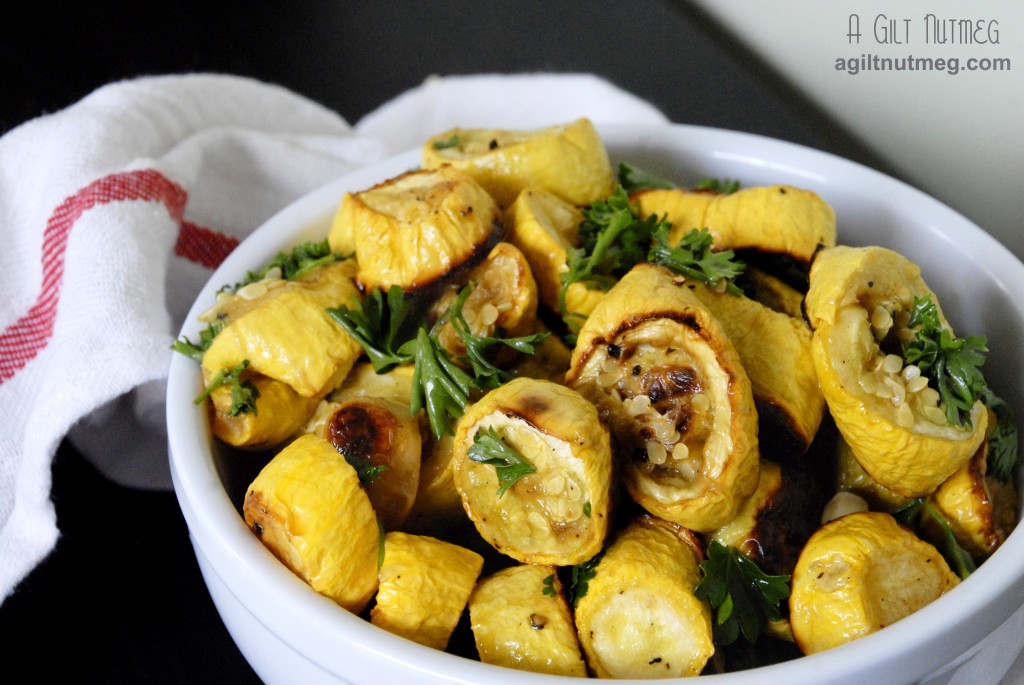
roasted yellow summer squash salad

I can’t remember not liking yellow squash.  Actually, that’s only partially true-I’m sorry, Mom & assorted other relatives, I never liked Squash Casserole, but that’s mostly because of the onions.  Other than that, you can happily feed me yellow squash any way you can: grilled, fried, sauteed, stir fried, roasted, baked in this awesome vegetable lasagna I made this weekend…the possibilities are endless.  When you want yellow squash fast and portable, this is the recipe you should turn to; I made it for a picnic and it was fantastic both warm (I snuck some out of the oven) and cooled after being transported in the picnic basket.  Full of roasted squash flavor, the parsley and lemon bring out fresh acidic flavor notes and the olive oil deepens the flavor profile.  This was the easiest dish I made for that entire picnic, so don’t hesitate to give it a try!

Roasted Yellow Squash Salad
Adapted from Martha Stewart
Serves 4-5

  • 5 lbs yellow squash, sliced into 3/4″ - 1″ thick rounds
  • 6 cloves garlic
  • 3 tablespoons olive oil
  • coarse salt and pepper
  • 1 large handful of fresh parsley (either flat-leaf or curly-leaf fine)
  • freshly squeezed juice from one large lemon
  1. Heat oven to 475 degrees and line one or two rimmed baking sheets with tin foil.
  2. In a large mixing bowl, combine the sliced yellow squash, garlic cloves, 2 tablespoons of olive oil, and salt and pepper and mix with your hands until the squash is thoroughly coated in the oil and seasonings.
  3. Spread out the seasoned squash in an even layer on the baking sheets and bake for 45 minutes to an hour until the squash is nicely browned (be sure to check underneath-my squash were almost too dark on the bottom and I wouldn’t have realized it because the top wasn’t even close to that brown).
  4. Pull the baking sheets out of the oven and let the squash cool on the sheets.
  5. Move the squash back into that big mixing bowl, add the last tablespoon of olive oil, the parsley and lemon juice and toss to coat.  Add extra salt and pepper if you think necessary.
  6. Serve warm, room temperature, or cold from the fridge, it’s up to you, because it will be delicious either way!  Enjoy!

Happy Birthday, Little Blog! + Fruity Pebbles Treats

25 May


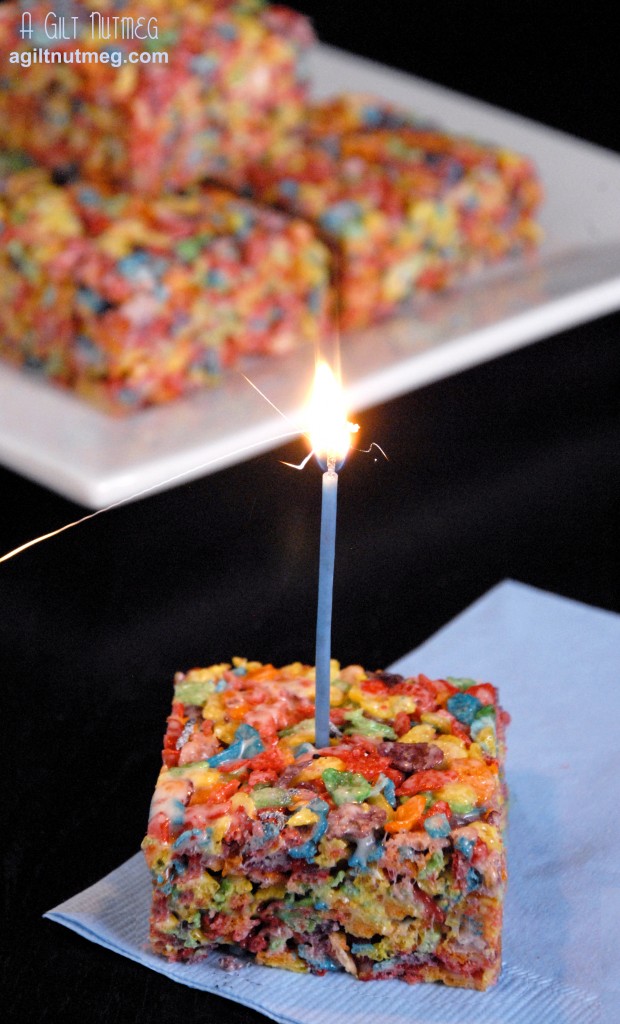
blogiversary fruity pebbles treats

One year ago today, I took my first little step into blogging.  A Gilt Nutmeg is one year old.  I wasn’t sure exactly why I wanted to start blogging, but I knew somehow that it was the right path to start walking down.  One year later and I can’t even begin to describe what this little project has done for me.  On the most basic of levels, it has taught me cooking skills I never would have guessed I would possess.  It has forced me to continue trying new recipes as often as I could instead of relying on tired old recipes I’ve used a million times and, perhaps most importantly, given me a focus in life for this odd in-between stage of being in my mid-twenties.  I admit, coming home from a job in a field I never planned to go into can be very draining and I think if it weren’t for the blog, I would just go home and plop in front of the tv each night with some fast food-and this is coming from someone who loves to cook!  Cooking was such an important part of my childhood that I think it was really just waiting patiently inside of me, waiting until I had a kitchen of my own (or at least roommate who didn’t commandeer it) and the drive to really get in there and let all this pent up cooking shine and spark out of me like a Katy Perry music video.

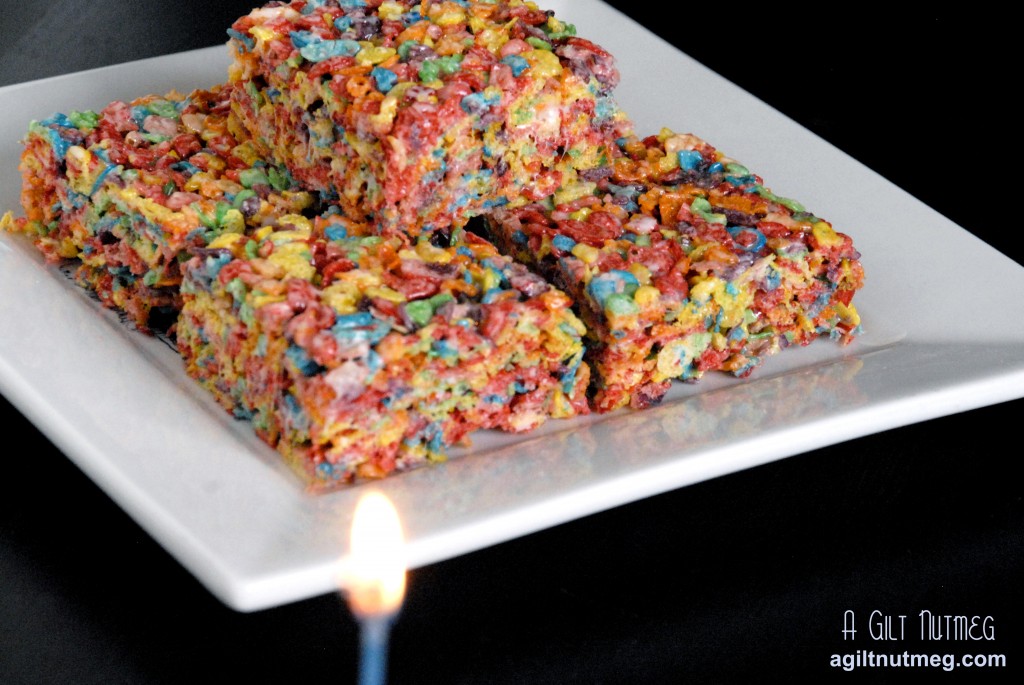
blogiversary fruity pebbles treats wide shot

So now I cook as often as I can.  I have a CSA box delivered once a month with organic fruits, veggies and herbs.   My baking cabinet is now so full of supplies that I have to store my cupcake tins on a chair at the dining room table because there’s just no room anymore.  I can proudly say that I know what an f-stop on a camera is, Jonathan Gold ate and liked my pie, and that I have been recognized by the New York Times as something “they’re reading“.  If you had told me a year ago that I could check even one of those things off my bucket list, I would have thought you were crazy….but here we are.  I can’t thank you enough for the support and encouragement you, my dear friends, family and readers have given me over the last 12 months.  Truly, nothing makes my heart sing more than to hear that someone has tried a recipe from my blog and loved it as much as I did.

To celebrate, I did want to pull an oldie but a goodie out of the hat: Fruity Pebbles Treats.  Just like Rice Krispies Treats except you swap out the flavorless puffed rice with one of my all time favorite forbidden cereals, which just happens to be packed with flavors (albeit extremely artificial flavors).  You put one of these gorgeously colored treats in front of me and I guarantee that plate will be licked clean in no time at all!

Fruity Pebbles Treats
Makes 1-2 dozen, depending on dish size and cutting measurements

  • 1/4 cup unsalted butter
  • 1 bag (10 oz) mini marshmallows
  • 1 box (11 oz) Fruity Pebbles
  1. In a large stock pot, melt the butter over medium heat.  In the meantime, spray an 8×8 baking dish or a 9×13 baking dish with non-stick cooking spray.  An 8×8 pan will yield fewer treats, but they’ll be thicker (as in my photo).  A 9×13 dish will give you much thinner treats, but more of them.
  2. Add the mini marshmallows to the melted butter, stirring until they are melted entirely and incorporated with the butter.
  3. Add the Fruity Pebbles, turn off the heat, and gently stir and fold the cereal into the marshmallow-butter mixture.  Keep mixing until all the white patches of marshmallow are gone and the cereal is evenly coated in marshmallow.
  4. Dump the cereal-marshmallow mixture into the prepared dish and firmly press the mixture flat into the pan.  I use a lot of pressure, because if you squish the cereal down enough, it’ll break up a little and make for a chewier treat instead of an airy one that falls apart.
  5. Put in the fridge to cool.  Once cool, flip the treats out onto a cutting board and slice with a pizza cutter or large knife.  Enjoy!!

Herbed Cucumber Bites

23 May


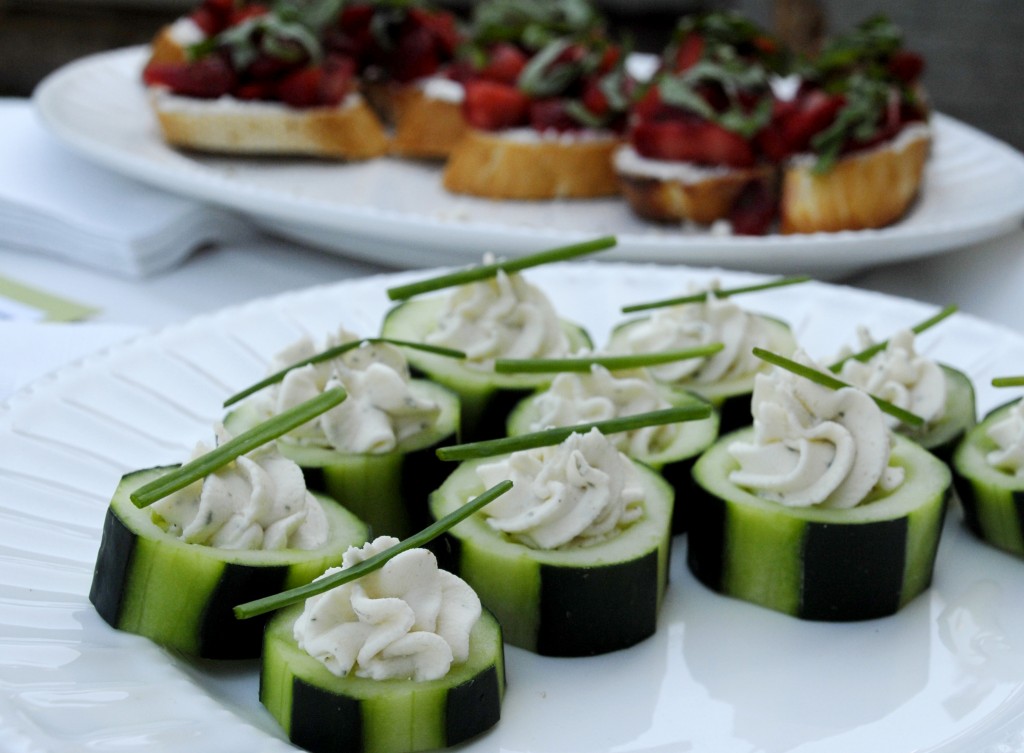
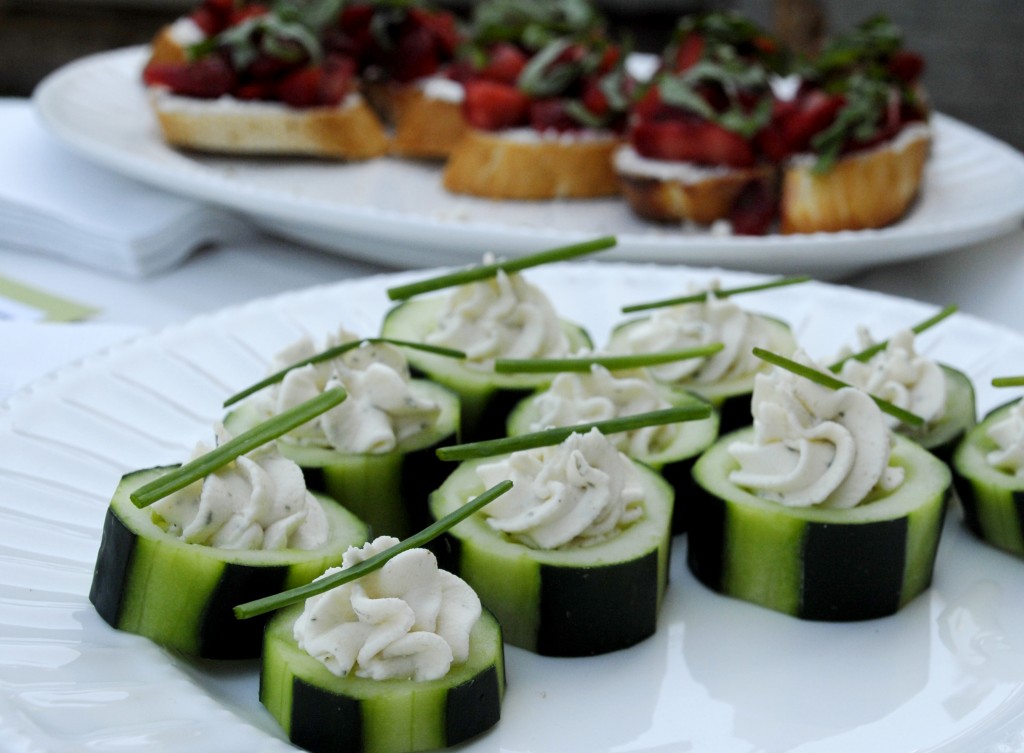
herbed cucumber bites

At the bridal shower a few weeks back, I was sure the Margarita Cupcakes would be the hit of the party.  If not them, then maybe the Strawberry Bruschetta.  Never did I expect these little cucumber bites might actually be the winner of the afternoon!  They’re the only appetizer I completely ran out of ingredients on and everyone kept remarking on how delicious they were.  Best of all, they’re ridiculously easy to make and shockingly addictive-you’ll find yourself going back and popping another in your mouth every chance you get!

Herbed Cucumber Bites
Ever so barely adapted from Annie’s Eats
Makes approximately 3 dozen

  • 5-6 large cucumbers
  • 3 boxes of Garlic Herb Boursin cheese
  • 6 tablespoons heavy cream
  • Chives
  1. In a small bowl, mash and mix the Boursin and cream until creamy and fully combined.
  2. Using a vegetable peeler, peel long lengthwise strips from the sides of the cucumbers, about 4-6 strips, depending on how large your cucumbers are.  By doing this, when you slice the cucumbers, they’ll have those great stripes.
  3. Slice the cucumbers into 1/2″ - 1″ slices.
  4. Using a spoon, scoop out the seeds from the center, leaving a little bit of cucumber in the bottom of the cup to hold the cheese in.  You can slice and scoop the cucumber pieces the night before if you want, just store in an airtight container in the fridge, along with the cheese mixture.
  5. Fill a pastry bag, fitted with a star tip, with the Boursin mixture and pipe the cheese mixture into each cucumber slice.  You’ll want to move in a small circular motion to make sure every bit is filled.
  6. Snip chives into pieces about 1 1/2″ long and adorn each cucumber bite with one piece of chive.
  7. Arrange on a platter and enjoy!

Strawberry Basil Bruschetta with Lemon Goat Cheese

18 May


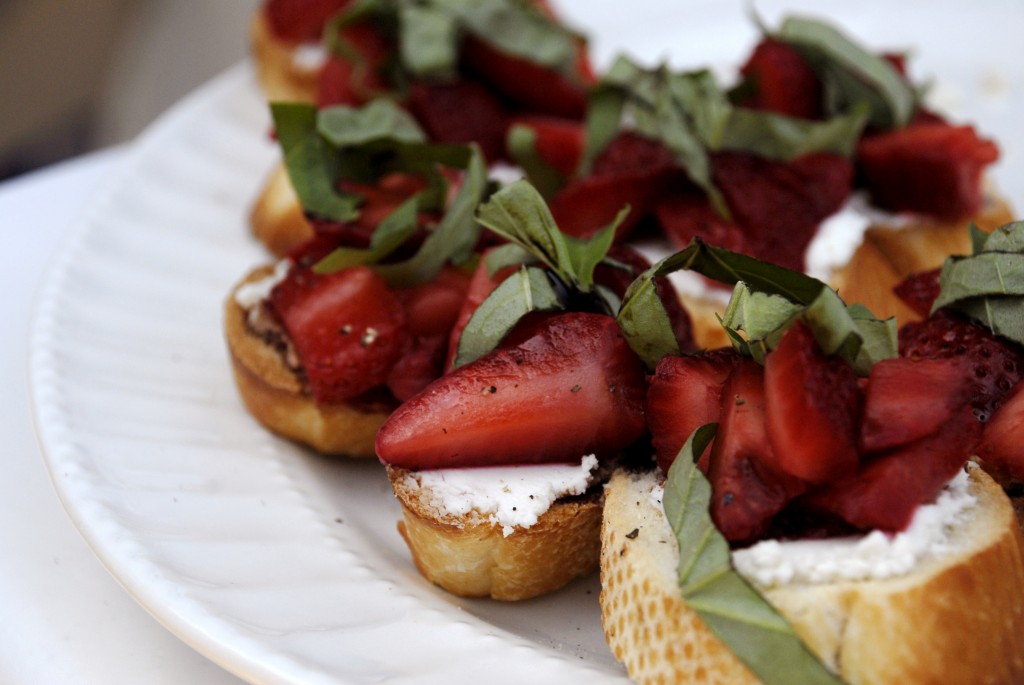
strawberry bruschetta

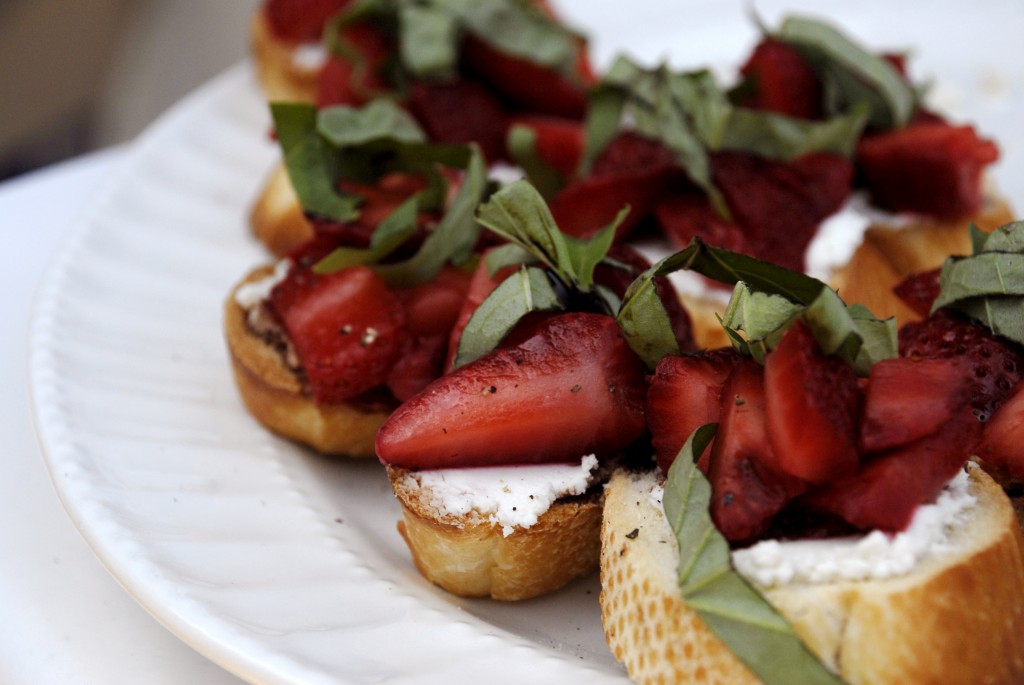
I have to admit that, when cooking, I’m not very adventurous when it comes to flavor combinations.  I think that’s why I was so proud of my alterations to this recipe: there are so many flavors that, despite being such a simple food to grab off a platter, the taste ends up being quite complex.  Balsamic vinegar and strawberries are actually quite an old combination, but one I still find awfully strange.  Basil and strawberries is an even less common combination and one that is shockingly perfect-you’ll have to taste it to believe it.  Add in some lemon goat cheese, a good baguette and a crack of fresh pepper over the top and you’re going to have such a crazy and delicious moment going on in your mouth that you’re just not going to know what to do with yourself!  You’d never think those flavors would go well together but you’ll find you and your guests reaching for these bruschetta over and over again.

Strawberry Basil Bruschetta with Lemon Goat Cheese
Adapted from Annie’s Eats
Makes 2-3 dozen pieces

  • 1 good quality baguette
  • 1 lb of strawberries, sliced
  • 3 tablespoons sugar
  • 1 package (4 oz) of lemon goat cheese (or 1 package plain goat cheese combined with zest from half a lemon)
  • balsamic vinegar
  • handful of whole fresh basil leaves
  • fresh ground black pepper
  1. Up to a few days before or at least a half hour before you need them, slice the strawberries, add them to a large bowl and mix the sugar in until thoroughly combined.  Set in the fridge until ready to use.
  2. The day you plan to eat the bruschetta, slice the baguette into slices, cutting at an angle.  Toast the baguette slices under your oven’s broiler until golden brown on each side.  Set aside and allow to cool.
  3. When cool, spread a thin layer of lemon goat cheese on each baguette slice, top with a spoonful of strawberries.
  4. Drizzle a small spoonful of balsamic vinegar over each slice with strawberries on it.
  5. To cut the basil, lay the leaves flat on top of each other, fold the pile in half and with a sharp knife or with kitchen scissors (I prefer the scissors), cut the basil in to thin strips.  Sprinkle the basil strips over the strawberries.
  6. Crack fresh pepper over the top of each bruschetta and enjoy!

Steak & Arugula Picnic Sandwiches

16 May


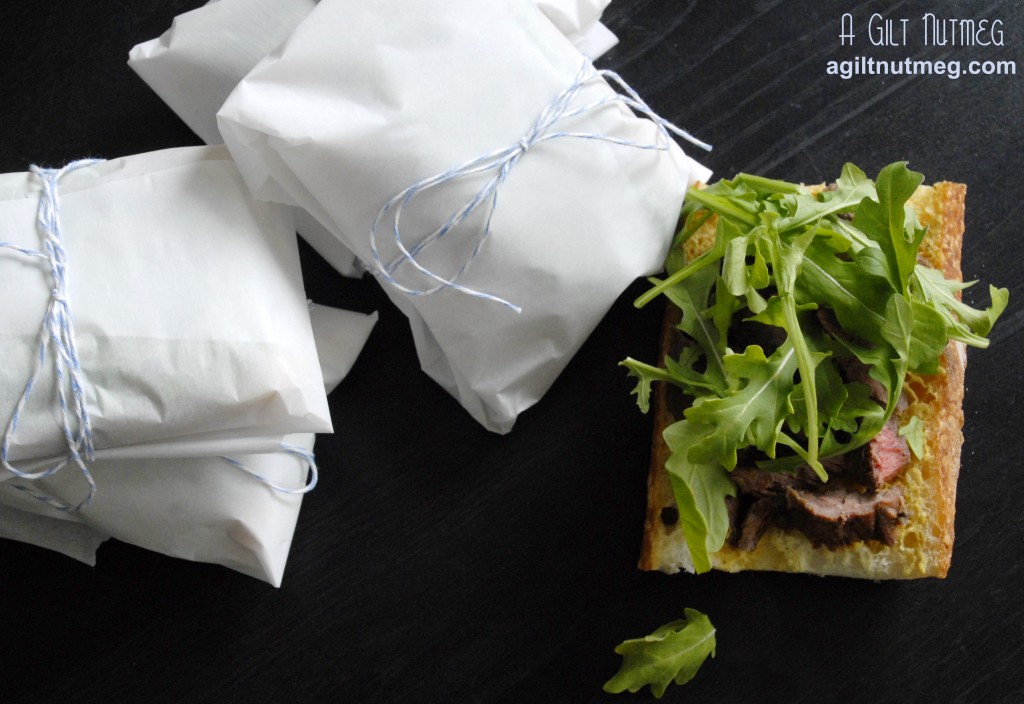
steak picnic sandwiches

Serves me right for thinking I might have a relaxing weekend for once.  Thursday night rolled around and The Boyfriend’s Dad asked how I might feel about filling a basket for a picnic lunch for Mother’s Day.  Of course I can’t say no to that!  I spent the next few days trying to decide what I might make that would be okay at room temperature for a little while and that would pack nicely for travel.  I am proud to say that the lunch was a success and that I was able to make some of my favorite foods to share with them on Sunday and now with you.  First up on the list are these incredibly simple Steak & Arugula Picnic Sandwiches.

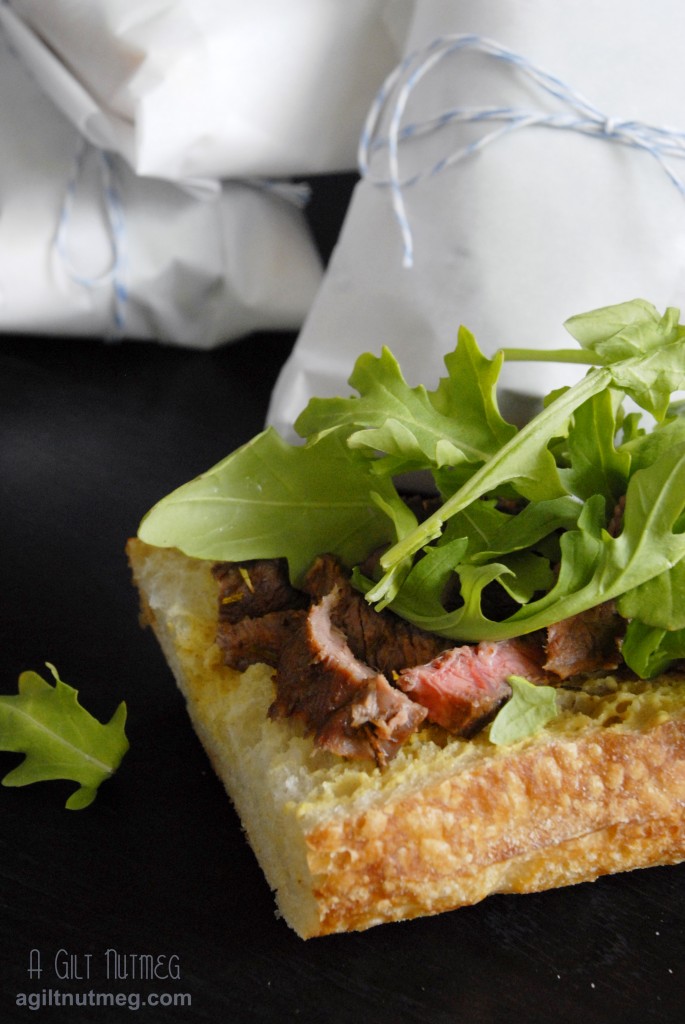
Your first step above all is to find a great bread.  I was standing in line at 9am waiting for the doors to open at the world famous Bay Cities Deli on Sunday morning.  I think that walking out of the store 5 minutes later with a loaf of crunchy chewy Italian bread still warm and fragrant from the oven was one of my favorite food moments in recent memory.  After that, the rest is a snap; this steak is one of the very first recipes I ever posted on this blog and beyond that it just involves slathering on some good mustard and piling on the arugula.  Because they’re open faced (no top piece of bread), they’re just the right amount of filling when you pair them with a few sides instead of overstuffing yourself…because who wants that on a picnic?  Wrap it all up in parchment paper, tie it with baker’s twine and these sandwiches are super portable without worry about crushing them.

steak picnic sandwiches 2

Steak & Arugula Picnic Sandwiches
Adapted from Martha Stewart Living, July 2009
Serves 4

  • One loaf of high quality sandwich bread or two 6″ rolls
  • Approximately 2 cups of arugula
  • Your preferred mustard (I like a spicy Dijon)
  • One recipe of Marinated Balsamic Skirt Steak (below)

Steak

  • 1/2 cup balsamic vinegar
  • 1/4 cup soy sauce
  • 2 tablespoons brown sugar
  • 4 garlic cloves, sliced
  • 1 tablespoon dried rosemary
  • Coarse salt and ground pepper
  • 1 pound skirt steak
  1. Poke the steak all over with a fork, then combine the steak ingredients in an airtight container at least 30 minutes prior to cooking, if you’re in a rush, or put them together the night before and stick them in the fridge so that the flavors can combine.
  2. When ready to cook the steak, set the oven to Broil (or 500 degrees), line a rimmed baking sheet with aluminum foil and lay the steak flat on the prepared pan.
  3. Broil the steak 3 minutes on each side for medium; cook an extra minute or so on each side for more well done.
  4. When the steak is done to your preference, pull it out of the oven, move it to a platter and let it cool for at least 15 minutes.
  5. When cool, slice the steak against the grain (you don’t want chewy meat on a sandwich), removing any excess fat along the way.
  6. Slice the bread roll in half lengthwise and then cut the halves into 6″ portions (cut the rounded ends off, too).
  7. Spread mustard over the bread, pile the meat on top and then the arugula.
  8. Wrap sandwiches in parchment paper, tape or tie them shut and put them in the picnic basket to enjoy!

Apple Cinnamon Mini Loaves with Apple Brandy Glaze

14 May


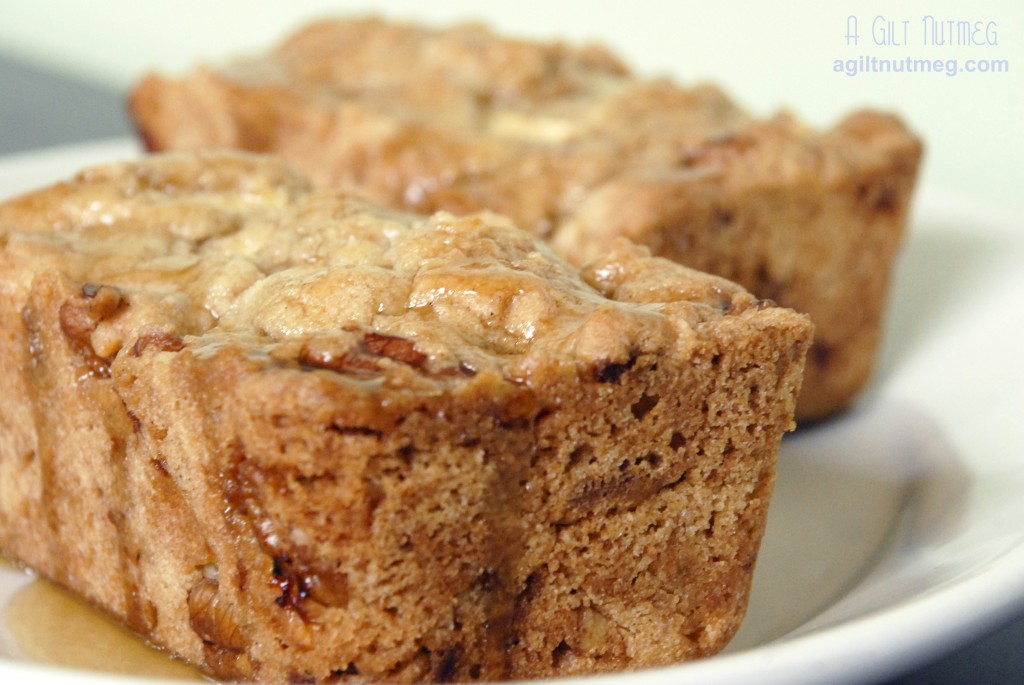
apple cinnamon loaves with apple brandy glaze

In trying to pick this week’s PPQ recipe, I chose these little cake loaves thinking they might be nice for Mother’s Day Brunches.  What I didn’t realize was that I might come across one of my new favorite recipes from The Pastry Queen.  These little loaves are super moist yet they have a great crunchy-chewy crust and the nutty spicy apple flavor is just phenomenal.  The cakes are not too sweet and perfect for any time of the day…which is bad news for me because it means I’ll be eating them morning, noon and night if I can.  You can bake it as one big cake instead, but mini loaf pans are super cheap at Sur la Table and I think they’re totally worth the few dollars investment (especially around the holidays).

I only made two changes to Rebecca’s original recipe: first, since I had limited time and only 2 loaf pans, I made a half recipe.  The Boyfriend loves spice more than anything so I dutifully used the original cinnamon and nutmeg measurements instead of halving them and they turned out so well that I will absolutely be doubling the amount when I make a full sized batch next time.  I almost worry about the lack of spicy flavor there could have been if I had followed the original recipe.  Second, I didn’t feel like hunting down a bottle of Calvados (an apple brandy), so instead of the 1 Tablespoon of Calvados, I subbed 1 Tablespoon of apple juice and 1 Tablespoon of normal brandy and just let it boil off a little longer.  I think the result was just as good as the original.

Really, I can’t say enough about how much I love this recipe.  It strikes exactly the right chord of sweetness, crunch, nuttiness, and soft moist cake texture.  Since we finished the two mini loaves I made today for Mother’s Day within minutes, I am absolutely coming home from the office tomorrow and using up the rest of my apples on another batch.

Be sure to check out the other Project Pastry Queen-ers versions here!

Mini Apple-Cinnamon Loaves with Apple-Brandy Glaze
Adapted from The Pastry Queen by Rebecca Rather
Makes 5 Mini Loaves

Loaves:

  • 1 1/4 cup vegetable oil
  • 2 cups sugar
  • 2 large eggs
  • 2 tsp vanilla
  • 3 cups flour
  • 1 tsp cinnamon
  • 1 tsp nutmeg
  • 1/2 tsp baking soda
  • 1 tsp salt
  • 3 large apples, peeled, cored and diced (I used Granny Smith apples)
  • 1 cup pecans

Glaze:

  • 1/4 cup unsalted butter
  • 1/3 cup packed light brown sugar
  • 1 Tbsp light corn syrup
  • 1 Tbsp apple juice
  • 1 Tbsp brandy
  1. Heat the oven to 350 degrees.  Grease 5 miniature loaf pans (sized approximately 6″ x 4″ x 2″) and set aside.
  2. In a large bowl, whisk together the oil, sugar, eggs and vanilla until thoroughly combined.
  3. In a separate bowl, mix together the flour, cinnamon, nutmeg, baking soda and salt.
  4. Add the flour mixture to the oil mixture until fully incorporated.
  5. Rebecca helpfully pointed out that the batter will be very stiff at this point, not very liquid, so it will be a little difficult to mix in the apples and pecans, but it works.  I didn’t want to use my stand mixer in case it broke up the apples into mush, so I pulled the bowl off the mixer and stirred the apples and pecans in by hand with a wooden spoon.  Mix in until they’re evenly distributed.
  6. Press the batter into the loaf pans so that the pans are about 3/4 full and smooth the tops out with the back of the spoon.
  7. Bake for 55-60 minutes; an inserted toothpick should come out clean and they should be a light golden brown on top.
  8. Cool in the pan for 10 minutes then take the loaves out of the pan and let them finish cooling on a wire rack.
  9. While the cakes are cooling, melt the butter in a small saucepan whisk in the brown sugar, corn syrup, apple juice and brandy.  Let it simmer for 5 minutes so it can thicken and then spoon a couple of spoonfuls of the glaze over each loaf.
  10. Let the cakes fully cool and the glaze dry for at least an hour before wrapping them-if they even last that long!  Enjoy!

Chicken Soup with Rice

11 May


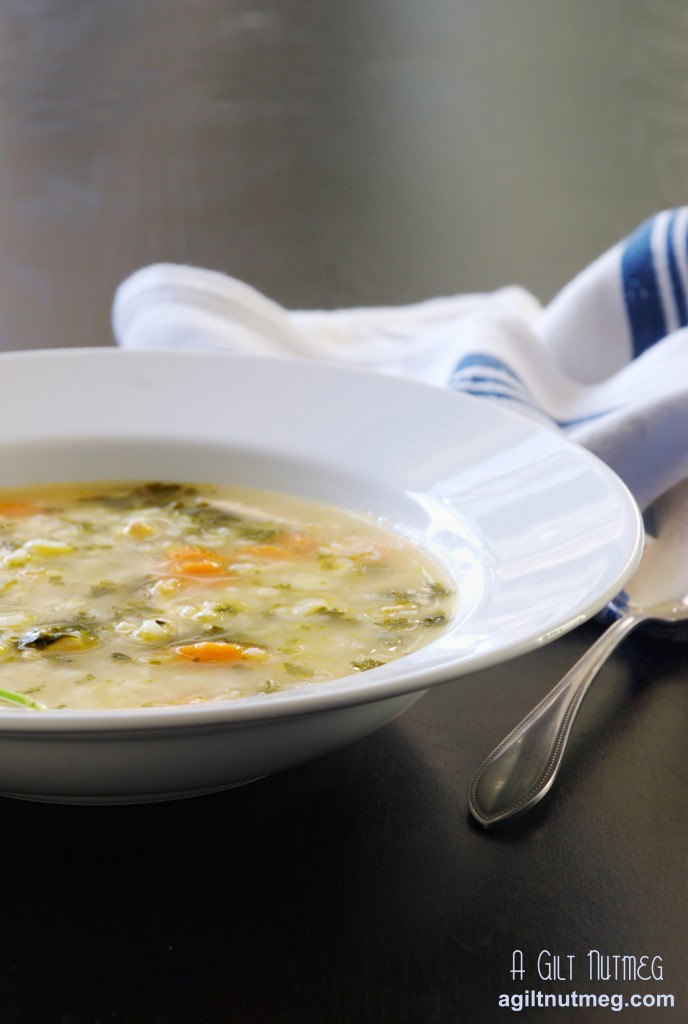
chicken soup with rice by maurice sendak

Last Tuesday, on May 8, the world lost a great presence.  Those of you who don’t know me personally won’t know that my other burning passion besides food is for children’s book illustrations (it doesn’t really come up on a food blog, after all).  I have Beatrix Potter prints in my apartment, my cell phone background is E. H. Shepard, and if I had an extra $3,500 would, without hesitation, buy my favorite Garth Williams illustration of a little sparrow eying a biscuit from “Stuart Little”.  And because of this love of illustration, Tuesday’s passing of Maurice Sendak was especially saddening.  Most people are familiar with Sendak’s “Where the Wild Things Are”, but I never really cared for that book as a child.  Instead I preferred-as anyone who loves cooking might- “Chicken Soup with Rice”.

Image Borrowed from Foodie Parent

The book is a tribute to eating chicken soup throughout the year, with a poem for each month.  I couldn’t think of a better way to celebrate Maurice Sendak’s life than to make a batch of Chicken Soup with Rice and read the book again.  The recipe is a great one that comes together very quickly, yet tastes like it’s been simmering for hours.  It will be perfect for every month of the year.  Maurice, you will be sorely missed.

In May
I think it truly best
to be a robin
lightly dressed
concocting soup
inside my nest.
Mix it once
mix it twice
mix that chicken soup
with rice.

Chicken Soup with Rice
Adapted from “Mad Hungry” by Lucinda Quinn via Martha Stewart
Makes 4 servings

  • 2 boneless, skinless chicken breasts
  • 2 Tbsp olive oil (divided into 1 Tbsp and 1 Tbsp)
  • 1 Tbsp butter
  • 6 spring onions (or scallions), white and light green parts only
  • 3 medium sized carrots
  • 2/3 cup chopped fresh parsley
  • 1/2 teaspoon dried thyme
  • 1 bay leaf
  • 48 oz box of low sodium chicken broth (6 cups)
  • 1 cup cooked rice
  1. Heat 1 Tbsp of olive oil in a stock pot; while it’s heating slice the chicken into approximately 1/2″ slices and then throw them into the pot to brown.
  2. While the chicken is browning, thinly slice the scallions and peel and slice the carrots into what my mom would always call “pennies”.
  3. When the chicken is cooked through and golden brown, move it to a bowl and set aside.
  4. Add the remaining Tbsp of olive oil and the butter to the pot and melt.  Add the onions, carrots, parsley, thyme and bay leaf.  Saute for about 3 minutes.
  5. Add the chicken broth and simmer for 5 minutes or so; in the meantime shred the chicken.  The easiest way to do this is to take two forks, stab one fork towards the end of a piece to hold it in place and drag the other fork across the chicken to pull it into long shreds and pieces of various sizes.
  6. Add the chicken and rice to the soup and simmer for another 5 minutes or so until the chicken and rice are heated up.
  7. Remove the bay leaf and enjoy while reading the appropriate month’s poem in “Chicken Soup with Rice”.

**Note: the soup is delicious, of course, as leftovers, but the rice does tend to get a little mushy the next day.  Best not to let it sit in the fridge for more than 24 hours before eating the rest of it.  Also, the broth is my favorite part of any soup, so when I reheated it, I added an extra little bit of water to the bowl-it gave me a little more broth without diluting the flavor.

Mexican Wedding Cookies

9 May


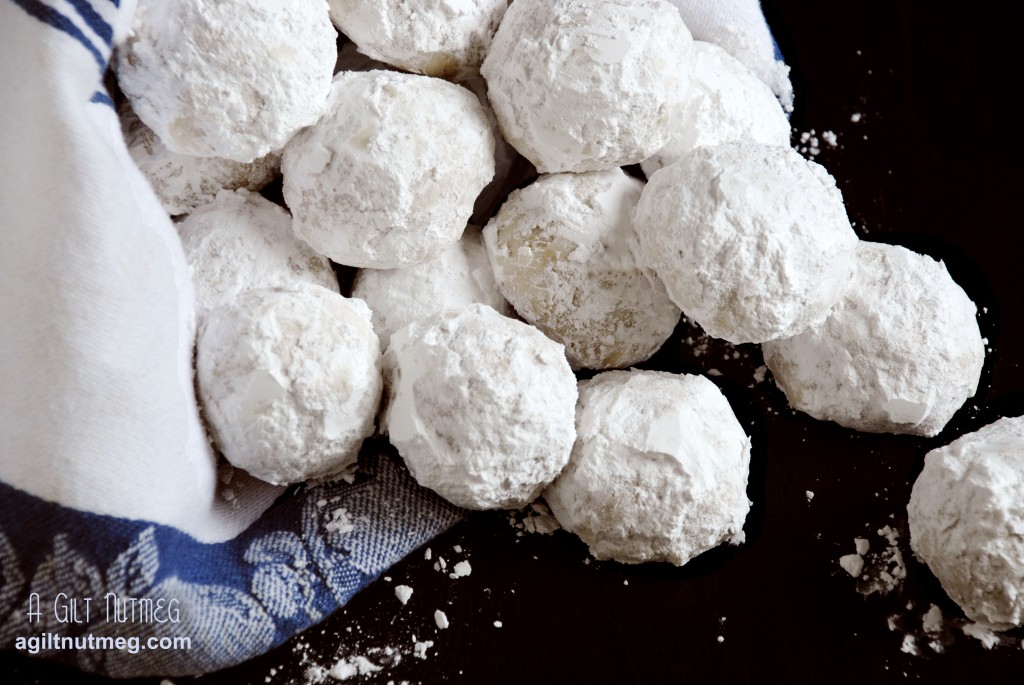
 mexican wedding cookies

At the office, since Cinco de Mayo fell on a Saturday, we had a little Ocho de Mayo celebration yesterday instead.  In trying to decide what to bring, the idea of Mexican Wedding Cookies floated into my head and then that idea stuck and wouldn’t let go and then there was just no turning back because I love these cookies and couldn’t bear not to make them at this point!  And then last night, after our celebration, I had to tell The Boyfriend that there was good news and there was bad news:  The good news is that I saved a cookie for him.  The bad news was that I ate ALL THE REST of the leftover cookies.    Oops.

These cookies are satisfyingly crunchy and surprisingly flavorful, but you do have to eat them over the sink unless you’re okay with powdered sugar going EVERYWHERE.  It’s worth it, in my opinion.  They’re some of my favorites!

Mexican Wedding Cookies
Adapted from Williams-Sonoma
Makes between 2-3 dozen

  • 16 Tbs (2 sticks) unsalted butter, at room temperature
  • 1/4 cup confectioners’ sugar + 1 cup confectioner’s sugar for dusting later
  • 1 1/2 tsps vanilla extract
  • 1/4 tsp salt
  • 1 3/4 cups all-purpose flour
  • 1 tsp ground cinnamon
  • 1 1/2 cups blanched almonds, ground in a food processor until it looks like coarse cornmeal
  1. On high speed, beat the butter in a mixer until it is very light yellow and very fluffy, about 3-4 minutes.
  2. Reduce speed to medium and add the confectioners sugar to the butter, mixing until thoroughly incorporated, then switch the speed to low and add the vanilla and salt, again mixing until incorporated.
  3. With a fine sieve, sift the flour and cinnamon into the butter mixture, then mix in to batter on low speed (or else it’ll pouf all over your kitchen!).
  4. Add the almonds to the mixture and beat on low speed until those are mixed in.
  5. Cover the bowl with plastic wrap and put it in the refrigerator for 15-20 minutes.  The goal is to chill the dough so that it is firm and no longer sticky, but not yet hard.
  6. Heat the oven to 350 degrees while the dough is chilling.
  7. Line a cookie sheet with parchment paper and scoop up chilled dough in balls approximately 1″ or 1 1/2″ wide and roll them in your palms to make the balls smooth.  The bigger the cookie, the fewer you’ll have and vice versa.  My cookies were about 1 1/2″ wide and I ended up with about 30 cookies.
  8. Place the cookies in rows, about 1-2″ apart and bake for 12-15 minutes.  The cookies will not look done on top (they’ll stay white), but you can roll one or two over to look at the bottoms-they should be starting to turn golden brown.  The cookies will also be almost firm if you poke one, but I find that the brown color underneath is the best indicator of doneness.
  9. Let the cookies cool on a wire rack for 15 minutes and in the meantime add that extra 1 cup of confectioner’s sugar to a bowl.
  10. When the cookies have cooled for a little while, roll them in the powdered sugar and put them back on the racks.  The powdered sugar on the cookies will get a little sticky, but let the cookies cool some more and roll them again.  Set them back on the racks and wait a few hours before giving the cookies their final roll in the sugar.  You want them good and coated!
  11. Store in an airtight container and enjoy!  (over a plate or the sink or a napkin, that is)

Amanda’s Bridal Shower & Watermelon Gin Fizz

7 May


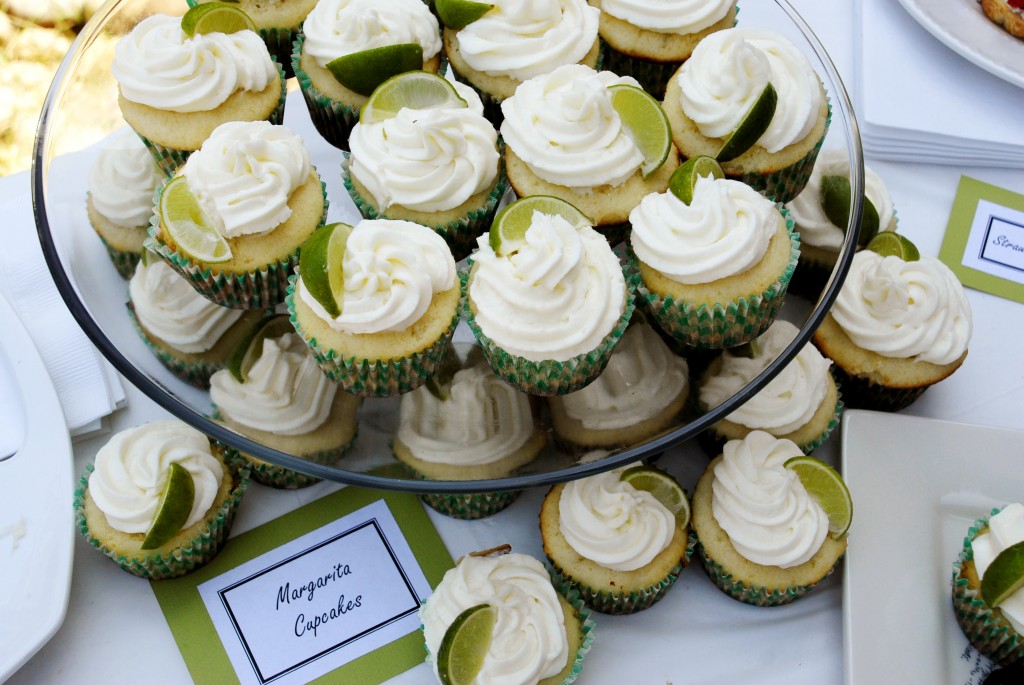
margarita cupcakes

On Saturday I had the honor of making the food for the bridal shower of my dear friend’s sister.  I learned a very important lesson this weekend: catering is EXHAUSTING.  I also learned that you should NOT leave something as finicky as Swiss Meringue Buttercream Frosting to the very last minute because you will be literally running on foot to the closest mini-mart for butter to start a backup American style Buttercream that will have you leaving 2 hours later for San Diego than planned.

herbed cucumber bites

Since the party was for 2pm on a gorgeous spring day, I had planned out a menu that would be very light and all non-fork foods for the guests to snack on.  Would you believe that out of all of the different items, the hit of the party were the cucumbers?  Also, a green and red theme inadvertently emerged and yet the table somehow didn’t look like Christmas, which is a miracle-instead all the green just reminded you that Spring was getting underway.  I’ll be posting the recipes throughout the week; any one of them would be a great appetizer to a Spring dinner.

While tiring, the experience was very rewarding and I’m so proud and happy to have been able to do this for my friend’s family.  I wish nothing but the best for Amanda and Christian!

Menu

  • Herbed Cucumber Bites
  • Strawberry Basil Bruschetta with Lemon Goat Cheese
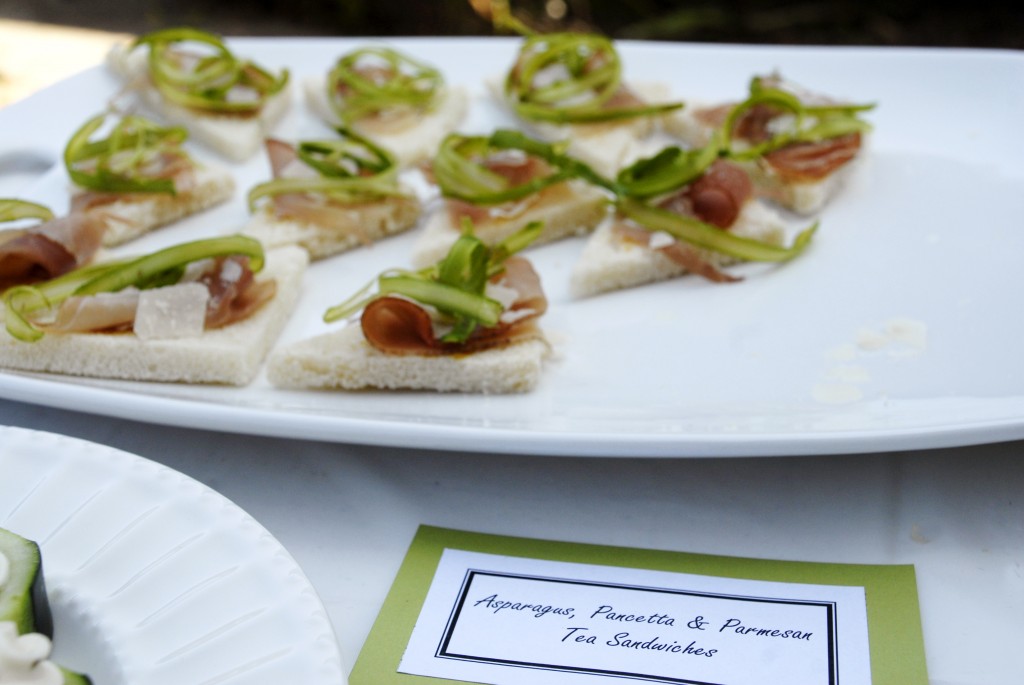
  • Shaved Asparagus, Prosciutto & Parmesan Tea Sandwiches
  • Margarita Cupcakes (it was Cinco de Mayo, after all)
  • Watermelon Gin Fizz

strawberry basil bruschetta

Since I don’t have a great photo of the drink, I’ll post the recipe here and save the other recipes for their own posts.  It is going to be perfect for a hot summer’s day with friends and I can’t wait to drink it all season long.

Watermelon Gin Fizz
Adapted from Eating Well

  • 1 medium sized watermelon (the melons a little bigger than a soccer ball)
  • 2 bottles (2 liter size) of ginger ale
  • about 1/2 a  bottle of gin (you can, of course, adjust this to taste)
  • Juice of 3 limes
  • extra limes to cut for garnish, if you wish
  1. Cut the watermelon into large chunks.  If you wish (and I highly suggest it) set aside about 1/3 of the melon and neatly cut those slices into 1″ cubes.  Put the cubes in a bag and put them in the freezer to act as edible ice cubes later.
  2. Puree the remaining watermelon in a blender or food processor (although the processor isn’t liquid proof so it may make a bit of a mess) and strain the watermelon puree in a sieve; discard the fibers and seeds left behind in the sieve.  You should end up with about 12 cups of juice.  This step can be done a few days ahead of time; refrigerate until needed.
  3. When ready to serve, combine the watermelon juice, ginger ale, gin, and lime juice.  Stir, add the watermelon “ice cubes”, and enjoy!

Another great hostess tip: In addition to the watermelon ice cubes, fill a cupcake pan with one round slice of lime (or lemon) in each of the 12 cupcake wells, then fill each well about half way with boiling water (boiling the water means the ice will freeze clear instead of looking white).  Put the tray in the freezer and voila!  Some of the cutest decorative ice cubes ever for your punch.  If you have trouble getting them out of the cupcake pan, run some warm water over the pan to loosen them.